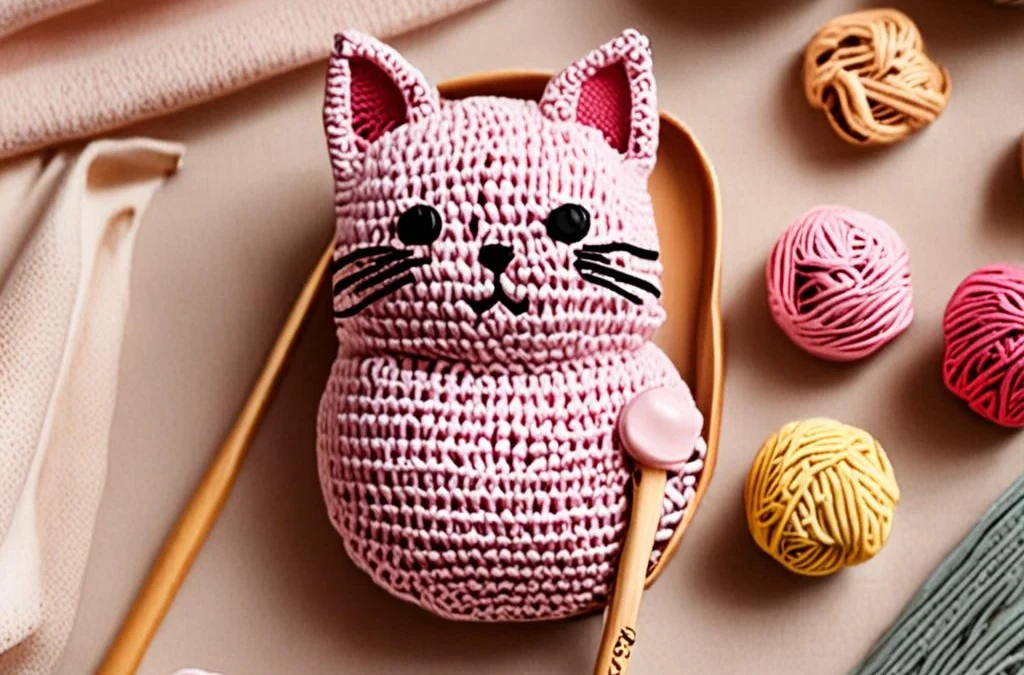
Welcome to the sweetest corner of my studio! There is something undeniably charming about the fusion of Japanese-inspired mochi aesthetics and the playful personality of a tiny cat. This “Whipped-Berry Mochi Cat” is designed to be the ultimate desk buddy, perfectly sized to rest snugly inside a standard ceramic tablespoon. Its squishy, round body and minimalist features make it a quick and rewarding project for crocheters of all skill levels.
Whether you are looking for a unique gift for a friend or a touch of whimsy for your own workspace, this pattern is guaranteed to bring a smile to your face. We will use a tight tension technique to ensure that your “berry” filling doesn’t peek through, resulting in a professional, polished finish that looks just like a soft, delectable treat. Grab your favorite pastel yarn, and let’s start stitching!
Materials, Yarn & Hook Requirements
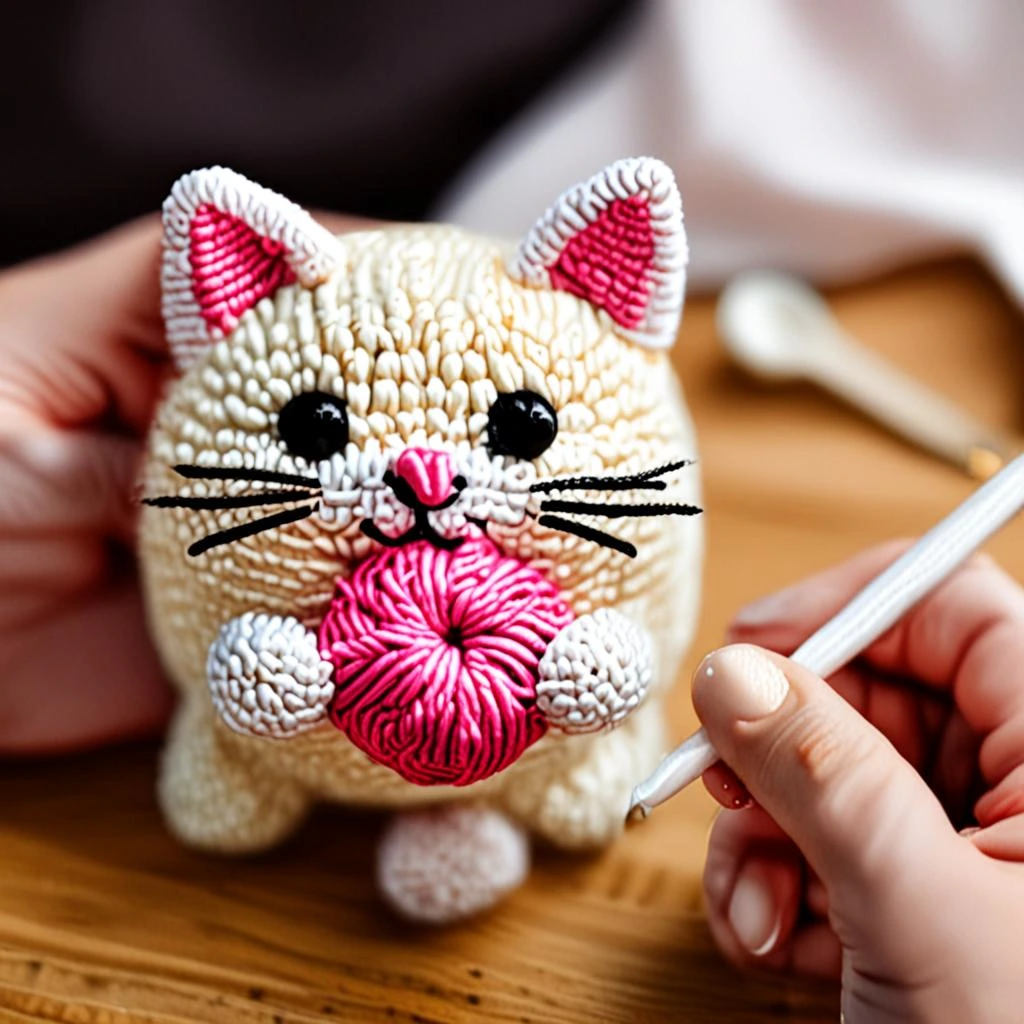
| Item | Specification |
|---|---|
| Yarn | Worsted weight (Size 4) in Berry Pink and Cream |
| Hook | 3.5mm (E) crochet hook |
| Safety Eyes | 6mm black plastic safety eyes |
| Stuffing | Polyester fiberfill |
| Extras | Yarn needle, stitch marker, pink embroidery thread |
Stitch Abbreviations & Gauge
- ch: chain
- sc: single crochet
- inc: single crochet increase
- dec: single crochet decrease
- Rnd: round
- st(s): stitch(es)
- Gauge: 5 sts per inch (gauge is not critical, but keep tension tight to prevent stuffing gaps)
Step-by-Step Written Crochet Pattern
The Mochi Cat Body
Working with Berry Pink yarn.
Rnd 1: 6 sc in Magic Ring (6)
Rnd 2: inc around (12)
Rnd 3: (1 sc, inc) repeat 6 times (18)
Rnd 4: (2 sc, inc) repeat 6 times (24)
Rnd 5-9: sc in each st around (24)
Insert safety eyes between Rnd 7 and 8, about 3 stitches apart.
Rnd 10: (2 sc, dec) repeat 6 times (18)
Rnd 11: (1 sc, dec) repeat 6 times (12)
Stuff firmly.
Rnd 12: dec around (6)
Fasten off and weave in ends.
Ears (Make 2)
Working with Berry Pink yarn.
Rnd 1: 4 sc in Magic Ring (4)
Rnd 2: (1 sc, inc) repeat 2 times (6)
Fasten off, leaving a tail for sewing. Sew to the top of the head.
Customization & Care Instructions
You can customize your cat by adding a tiny cream-colored “whipped” swirl on top using a lazy daisy stitch. To keep your mochi cat clean, spot wash with a damp cloth and mild soap. Do not submerge in water, as this may distort the shape or damage the safety eyes.
Frequently Asked Questions (FAQ)
Can I use a different yarn weight?
Yes, but note that changing the yarn weight will change the final size. If you use DK weight, use a 2.5mm hook for a smaller, bite-sized cat.
How do I make the cat sit securely in the spoon?
If your spoon is very slick, use a tiny dot of fabric glue or a small piece of double-sided mounting tape at the base of the cat to keep it from sliding.
Are safety eyes safe for small children?
Safety eyes are not recommended for children under 3 years old. For a baby-safe version, embroider the eyes using black yarn instead.
How do I hide the color change if I add a cream patch?
Use the “invisible join” method when changing colors to ensure your rounds look seamless and professional.
Conclusion
Congratulations on finishing your very own Whipped-Berry Mochi Cat! This little project is a testament to how much joy can be packed into a few yards of yarn. I hope this pattern brings a bit of sweetness to your crafting journey. Don’t forget to share your creations on social media and tag me so I can see your adorable spoon-dwelling companions!
More Free Crochet Patterns You'll Love
 Amigurumi & Plushies
Cozy Crochet Lavender Macaron Mouse in a Pastry Box Free Pattern
View Free Pattern → Amigurumi & Plushies
Free Crochet Pistachio Macaron Turtle Amigurumi Pattern
View Free Pattern → Amigurumi & Plushies

Leave a Reply