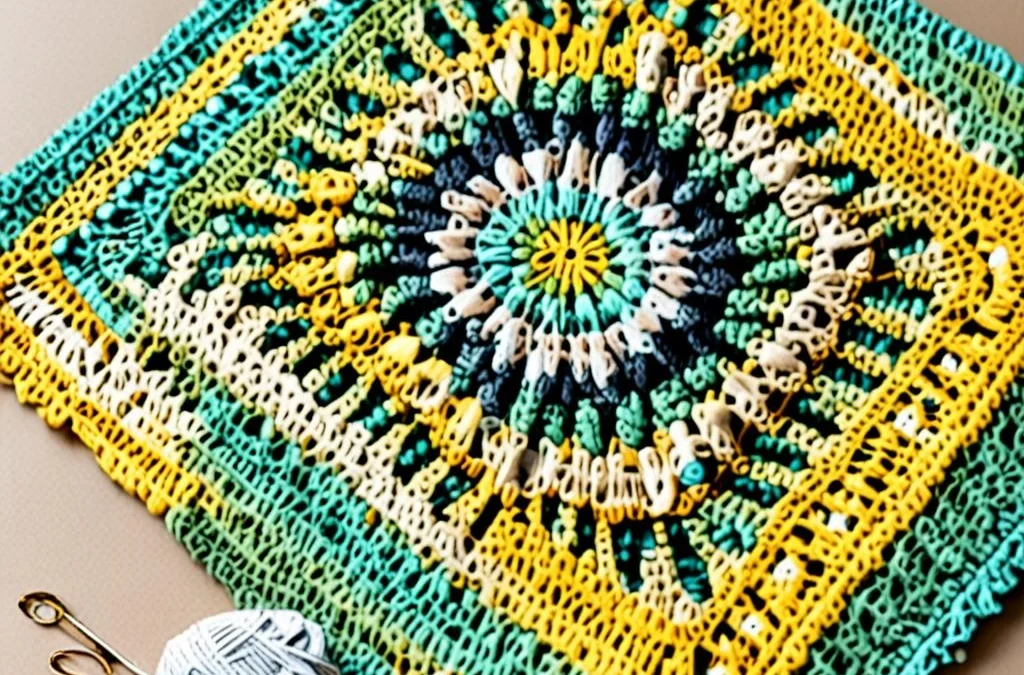
Welcome to your next favorite handmade project! There is something profoundly magical about transforming simple yarn into a burst of sunshine, which is why this Sunburst Granny Square Baby Blanket Pattern remains an absolute classic in the crochet community. Featuring textured floral centers that radiate outward into classic square frames, this design strikes the perfect balance between vintage charm and modern aesthetic, making it an exquisite heirloom gift for a new baby.
As a certified master crochet designer, I have meticulously engineered this pattern to ensure seamless transitions, mathematically balanced stitch counts, and a gorgeous drape. Whether you choose to work in cheerful pastel shades, earthy boho neutrals, or a vibrant rainbow of colors, this step-by-step tutorial will guide you smoothly from your very first magic ring all the way to the final polished border.
Materials, Yarn & Hook Requirements
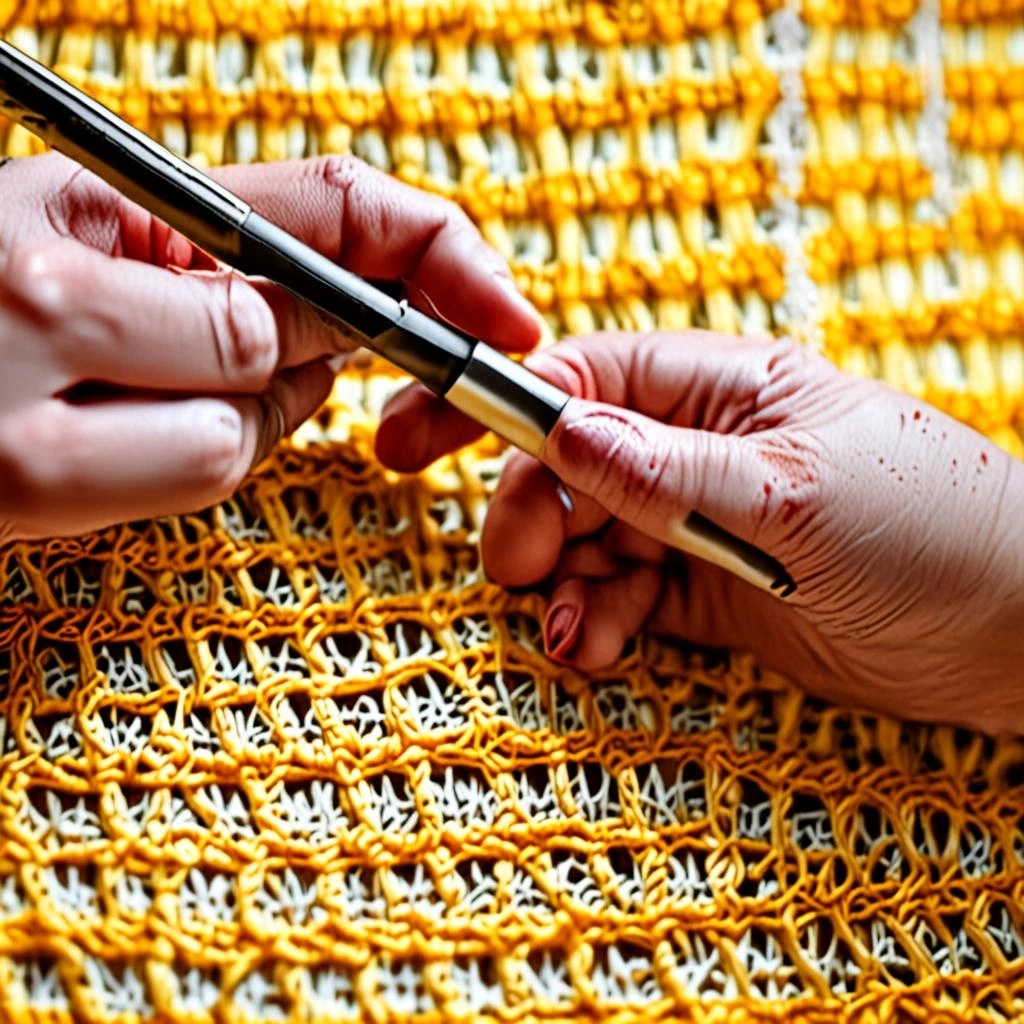
| Item | Specification |
|---|---|
| Yarn | DK Weight / Light Worsted (#3) Yarn (approx. 1,200 yards total across main and contrast colors) |
| Hook | US Size G/6 (4.0 mm) crochet hook |
| Notions | Yarn needle for weaving ends, stitch markers, sharp scissors |
| Finished Size | Approximately 32 inches by 38 inches (when joined as a 4×5 square layout) |
Stitch Abbreviations & Gauge
- ch: chain
- sc: single crochet
- hdc: half double crochet
- dc: double crochet
- tr: treble crochet
- cl: 3-dc cluster stitch
- inc: increase (work 2 stitches in the same space)
- sl st: slip stitch
- Rnd: round
- Row: row
- st(s): stitch(es)
- Gauge: One completed Sunburst Granny Square measures approximately 6 inches by 6 inches using a 4.0 mm hook. Check your gauge to ensure yarn quantity matches your project size.
Step-by-Step Written Crochet Pattern
Making the Sunburst Granny Square (Make 20)
Rnd 1: With Color A, start with a Magic Ring, ch 3 (counts as 1 dc here and throughout), work 15 dc inside the magic ring, join with sl st to top of starting ch-3. (16 dc)
Rnd 2: Switch to Color B. Join in any dc, ch 3, work 1 dc in same st, [2 dc in next st] 15 times, join with sl st to top of starting ch-3, fasten off Color B. (32 dc)
Rnd 3: Switch to Color C. Join in the space between any two 2-dc groups, ch 3, work 2 dc in same space (forms a 3-dc cluster), *ch 1, work 3-dc cluster in next space between 2-dc groups; repeat from * around, ch 1, join with sl st to top of starting ch-3. (16 clusters, 16 ch-1 spaces)
Rnd 4: Switch to Color D (Square Frame Color). Join in any ch-1 space, ch 3, work (2 dc, ch 2, 3 dc) in same ch-1 space (first corner made), *[3 hdc in next ch-1 space] twice, (3 dc, ch 2, 3 dc) in next ch-1 space; repeat from * twice more, [3 hdc in next ch-1 space] twice, join with sl st to top of starting ch-3. (4 corners, 8 hdc-groups)
Rnd 5: Ch 1, sc in each st across and work (1 sc, ch 2, 1 sc) in each corner ch-2 space, join with sl st to first sc, fasten off, leaving a long tail for sewing squares together if using the whipstitch method, or keep short if joining on-the-go. (Fasten off and weave in ends).
Blanket Assembly & Border
Row 1: Arrange your 20 finished squares into a grid layout measuring 4 squares wide by 5 squares long. Join the squares together using your preferred method (such as the invisible mattress stitch or a continuous join-as-you-go sc join).
Rnd 1 (Border): Attach main border color in any corner ch-2 space, ch 1, work (1 sc, ch 2, 1 sc) in same corner space, *sc evenly across the edge of the squares, working 1 sc in each st and 1 sc in each square join seam, work (1 sc, ch 2, 1 sc) in next corner space; repeat from * around the entire blanket, join with sl st to first sc.
Rnd 2 (Border): Ch 1, hdc in each st across, working (2 hdc, ch 2, 2 hdc) in each corner ch-2 space, join with sl st to first hdc.
Rnd 3 (Border): Ch 1, working in reverse direction, work 1 reverse single crochet (crab stitch) in each hdc around the entire blanket. Fasten off and weave in all remaining ends securely.
Customization & Care Instructions
This blanket is fully customizable! If you want a larger throw or bedspread, simply crochet more squares in multiples of your desired grid layout (e.g., 5×6 or 6×6 squares) and adjust your yarn totals accordingly. For baby safety and easy everyday maintenance, care instructions are simple: machine wash on a gentle, cool cycle using mild detergent, and lay flat to dry in the shade to preserve the brilliant stitch definition and vibrant yarn colors.
Frequently Asked Questions (FAQ)
Can I use worsted weight yarn instead of DK weight?
Yes, you can substitute a standard worsted weight (#4) yarn, but keep in mind that your squares will turn out larger (roughly 7 inches), and your overall blanket dimensions will increase. You will also need to adjust your hook size to a US H/8 (5.0 mm) and purchase additional yarn.
More Free Crochet Patterns You'll Love
 Blankets & Home Decor
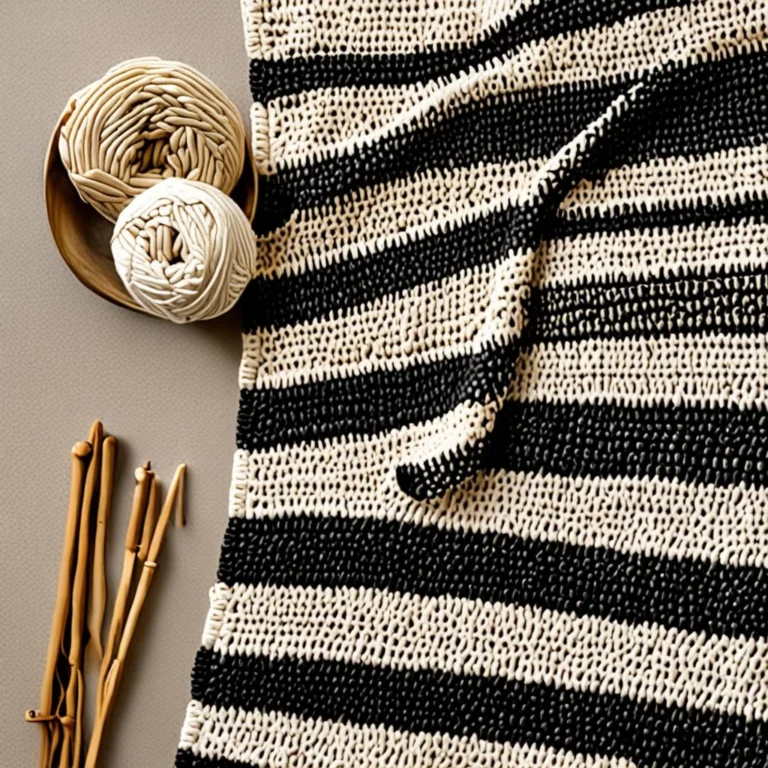
Nordic Moss Stitch Sofa Blanket Pattern: Cozy Charcoal and Ivory DIY
View Free Pattern →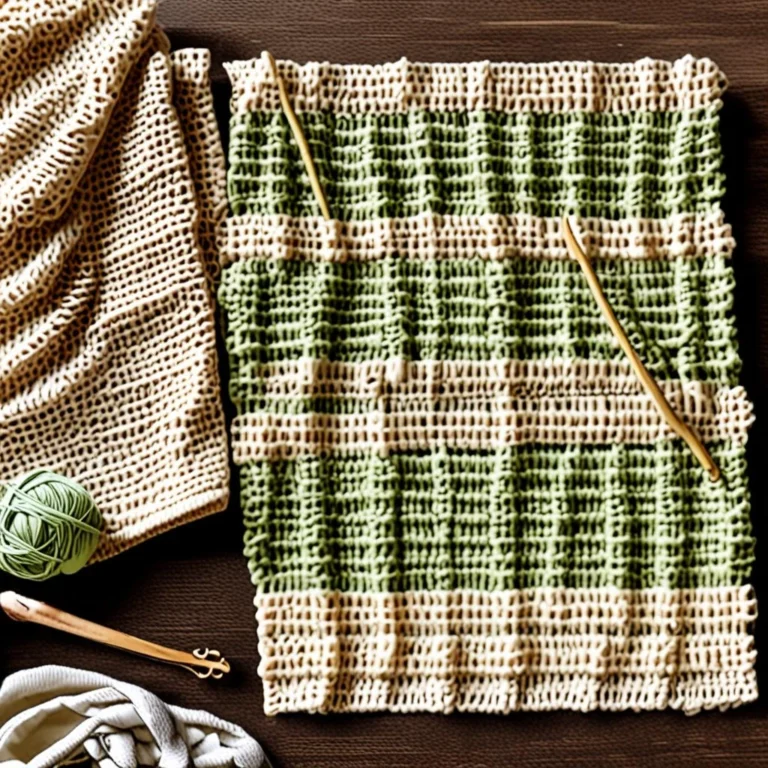 Blankets & Home Decor
Modern Waffle Stitch Baby Blanket Crochet Pattern & Tutorial
View Free Pattern →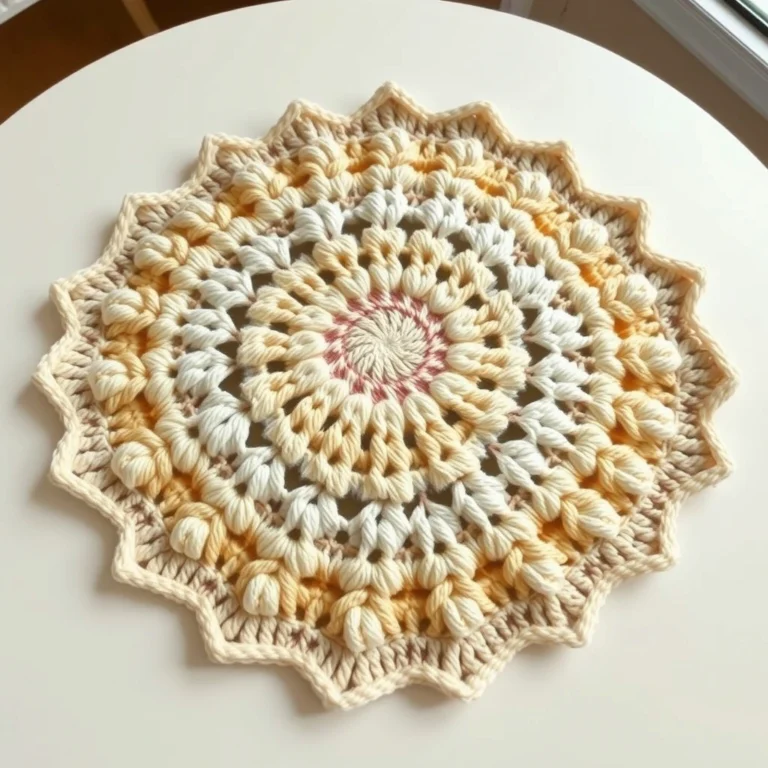 Blankets & Home Decor

Leave a Reply