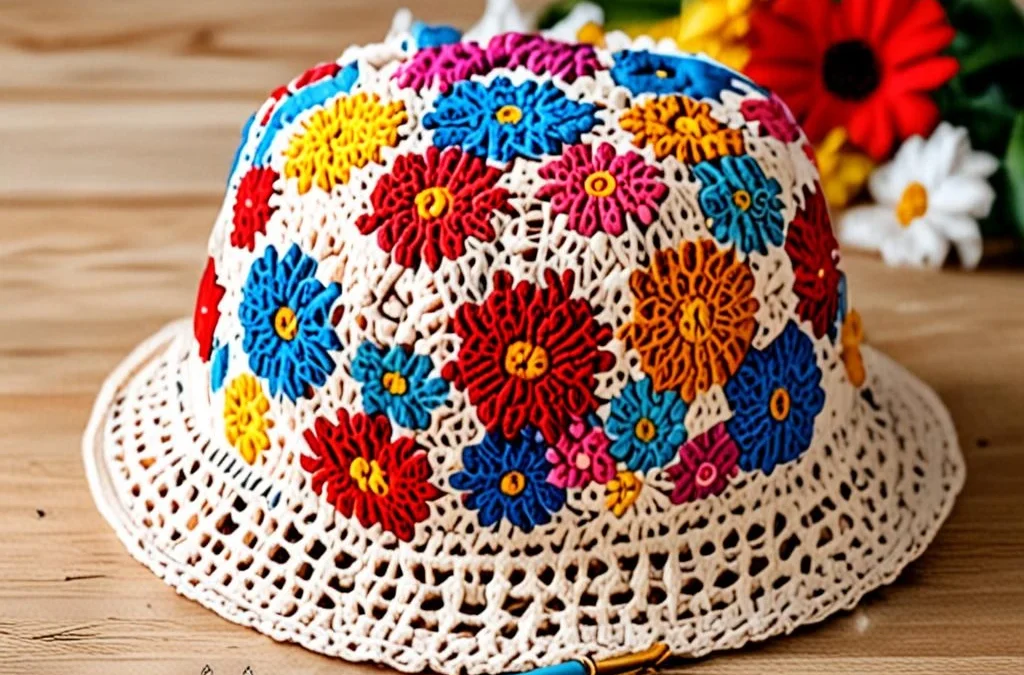
Welcome to your next favorite summer accessory project! If you love the timeless appeal of retro granny squares paired with modern streetwear style, this boho daisy granny square bucket hat is going to steal your heart. Designed specifically with lightweight cotton yarn, it is breathable, durable, and keeps its shape effortlessly while shielding you from the sun at festivals, farmers markets, or beach days.
In this comprehensive guide, you will learn how to crochet five classic daisy granny squares, join them seamlessly, build a custom crown, and flare out the brim for that iconic 90s silhouette. Grab your favorite hook, pick out a joyful palette of cotton yarns, and let’s dive right into making your new handmade statement piece!
Materials, Yarn & Hook Requirements
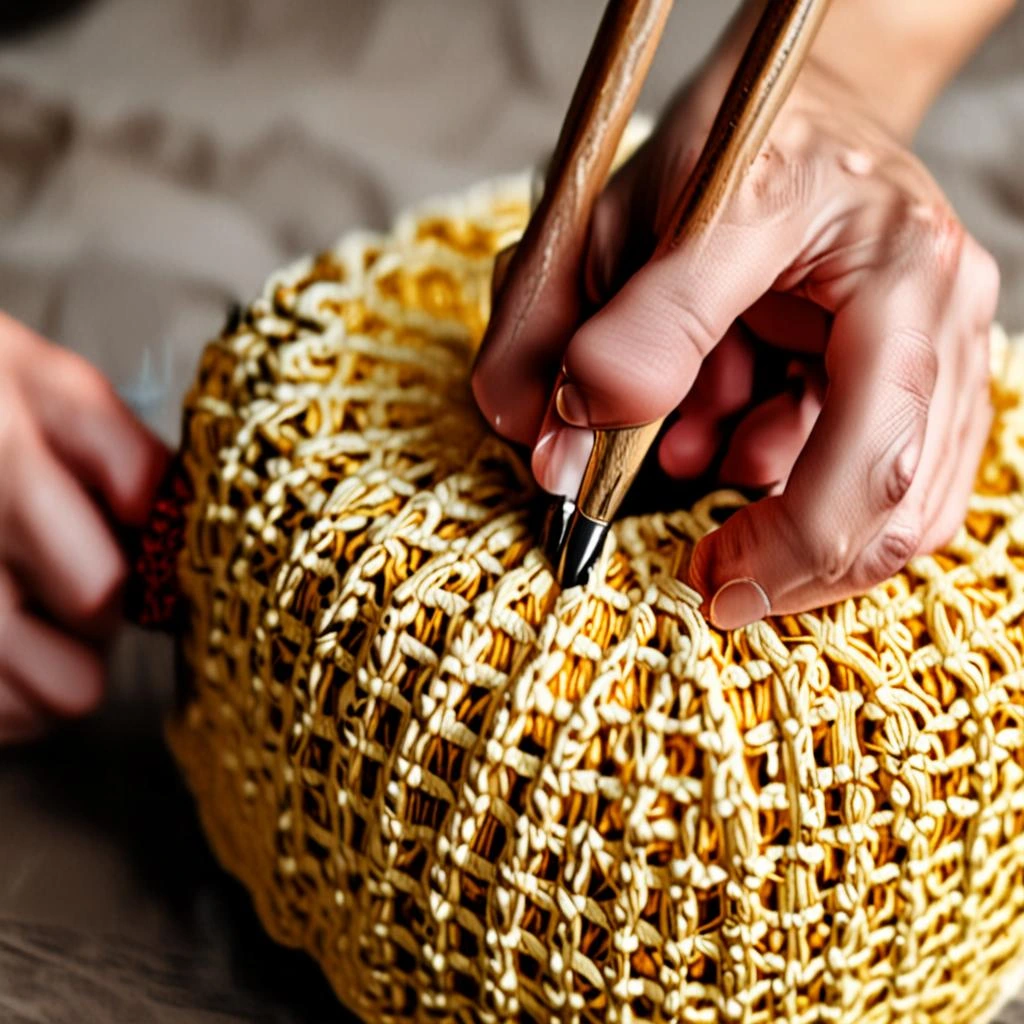
| Material / Supply | Specification / Details |
|---|---|
| Yarn | DK weight (Category 3) 100% Cotton Yarn (e.g., Lion Brand Coboo or Paintbox Yarns Cotton DK) |
| Yarn Colors | Color A (Daisy Center – Mustard): 25 yds, Color B (Petals – White): 50 yds, Color C (Background/Main – Sage Green): 120 yds |
| Crochet Hook | US Size E/4 (3.5 mm) crochet hook |
| Notions | Yarn needle for weaving ends, stitch markers, sharp scissors |
| Finished Size | Adult Medium (fits head circumference 21 to 23 inches) |
Stitch Abbreviations & Gauge
- ch: chain
- sc: single crochet
- hdc: half double crochet
- dc: double crochet
- tr: treble crochet
- sl st: slip stitch
- inc: increase (work 2 stitches in the same stitch)
- dec: decrease (work 2 stitches together)
- Rnd / Row: Round or Row
- Gauge: One completed motif measures approximately 3.75 inches x 3.75 inches using a 3.5 mm hook. Getting exact gauge ensures your finished hat fits a standard adult head comfortably.
Step-by-Step Written Crochet Pattern
Part 1: The Daisy Granny Squares (Make 5)
Rnd 1: With Color A (Mustard), create a magic ring. Ch 2 (does not count as st here and throughout), work 12 dc into the ring. Join with sl st to top of first dc. Fasten off Color A. (12 dc)
Rnd 2: Join Color B (White) in any stitch around. Ch 3, work 2 incomplete tr in the same stitch (leaving last loop of each on hook, 3 loops on hook), yarn over and draw through all 3 loops on hook (petal made). Ch 2. *[Work 3-tr cluster in next st, ch 2]; repeat from * around. Join with sl st to top of first petal. Fasten off Color B. (12 petals, 12 ch-2 spaces)
Rnd 3: Join Color C (Sage Green) in any ch-2 space. Ch 3 (counts as 1 dc here and throughout), (2 dc, ch 2, 3 dc) in same ch-2 space to form first corner. *[Skip next petal, work (3 hdc) in next ch-2 space, skip next petal, work (3 hdc) in next ch-2 space, skip next petal, work (3 dc, ch 2, 3 dc) in next ch-2 space for next corner]; repeat from * two more times. Skip next petal, work (3 hdc) in next ch-2 space, skip next petal, work (3 hdc) in next ch-2 space, skip next petal. Join with sl st to top of ch-3. Fasten off leaving a 12-inch tail for joining. (4 corners, 8 hdc-clusters total)
Part 2: Assembling the Crown Band
Arrange your 5 finished daisy squares in a straight horizontal line, right sides facing up. Using the mattress stitch or your preferred flat whipstitch, sew the squares together edge-to-edge. Join the final fifth square to the first square to form a continuous ring (the side band of your bucket hat).
Part 3: The Hat Crown (Top Panel)
Working along the top edge of your assembled square ring, attach Color C with a sl st.
Rnd 1: Ch 1, work sc evenly all the way around the top opening, working roughly 3 sc per square edge and 1 sc in each corner joining seam. Join with sl st to first sc. (60 sc)
Rnd 2: Ch 1, *[sc in next 8 sts, dec]; repeat from * around. Join with sl st to first sc. (54 sc)
Rnd 3: Ch 1, *[sc in next 7 sts, dec]; repeat from * around. Join with sl st to first sc. (48 sc)
Rnd 4: Ch 1, *[sc in next 4 sts, dec]; repeat from * around. Join with sl st to first sc. (40 sc)
Rnd 5: Ch 1, *[sc in next 3 sts, dec]; repeat from * around. Join with sl st to first sc. (32 sc)
Rnd 6: Ch 1, *[sc in next 2 sts, dec]; repeat from * around. Join with sl st to first sc. (24 sc)
Rnd 7: Ch 1, *[sc in next st, dec]; repeat from * around. Join with sl st to first sc. (16 sc)
Rnd 8: Ch 1, [dec] 8 times. Join with sl st to first sc. Fasten off, leaving a long tail. Thread tail through remaining 8 loops, pull tightly to close the top center hole, and secure on the wrong side. (8 sc)
Part 4: The Hat Brim
Turn the hat upside down to work along the bottom unworked edges of your 5 daisy squares.
Rnd 1: Attach Color C to the bottom edge of any square. Ch 1, work sc evenly all around the entire base perimeter, ensuring you have a multiple of 6 stitches for flare shaping. Join with sl st to first sc. (72 sc)
Rnd 2: Ch 1, *[sc in next 5 sts, inc]; repeat from * around. Join with sl st to first sc. (84 sc)
Rnd 3: Ch 1, sc in each st around. Join with sl st to first sc. (84 sc)
Rnd 4: Ch 1, *[sc in next 6 sts, inc]; repeat from * around. Join with sl st to first sc. (96 sc)
Rnd 5: Ch 1, sc in each st around. Join with sl st to first sc. (96 sc)
Rnd 6: Ch 1, *[sc in next 7 sts, inc]; repeat from * around. Join with sl st to first sc. (108 sc)
Rnd 7: Ch 1, hdc in each st around. Join with sl st to first hdc. Fasten off all yarn tails and weave them securely into the wrong side of your stitches. (108 hdc)
Customization & Care Instructions
Want to make this hat uniquely yours? Try substituting variegated yarn for the daisy petals or altering the background sage green shade to match your summer wardrobe. Because this project is constructed entirely with 100% mercerized cotton, it is fully washable. Hand wash your completed bucket hat in cool water with mild detergent, gently squeeze out excess water in a clean towel, and lay flat in the shade to dry completely. Avoid machine drying to maintain the crisp stitch definition.
Frequently Asked Questions (FAQ)
Can I adjust this crochet bucket hat pattern for a smaller child size?
Yes! To make a child size, use a lighter Sport weight yarn (Category 2) and a 2.75 mm or 3.0 mm crochet hook. Alternatively, you can omit one daisy square from the side band to make a toddler-sized circumference.
Why does my granny square curl up while I am working on it?
Slight curling during the middle rounds of a granny square is completely normal due to tension shifts between clusters and corners. Once you complete the final square round (Rnd 3) and block the pieces with steam, your squares will lie completely flat.
Do I have to block my granny squares before sewing them together?
While optional, wet blocking or steam blocking your five daisy squares prior to assembly is highly recommended. It squares off the edges cleanly, making the mattress stitch seam look neat and professional.
Can I sell finished bucket hats made from this pattern?
Absolutely! You are welcome to sell finished items handmade by you in small quantities. Please credit back to this blog post or designer name when sharing online, but do not copy, translate, or redistribute this written pattern.
Conclusion
Congratulations on crafting your very own Boho Daisy Granny Square Bucket Hat! By combining classic flower motifs with a sturdy cotton brim, you have created a functional and fashionable accessory that will turn heads wherever you go. Don’t forget to pin this pattern to your favorite Pinterest crochet boards, and share your finished hat photos online using the hashtag #BohoDaisyBucketHat so we can admire your stunning handmade work!
More Free Crochet Patterns You'll Love
 Wearables & Accessories
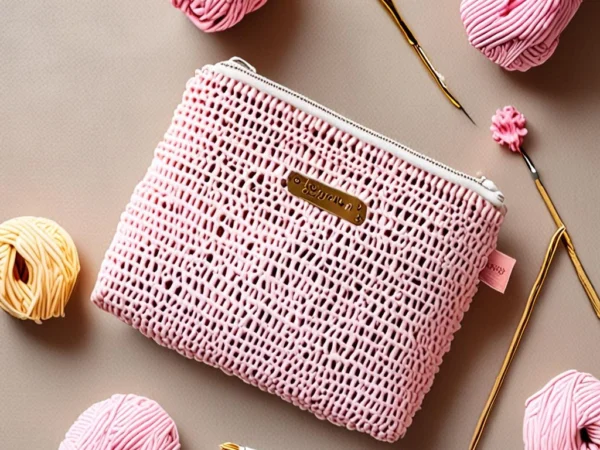
Pastel Pink Puff Stitch Crochet Makeup Zipper Pouch Pattern
View Free Pattern → Wearables & Accessories
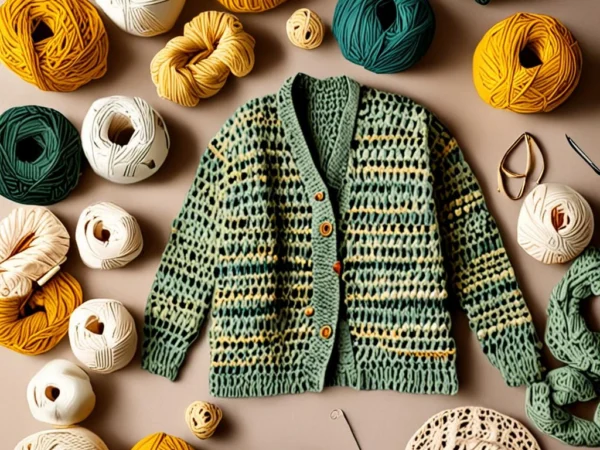
Easy Oversized Patchwork Granny Square Cardigan Crochet Pattern
View Free Pattern → Wearables & Accessories

Leave a Reply