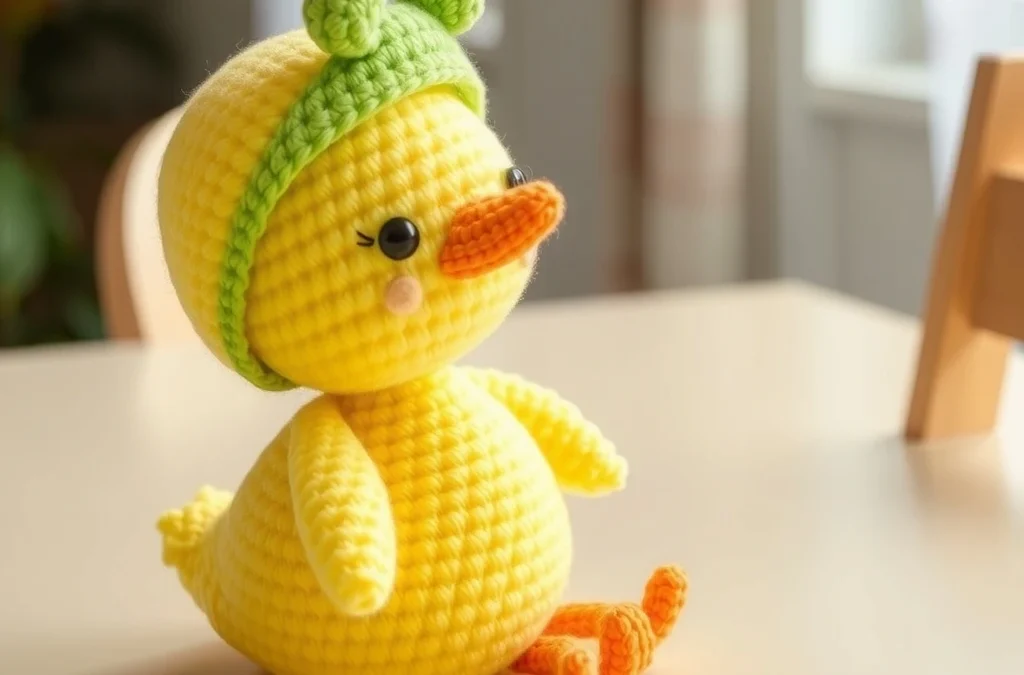
If you are looking for your next quick, satisfying, and completely seamless amigurumi project, you have found it! This adorable no-sew crochet baby duckling features a fluffy yellow body and head worked entirely in one piece, topped with the cutest removable tiny green frog hat. Because there are no parts to sew together, you can skip the yarn needle frustration and watch your little duckling come to life straight off your crochet hook in no time at all.
Designed for intermediate beginners and loved by advanced makers for its speed, this pattern uses basic stitches combined with clever construction techniques to shape the body, wings, and beak seamlessly. Whether you are prepping items for craft fairs, making sweet baby gifts, or simply growing your amigurumi plushie family, this charming duo is guaranteed to bring a smile to everyone’s face. Grab your hook, and let’s make some crochet magic!
Materials, Yarn & Hook Requirements
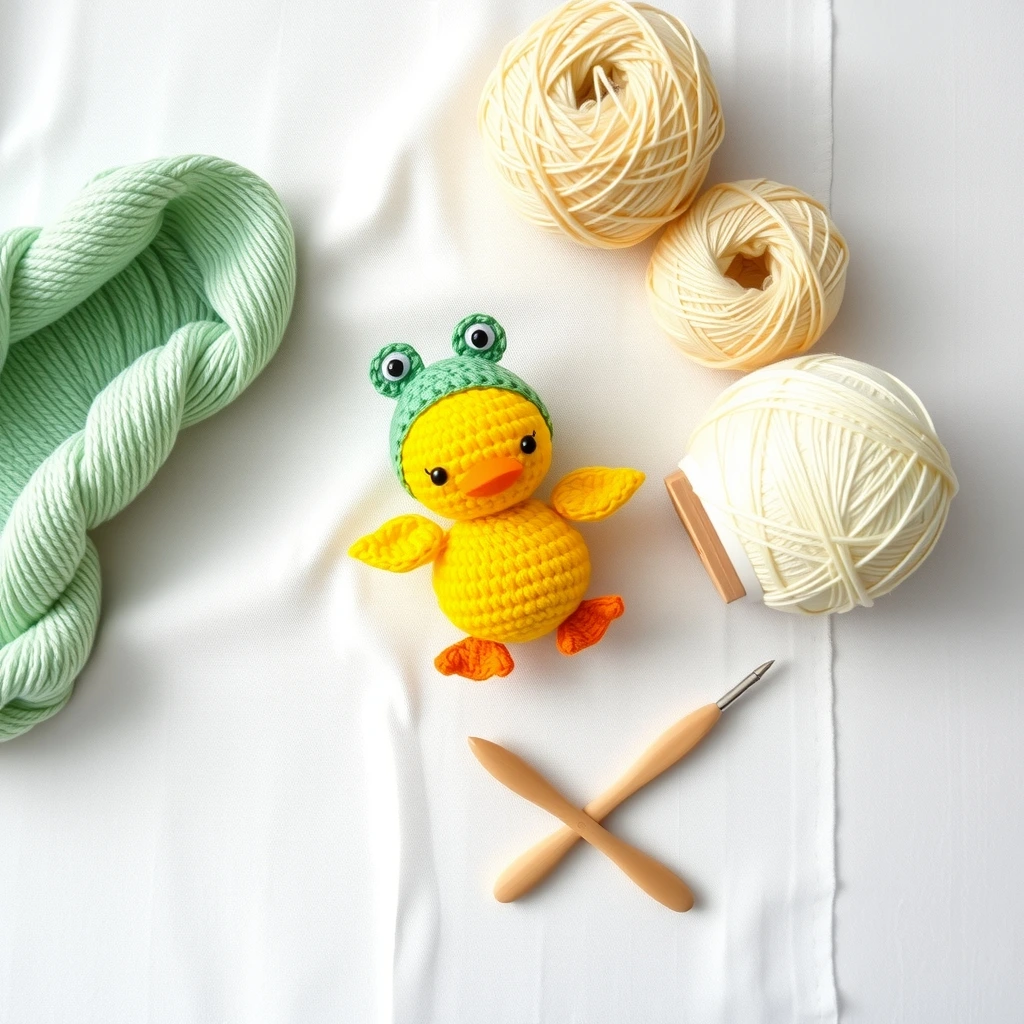
| Material / Supply | Specification / Color | Notes |
|---|---|---|
| Yarn Weight | Worsted Weight (Medium #4) | Acrylic or Cotton blend |
| Yarn Color A | Sunshine Yellow | Approx. 35 yards (Duck body) |
| Yarn Color B | Bright Lime Green | Approx. 15 yards (Frog hat) |
| Yarn Color C | Soft Orange | Small scrap for beak |
| Crochet Hook | US Size E/4 (3.50mm) | Use tight tension to prevent stuffing gaps |
| Notions | Polyfill Stuffing, Stitch Markers, Yarn Needle, 6mm Safety Eyes | Embroider eyes if making for infants |
Stitch Abbreviations & Gauge
- ch: chain
- sc: single crochet
- hdc: half double crochet
- dc: double crochet
- inc: single crochet increase (2 sc in same stitch)
- dec: invisible single crochet decrease
- bo: bobble stitch (3-dc bobble in same st)
- Rnd / Row: round or row
- st(s): stitch(es)
- FO: fasten off
- Gauge: 7 sc x 7 rows = 2 inches using a 3.50mm hook. Gauge is not critical for amigurumi, but ensure stitches are tight enough to hold polyfill stuffing without gaps.
Step-by-Step Written Crochet Pattern
Part 1: The No-Sew Duck Body & Head
Working in continuous rounds from the bottom up in Sunshine Yellow (Color A). Do not join with slip stitch unless noted.
- Rnd 1: Start 6 sc in a Magic Ring (6)
- Rnd 2: inc in each st around (12)
- Rnd 3: (sc in next st, inc in next st) repeat 6 times (18)
- Rnd 4: (sc in next 2 sts, inc in next st) repeat 6 times (24)
- Rnd 5: (sc in next 3 sts, inc in next st) repeat 6 times (30)
- Rnd 6 – Rnd 10: sc in each st around (30) – 5 rounds total
- Rnd 11: (sc in next 3 sts, dec) repeat 6 times (24)
- Rnd 12: sc in next 9 sts, [bobble st in next st (wing)], sc in next 4 sts, [bobble st in next st (wing)], sc in next 9 sts (24)
- Rnd 13: (sc in next 2 sts, dec) repeat 6 times (18)
- Start stuffing the body firmly with polyfill. Continue stuffing as you work up.
- Rnd 14: (sc in next st, dec) repeat 6 times (12)
- Rnd 15 (Head Begins): inc in each st around (24)
- Rnd 16 – Rnd 19: sc in each st around (24) – 4 rounds total
- Insert safety eyes between Rnd 17 and Rnd 18, about 5 stitches apart. Embroider the tiny orange beak centered between the eyes on Rnd 17 using Orange (Color C).
- Rnd 20: (sc in next 2 sts, dec) repeat 6 times (18)
- Rnd 21: (sc in next st, dec) repeat 6 times (12)
- Finish stuffing the head firmly.
- Rnd 22: dec 6 times (6)
- FO, leaving a short tail. Thread tail through front loops of remaining 6 sts and pull tightly to close the hole completely. Weave in ends securely inside the body.
Part 2: The Tiny Frog Hat
Working in continuous rounds from top down in Bright Lime Green (Color B).
- Rnd 1: Start 6 sc in a Magic Ring (6)
- Rnd 2: inc in each st around (12)
- Rnd 3: (sc in next st, inc in next st) repeat 6 times (18)
- Rnd 4: (sc in next 2 sts, inc in next st) repeat 6 times (24)
- Rnd 5 – Rnd 7: sc in each st around (24) – 3 rounds total
- Rnd 8: (sc in next 3 sts, hdc inc in next st) repeat 6 times (30)
- FO with an invisible join. Weave in ends.
Part 3: Frog Hat Eyes (Make 2)
Using Bright Lime Green (Color B).
- Rnd 1: Start 5 sc in a Magic Ring (5)
- Rnd 2: sc in each st around (5)
- FO, leaving a long tail for sewing. Sew the two small frog eyes securely onto the top of Rnd 3 and Rnd 4 of the frog hat. Use black yarn to add tiny sleepy embroidered eye slits if desired. Place the completed frog hat snugly onto your duckling’s head!
Customization & Care Instructions
This pattern is wonderfully versatile! You can easily customize your baby duckling by using variegated yarn for a whimsical pastel duck, or by adding a miniature pink bow instead of the frog hat. To change the frog hat into a different animal, simply swap the green yarn for pink and add rabbit ears, or brown yarn and add bear ears!
Care Instructions: Because this plushie is made with worsted weight acrylic yarn and polyfill stuffing, it is best hand washed in cool water with mild detergent. Gently squeeze out excess water and lay flat in the shade to dry. Do not machine dry or iron.
Frequently Asked Questions (FAQ)
Is this really a 100% no-sew crochet pattern?
Yes, the duck’s body and head are crocheted completely in one continuous piece from bottom to top, with bobble stitches formed directly into the body for the wings. The only sewing required is attaching the small frog eyes to the removable frog hat!
Can I use velvet or chenille yarn for this pattern?
Absolutely! Chenille or blanket yarn creates an ultra-plush, jumbo-sized duckling. Just remember to switch your hook size up to match your yarn weight (typically a 5.0mm to 6.0mm hook) and adjust your safety eye size accordingly.
How do I make sure the bobble wings pop out correctly?
If your bobble stitches tend to sink inward during stuffing, use your crochet hook or the back of a tapestry needle to gently push the bobbles outward from the inside before you stuff the upper body too firmly.
Are safety eyes safe for babies and toddlers?
Plastic safety eyes can pose a choking hazard for young children. If you are gifting this handmade duckling to an infant or toddler, we strongly recommend embroidering the eyes using dark brown or black embroidery floss instead of using plastic safety eyes.
Conclusion
Congratulations on completing your very own no-sew crochet baby duckling with its adorable frog hat! This quick and rewarding project is bound to become a favorite in your amigurumi collection. Be sure to share photos of your finished creation on social media, tag your projects, and pin this pattern to your favorite crochet boards on Pinterest so fellow crafters can enjoy making it too. Happy crocheting!
More Free Crochet Patterns You'll Love
 Amigurumi & Plushies
Crochet Brown-Sugar Boba Hamster Pattern: Amigurumi Cup
View Free Pattern → Amigurumi & Plushies
Cozy Crochet Peach-Cobbler Hedgehog in a Woven Picnic Basket Pattern
View Free Pattern → Amigurumi & Plushies

Leave a Reply