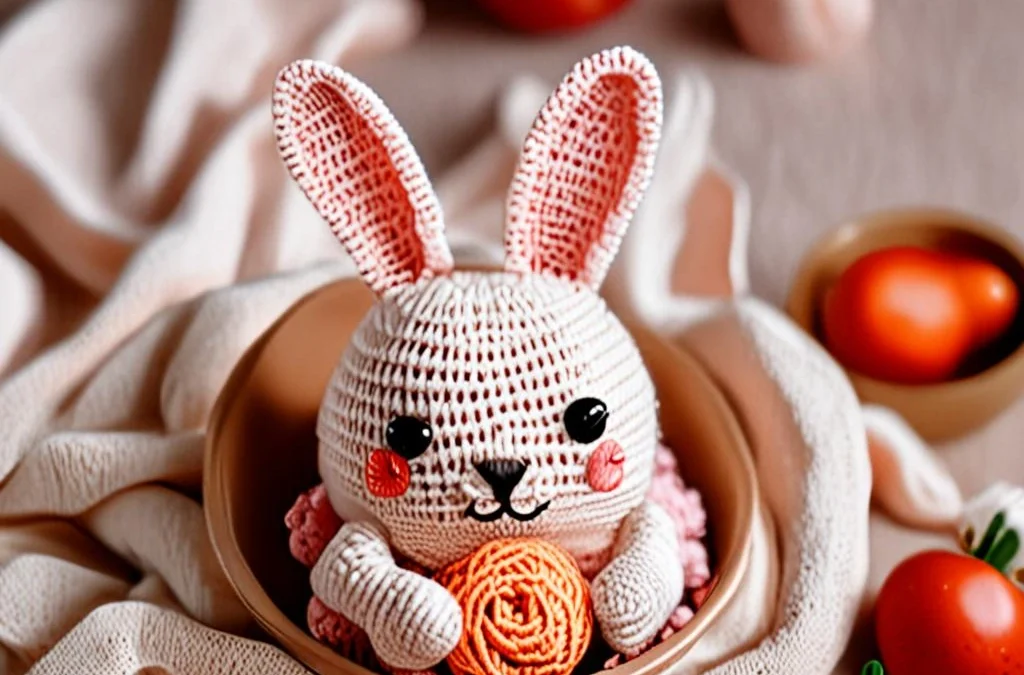
Welcome to the sweetest amigurumi adventure on the internet! If you love Japanese mochi sweets and irresistibly cute plushies, this project is tailor-made for you. The Cozy Crochet Peach Mochi Bunny in a Strawberry Bowl Free Pattern combines two of the most popular aesthetic trends into one delightfully squishy creation. With its round, pillowy mochi body and the charming textured strawberry bowl, this little friend makes a heartwarming desk companion, a wonderful handmade gift, or a standout piece for your craft market booth.
As a Certified Master Crochet Pattern Designer, I have meticulously engineered this pattern for seamless construction, flawless shaping, and mathematically balanced stitch counts. You will work with super-soft velvet or worsted-weight yarn to achieve that signature plush texture. Grab your hooks, settle into your favorite crafting chair, and let us bring this adorable peach bunny and its cozy fruit home to life together!
Materials, Yarn & Hook Requirements
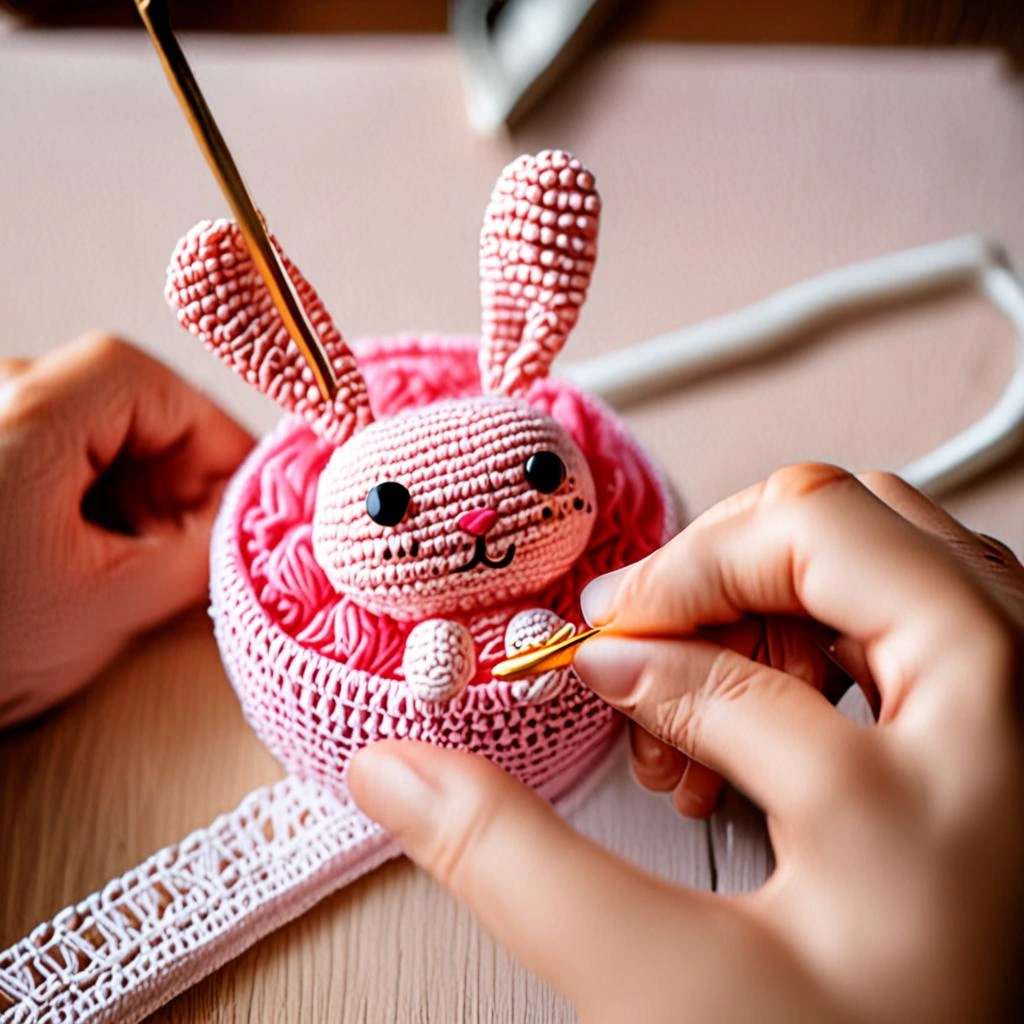
| Material / Supply | Specification / Color | Notes |
|---|---|---|
| Yarn A (Bunny Body) | Light Peach (Worsted Weight / #4) | Approx. 60 yds (e.g., Premier Yarns Basix) |
| Yarn B (Strawberry Bowl) | Bright Red (Worsted Weight / #4) | Approx. 70 yds |
| Yarn C (Bowl Details) | White & Emerald Green | Small amounts for seeds and leaf rim |
| Crochet Hook | 3.5 mm (E-4) | Ensures tight stitches to prevent stuffing leak |
| Notions | Stitch marker, tapestry needle, scissors | Standard amigurumi toolkit |
| Safety Eyes | 8 mm black safety eyes | With plastic backing washers |
| Stuffing | Poly-fil fiberfill stuffing | Hypoallergenic |
Stitch Abbreviations & Gauge
- ch: chain
- sc: single crochet
- hdc: half double crochet
- dc: double crochet
- inc: single crochet increase (2 sc in same stitch)
- dec: single crochet invisible decrease (sc next 2 sts together)
- Rnd / Row: round or row
- st(s): stitch(es)
- ( ): repeat instructions inside parentheses for the given number of times
- [ ]: total stitch count at the end of the round/row
Gauge: 5 sc x 5 rows = 1 inch using a 3.5 mm hook with worsted weight yarn. Exact gauge is not critical for amigurumi, but maintain tight, even tension to prevent gaps in the fabric where stuffing might show.
Step-by-Step Written Crochet Pattern
Part 1: The Peach Mochi Bunny
Working in continuous rounds with Yarn A (Light Peach). Do not join with a slip stitch unless noted.
- Rnd 1: Start 6 sc in a Magic Ring [6]
- Rnd 2: (inc) around [12]
- Rnd 3: (1 sc, inc) around [18]
- Rnd 4: (2 sc, inc) around [24]
- Rnd 5: (3 sc, inc) around [30]
- Rnd 6: (4 sc, inc) around [36]
- Rnd 7: (5 sc, inc) around [42]
- Rnd 8 – Rnd 14 (7 rounds): sc in each st around [42]
- Rnd 15: (5 sc, dec) around [36]
- Rnd 16: (4 sc, dec) around [30]
- Note: Insert safety eyes between Rnd 11 and Rnd 12, about 7 stitches apart. Embroider a tiny pink nose centered between the eyes. Start stuffing the bunny firmly.
- Rnd 17: (3 sc, dec) around [24]
- Rnd 18: (2 sc, dec) around [18]
- Finish stuffing the bunny completely.
- Rnd 19: (1 sc, dec) around [12]
- Rnd 20: (dec) around [6]
- Fasten off, leaving a long tail. Thread through the front loops of the remaining 6 stitches and pull tight to close. Weave in ends.
Part 2: Bunny Ears (Make 2)
Working in continuous rounds with Yarn A (Light Peach).
- Rnd 1: Start 6 sc in a Magic Ring [6]
- Rnd 2: (1 sc, inc) around [9]
- Rnd 3: (2 sc, inc) around [12]
- Rnd 4 – Rnd 8 (5 rounds): sc in each st around [12]
- Fasten off, leaving a long tail for sewing. Do not stuff the ears; flatten them gently before attaching to the top of the bunny head between Rnd 3 and Rnd 6.
Part 3: The Strawberry Bowl
Working in continuous rounds with Yarn B (Red).
- Rnd 1: Start 6 sc in a Magic Ring [6]
- Rnd 2: (inc) around [12]
- Rnd 3: (1 sc, inc) around [18]
- Rnd 4: (2 sc, inc) around [24]
- Rnd 5: (3 sc, inc) around [30]
- Rnd 6: (4 sc, inc) around [36]
- Rnd 7: (5 sc, inc) around [42]
- Rnd 8: (6 sc, inc) around [48]
- Rnd 9: Working in back loops only (BLO): sc in each st around [48]
- Rnd 10 – Rnd 16 (7 rounds): Working in both loops: sc in each st around [48]
- Rnd 17: (6 sc, dec) around [42]
- Rnd 18: sc in each st around [42]
- Fasten off Red yarn and weave in the end. Switch to Yarn C (White) to embroider small “V” shaped seed dashes all over the outside of the strawberry bowl.
Part 4: Strawberry Bowl Leaf Trim
Working around the top rim of the strawberry bowl using Yarn C (Emerald Green).
- Row 1: Attach green yarn to any stitch on the top edge of the bowl. Ch 1, work 1 hdc in the same st, (ch 3, slip st in the 2nd ch from hook, 1 sc in next ch, skip 1 st on bowl rim, 1 hdc in next st) repeat around the entire rim to create the scalloped leaf points. Join with a slip st to the first hdc.
- Fasten off and weave in all remaining yarn tails securely. Nestle your peach mochi bunny snugly inside the strawberry bowl!
Customization & Care Instructions
This pattern is wonderfully versatile! You can easily transform your mochi plushie into a whole family of treats by using pastel yellow yarn for a lemon bunny, soft purple for a taro mochi bunny, or light green for matcha. If you want to turn your finished bunny and bowl into a charming keychain, simply attach a sturdy metal keyring securely to one of the strawberry leaves or the top of the bunny’s head.
Care Instructions: Because this project contains fiberfill stuffing and plastic safety eyes, spot cleaning is highly recommended. Gently wipe surface stains with a damp cloth and mild soap. Do not submerge completely in water or machine wash to preserve the shape and structural integrity of your handmade plushie.
Frequently Asked Questions (FAQ)
Can I use blanket yarn and a larger hook for this pattern?
Yes, absolutely! If you switch to super bulky chenille or velvet blanket yarn (such as Bernat Blanket) along with a 6.0 mm or 7.0 mm crochet hook, your peach mochi bunny and strawberry bowl will turn out much larger, squishier, and pillow-like. Just keep in mind that your yardage requirements will increase significantly.
Are safety eyes safe for babies and toddlers?
Plastic safety eyes pose a choking hazard for infants and toddlers under the age of three. If you plan on gifting this handmade toy to a young child, we strongly recommend embroidering the eyes using black embroidery floss with a satin stitch instead of using plastic safety eyes.
What is the easiest way to make the invisible decrease?
The invisible decrease is an amigurumi game-changer! Instead of traditional decreases that leave holes or bumps, insert your hook only under the front loops of the next two stitches. Yarn over, pull through those two front loops, yarn over again, and pull through both loops on your hook. This creates a smooth, seamless surface.
How do I attach the bunny firmly into the bowl?
The bunny is designed to sit loosely inside the bowl so you can take it in and out for cuddling. However, if you prefer it to stay permanently in place, apply a few small dots of hot glue or fabric glue to the bottom of the bunny before pressing it firmly into the center of the strawberry bowl.
Conclusion
Congratulations on completing your Cozy Crochet Peach Mochi Bunny in a Strawberry Bowl! You have successfully mastered amigurumi shaping, textural changes, and delicate assembly. Handmade items carry a special kind of magic, and this cute little creation is sure to brighten any room it sits in. Be sure to pin this pattern to your favorite crochet boards on Pinterest, share your lovely creations on Instagram using hashtag #PeachMochiBunny, and check back soon for more free pattern releases!
More Free Crochet Patterns You'll Love
 Amigurumi & Plushies
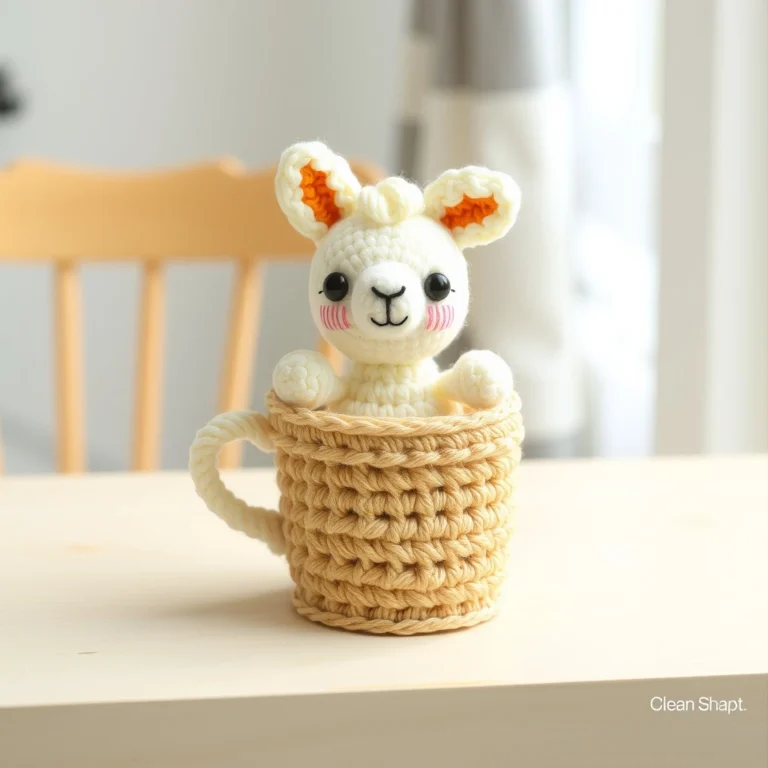
Cozy Crochet Vanilla-Bean Alpaca in a Waffle-Cone Mug Free Pattern
View Free Pattern →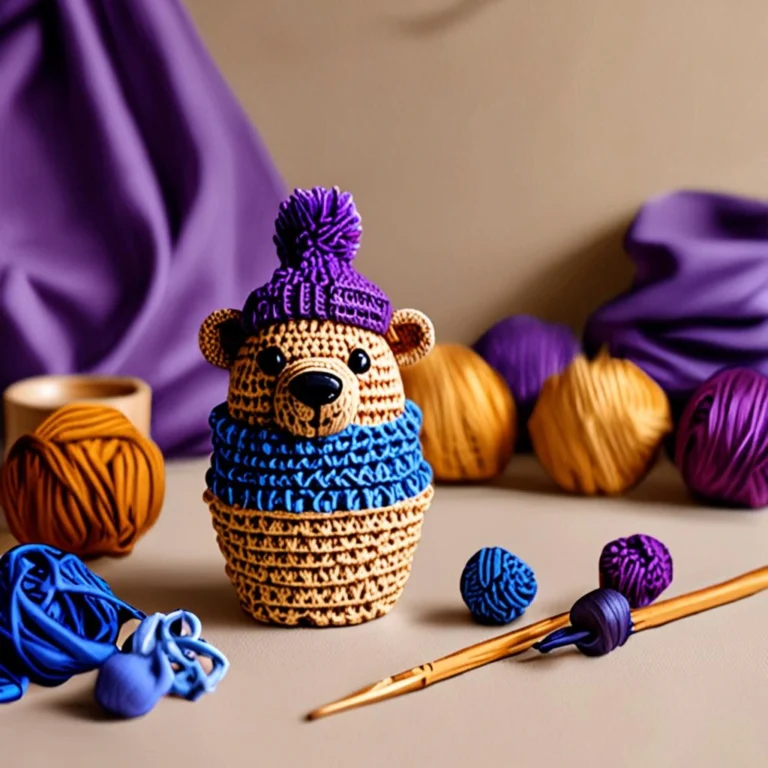 Amigurumi & Plushies
Cozy Crochet Blueberry-Jam Capybara in a Waffle Cone Free Pattern
View Free Pattern → Amigurumi & Plushies

Leave a Reply