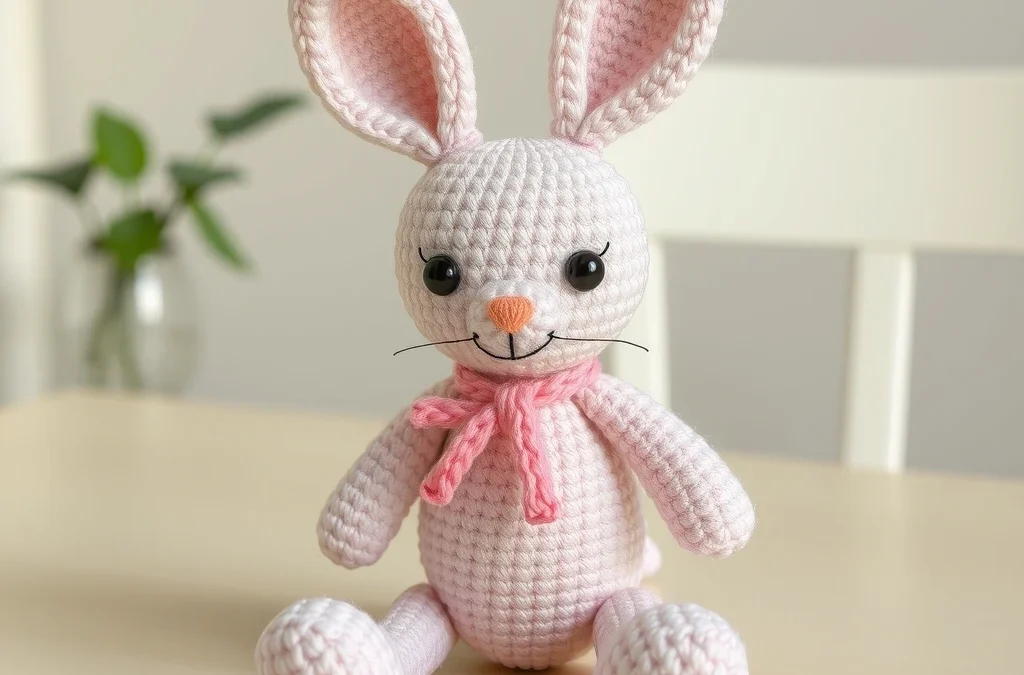
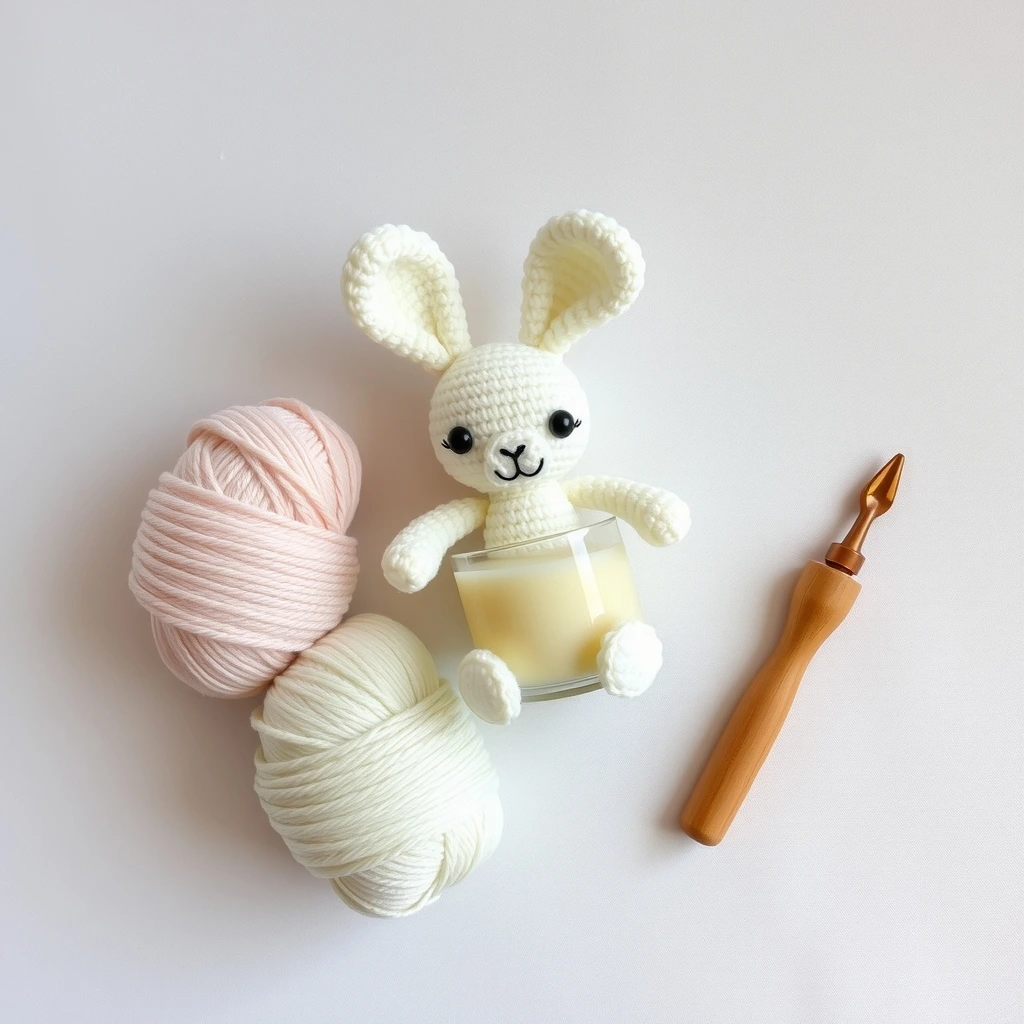
Welcome to your next favorite amigurumi project! There is something undeniably charming about the soft, soothing purple hues of taro, and when you combine that with an adorable bunny, you get the ultimate desk companion. This Cozy Crochet Taro-Root Bunny in a Taro-Milk Tea Glass is designed to bring a smile to your face, whether you are a bubble tea enthusiast or just looking for your next quick and cuddly make.
This pattern is beginner-friendly and works up quickly, making it a perfect gift for friends or a sweet treat for yourself. I have carefully calculated the stitch counts to ensure your bunny fits perfectly inside its “glass” cup, complete with a tiny straw and tapioca pearls. Grab your hooks, pick your favorite pastel shades, and let’s start stitching this whimsical little friend together.
Materials, Yarn & Hook Requirements
| Item | Requirement |
|---|---|
| Yarn | Worsted weight (4) in Taro Purple, Cream, and Dark Brown |
| Hook | 3.5mm (E) Crochet Hook |
| Safety Eyes | 6mm Black Safety Eyes |
| Fiberfill | Polyester stuffing |
| Extras | Yarn needle, stitch markers, and a small straw |
Stitch Abbreviations & Gauge
- ch: chain
- sc: single crochet
- inc: increase (2 sc in one stitch)
- dec: decrease (sc 2 stitches together)
- Rnd: Round
- Gauge: 18 sc x 20 rows = 4 inches (Not critical for amigurumi)
Step-by-Step Written Crochet Pattern
Part 1: The Taro Bunny
Using Taro Purple yarn:
Rnd 1: 6 sc in Magic Ring (6)
Rnd 2: inc around (12)
Rnd 3: (1 sc, inc) repeat 6 times (18)
Rnd 4: (2 sc, inc) repeat 6 times (24)
Rnd 5-9: sc around (24)
Rnd 10: (2 sc, dec) repeat 6 times (18)
Rnd 11: (1 sc, dec) repeat 6 times (12)
Rnd 12: dec around (6)
Fasten off, leave tail for sewing. Add safety eyes between Rnd 7 and 8.
Part 2: The Taro-Milk Tea Glass
Using Cream yarn:
Rnd 1: 6 sc in Magic Ring (6)
Rnd 2: inc around (12)
Rnd 3: (1 sc, inc) repeat 6 times (18)
Rnd 4: (2 sc, inc) repeat 6 times (24)
Rnd 5: BLO (Back Loop Only) sc around (24)
Rnd 6-12: sc around (24)
Fasten off. Embellish with small dark brown circles (tapioca pearls) sewn onto the base.
Customization & Care Instructions
You can customize your bunny by adding a tiny bow tie or a small piece of felt for the inner ears. To keep your plushie clean, hand wash in lukewarm water with mild detergent and lay flat to air dry. Do not machine wash to prevent the safety eyes from scratching.
Frequently Asked Questions (FAQ)
Can I use a different yarn weight?
Yes, but remember that changing the yarn weight will change the final size. Ensure you use a hook size appropriate for your yarn to keep the stitches tight so the stuffing doesn’t show through.
How do I make the tapioca pearls?
I suggest using a simple magic ring with 5 sc, pulling it tight, and sewing it onto the bottom of the glass cup.
Is this pattern suitable for absolute beginners?
Absolutely! The pattern uses basic stitches. If you are new to amigurumi, just remember to keep your tension consistent.
What if I don’t have a plastic straw?
You can crochet a tiny tube by chaining 4, joining in the round, and working 6 rows of sc to create a “yarn straw.”
Conclusion
Thank you for crafting along with me! This Taro-Root Bunny is such a fun way to practice your amigurumi skills while creating something truly unique. I would love to see your finished creations, so please tag me on social media or share your photos on Pinterest. Happy crocheting, and may your stitches always be even!
More Free Crochet Patterns You'll Love
 Amigurumi & Plushies
Cozy Crochet Strawberry-Jam Penguin in a Mason Jar Free Pattern
View Free Pattern → Amigurumi & Plushies
Free Crochet Blueberry-Muffin Hedgehog Amigurumi Pattern
View Free Pattern →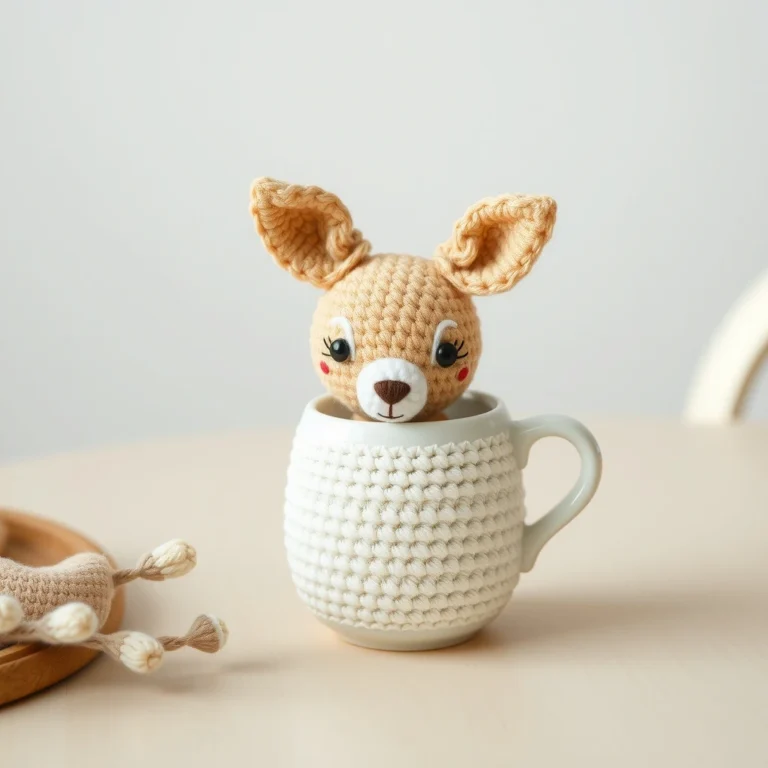 Amigurumi & Plushies

Leave a Reply