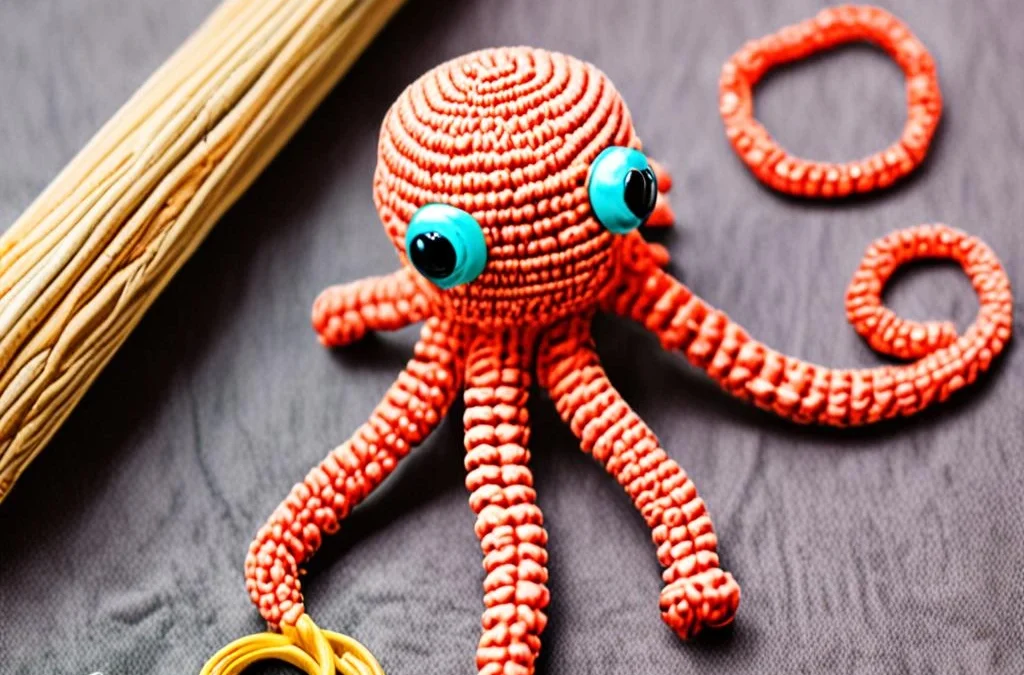
Welcome to your new favorite quick-make project! If you love adorable plushies but dread the assembly process, this no-sew mini crochet octopus keychain amigurumi is an absolute game-changer. Requiring zero sewing for limbs or tentacles, this charming little cephalopod comes together in under an hour, making it the ultimate stash-busting project for your leftover cotton yarn.
Whether you are preparing inventory for craft fairs, looking for a quick backpack charm, or teaching a beginner how to read amigurumi patterns, this design delivers stunning results with minimal effort. Grab your favorite yarn colors, and let us dive right into creating your very own fleet of cheerful micro-octopuses!
Materials, Yarn & Hook Requirements
| Material | Details |
|---|---|
| Yarn | Sport or DK weight cotton yarn (e.g., Schachenmayr Catania or Hobbii Rainbow Cotton 8/8) in main color |
| Crochet Hook | US Size C/2 (2.75 mm) or size needed to obtain tight, hole-free stitches |
| Safety Eyes | 6 mm or 8 mm plastic safety eyes |
| Notions | Polyfill stuffing, tapestry needle, stitch markers, and a keychain ring |
Stitch Abbreviations & Gauge
- ch: chain
- sc: single crochet
- hdc: half double crochet
- dc: double crochet
- inc: single crochet increase (work 2 sc in the same stitch)
- dec: single crochet invisible decrease (sc 2 stitches together in front loops)
- sl st: slip stitch
- Rnd / Row: round or row
- st(s): stitch(es)
Gauge: 10 sts and 10 rows in single crochet = 2 inches square. Exact gauge is not critical for this amigurumi project, but ensure your tension is tight enough so that the stuffing does not show through the stitches.
Step-by-Step Written Crochet Pattern
Body and Head Construction
Rnd 1: Start 6 sc in a Magic Ring (6)
Rnd 2: [inc] around (12)
Rnd 3: [sc 1, inc] around (18)
Rnd 4: [sc 2, inc] around (24)
Rnd 5: [sc 3, inc] around (30)
Rnd 6 – Rnd 11: sc around in all 30 stitches (30)
Insert safety eyes between Rnd 8 and Rnd 9, approximately 6 stitches apart. Embroider rosy cheeks just below the eyes with light pink embroidery floss if desired.
Rnd 12: [sc 3, dec] around (24)
Rnd 13: [sc 2, dec] around (18)
Begin stuffing the head firmly with polyfill fiber. Continue stuffing lightly as you work the final closing rounds.
Rnd 14: [sc 1, dec] around (12)
Rnd 15: [dec] around (6)
Fasten off, leaving a short tail, and use a tapestry needle to weave through the front loops of the remaining 6 stitches to pull the top closed securely.
Tentacles (No-Sew Method)
Turn the octopus upside down so you are looking at the bottom opening of the body. Attach your yarn to any remaining loop from the base edge.
Tentacle Sequence (Repeat for all 8 tentacles):
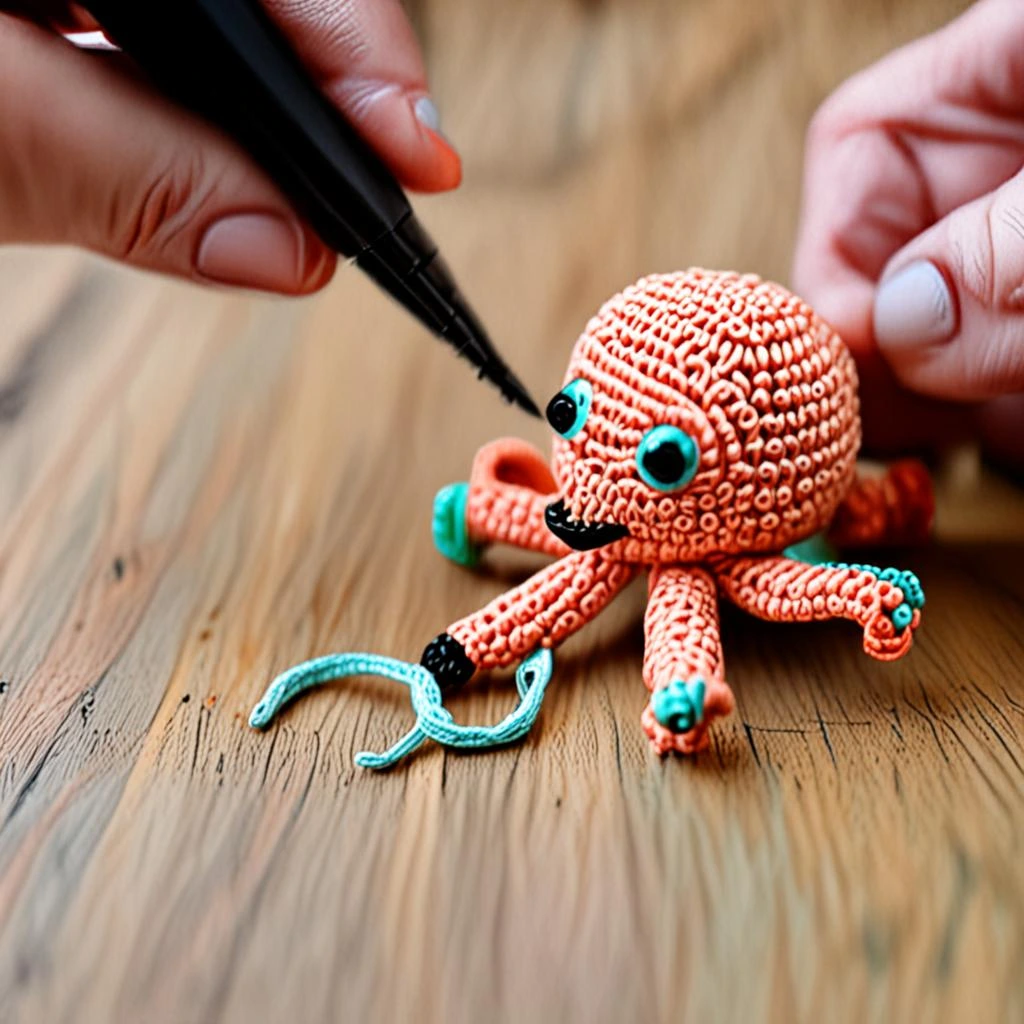
Ch 11, starting in the 2nd ch from the hook, work 2 sc in each chain back down to the base (total 20 sc). Sl st into the next available stitch on the bottom body rim.
Repeat this sequence 8 times evenly spaced around the bottom opening to create all 8 spiraling tentacles. Fasten off and weave in all remaining yarn tails inside the body cavity.
Customization & Care Instructions
You can easily customize your mini octopus by swapping out yarn weights and hook sizes. Use bulky velvet yarn and a 5.0 mm hook for a giant cuddle plush, or use embroidery thread for a tiny micro-amigurumi keychain! Add a tiny crochet bow or applique flower to the top of the head for an extra touch of cuteness.
For care, hand wash your octopus keychain gently in lukewarm water using mild dish soap. Press out excess water with a clean towel and allow it to air dry completely on a flat surface. Avoid machine washing or drying to protect the plastic safety eyes and keychain hardware.
Frequently Asked Questions (FAQ)
Can I make this octopus without safety eyes?
Yes! If you are making this keychain for an infant or toddler, embroidered sleepy eyes or French knots using black embroidery floss are a wonderful, baby-safe alternative to plastic safety eyes.
How do I attach the keychain hardware?
Securely attach a metal jump ring or a short loop of scrap yarn directly through the top center of the head (around Rnd 15), then connect your keyring or lobster clasp securely to it.
Why are my tentacles not curling properly?
The natural curl of the tentacles comes from working multiple stitches (2 sc) into each chain. If your tension is too loose, the tentacles may look wavy instead of spiraled. Try dropping down half a hook size if yours need more spring.
Is this pattern truly no-sew?
Yes, absolutely! The tentacles are crocheted directly onto the bottom edge of the completed body, meaning the only yarn ends you need to weave in are the initial setup and final fastening tails.
Conclusion
Congratulations on completing your adorable no-sew mini crochet octopus keychain amigurumi! This lightning-fast project is guaranteed to bring a smile to anyone’s face and makes a wonderful handmade gift, bag charm, or market prep item. We love seeing your handmade creations, so be sure to share photos of your colorful octopuses and tag us on social media!
More Free Crochet Patterns You'll Love
 Amigurumi & Plushies
Cozy Crochet Strawberry-Shortcake Bunny in a Glass Dessert Bowl Pattern
View Free Pattern → Amigurumi & Plushies
Easy No-Sew Chunky Chenille Bumblebee Amigurumi Crochet Pattern
View Free Pattern → Amigurumi & Plushies

Leave a Reply