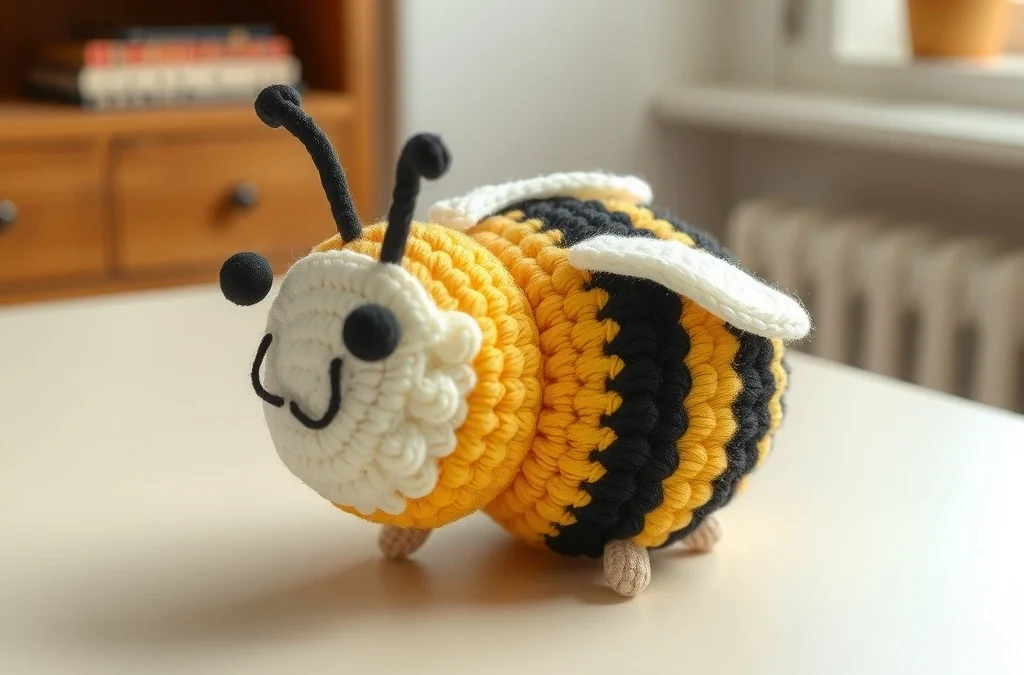
Welcome to your new favorite project! There is something undeniably charming about a chunky bumblebee plushie. With its soft, velvet-like texture and round, squishy shape, this no-sew design is the perfect quick project for craft fairs, gifts, or simply adding a touch of sweetness to your home decor. Whether you are a beginner looking to practice your rounds or a seasoned pro wanting a relaxing weekend make, this pattern is designed for success.
This pattern utilizes the “no-sew” method, meaning the wings and body are integrated into the construction, saving you precious time and effort. Using chunky chenille yarn creates a substantial plushie that feels like a hug in your hands. Get your hook ready, choose your favorite pastel or classic bumblebee colors, and let’s bring this buzzing little friend to life!
Materials, Yarn & Hook Requirements
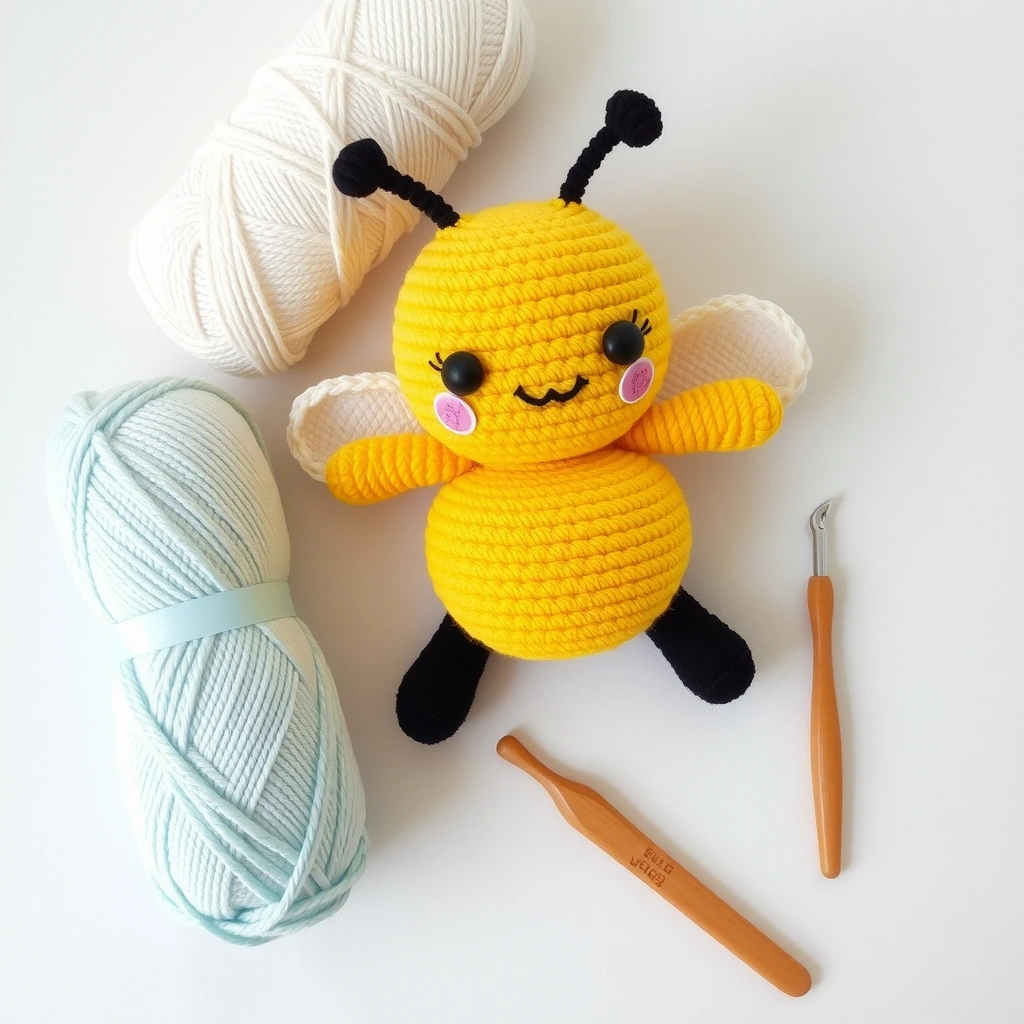
| Item | Requirement |
|---|---|
| Yarn | Super Bulky (Size 6) Chenille Yarn (Yellow, Black, White) |
| Crochet Hook | 6.0mm (J) or size needed to match gauge |
| Safety Eyes | 12mm or 14mm plastic safety eyes |
| Stuffing | Poly-fil fiberfill |
| Tools | Yarn needle, stitch marker, scissors |
Stitch Abbreviations & Gauge
- ch: chain
- sc: single crochet
- inc: increase (2 sc in the same stitch)
- dec: decrease (invisible decrease preferred)
- Rnd: round
- st: stitch
Gauge: 10 sc and 10 rows = 4 inches. Tension is key for chenille yarn; keep stitches tight to prevent stuffing from showing through.
Step-by-Step Written Crochet Pattern
The Bumblebee Body
Starting with Yellow yarn.
Rnd 1: 6 sc in Magic Ring (6)
Rnd 2: inc around (12)
Rnd 3: *1 sc, inc* repeat 6 times (18)
Rnd 4: *2 sc, inc* repeat 6 times (24)
Rnd 5: *3 sc, inc* repeat 6 times (30)
Rnd 6-8: sc in each st around (30)
Change to Black yarn.
Rnd 9-10: sc in each st around (30)
Change to Yellow yarn.
Rnd 11-12: sc in each st around (30)
Change to Black yarn.
Rnd 13-14: sc in each st around (30)
Change to Yellow yarn.
Rnd 15-16: sc in each st around (30)
Insert safety eyes between Rnd 11 and 12, about 4 stitches apart. Begin stuffing firmly.
Rnd 17: *3 sc, dec* repeat 6 times (24)
Rnd 18: *2 sc, dec* repeat 6 times (18)
Rnd 19: *1 sc, dec* repeat 6 times (12)
Rnd 20: dec around (6)
Fasten off, weave in tail to close.
No-Sew Wings (Make 2)
Using White yarn.
Rnd 1: 6 sc in Magic Ring (6)
Rnd 2: inc around (12)
Rnd 3: *1 sc, inc* repeat 6 times (18)
Fasten off, leaving a long tail for sewing (or attach using a slip stitch join technique if preferred).
Customization & Care Instructions
Customize your bee by using pastel pink or blue stripes for a whimsical look. To clean your plushie, spot clean with a damp cloth and mild soap. Air dry only, as high heat from a dryer can melt synthetic chenille fibers.
Frequently Asked Questions (FAQ)
Can I use regular acrylic yarn instead?
Yes! You can use worsted weight yarn, but your bee will be significantly smaller. Adjust your hook size to a 3.5mm or 4.0mm to ensure the stuffing doesn’t show.
How do I prevent holes in my chenille crochet?
The secret is using a hook size that is slightly smaller than what is recommended on the yarn label. This keeps your stitches dense and tight.
Are safety eyes safe for babies?
Safety eyes are not recommended for children under 3 years old. For baby-safe toys, embroider the eyes with black yarn instead.
How do I make the invisible decrease with chenille?
Insert your hook into the front loops only of the next two stitches, yarn over, pull through both, then yarn over and pull through remaining loops.
Conclusion
Congratulations on finishing your chunky chenille bumblebee! This little creature is sure to bring a smile to anyone who sees it. Don’t forget to take photos of your finished project and tag us on social media so we can see your beautiful work. Happy crocheting!
More Free Crochet Patterns You'll Love
 Amigurumi & Plushies
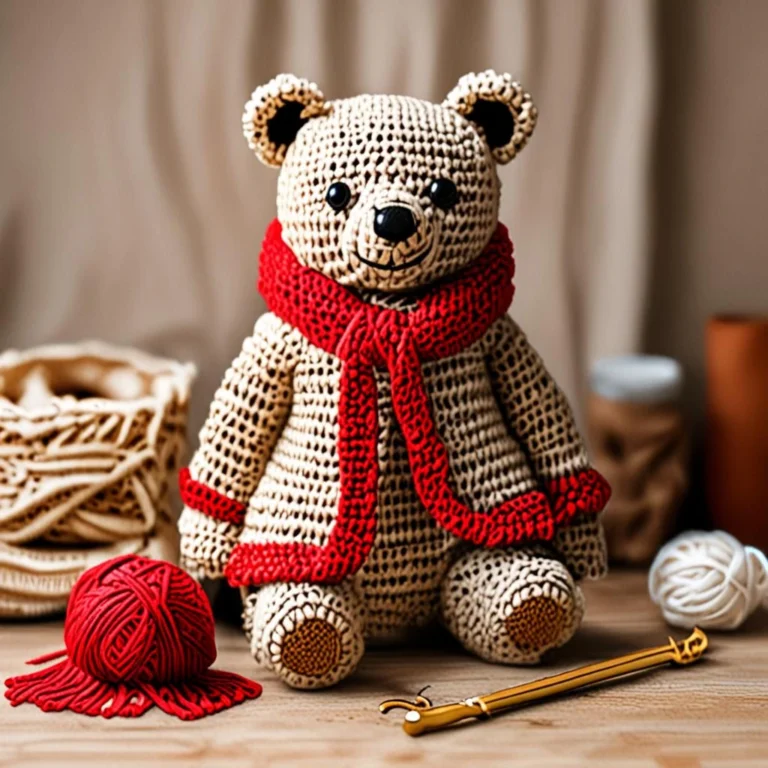
Cozy Woodland Bear Amigurumi Free Crochet Pattern & Tutorial
View Free Pattern →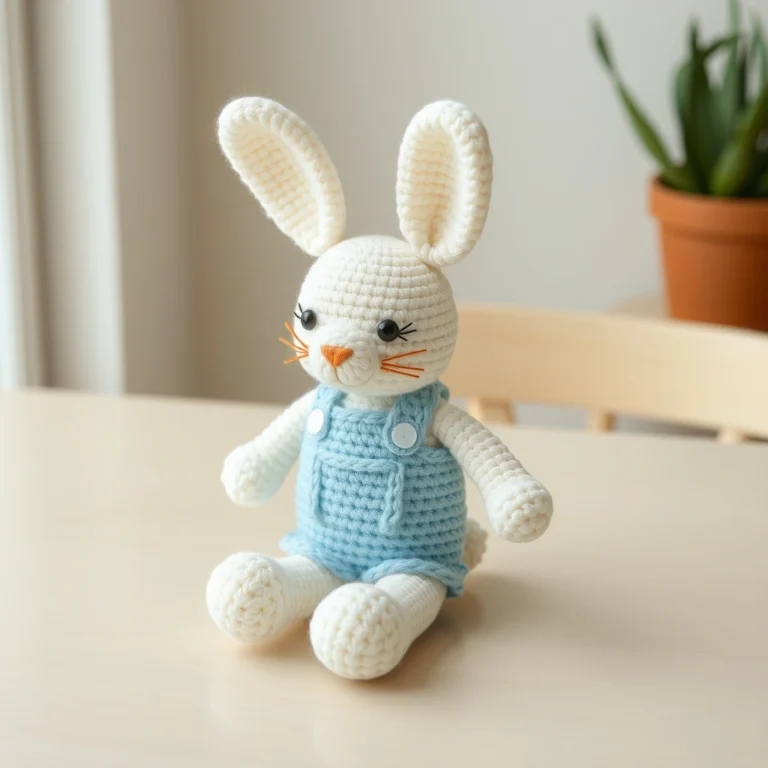 Amigurumi & Plushies
Cute Pastel Bunny in Blue Overalls: Free Amigurumi Crochet Pattern
View Free Pattern → Amigurumi & Plushies

Leave a Reply