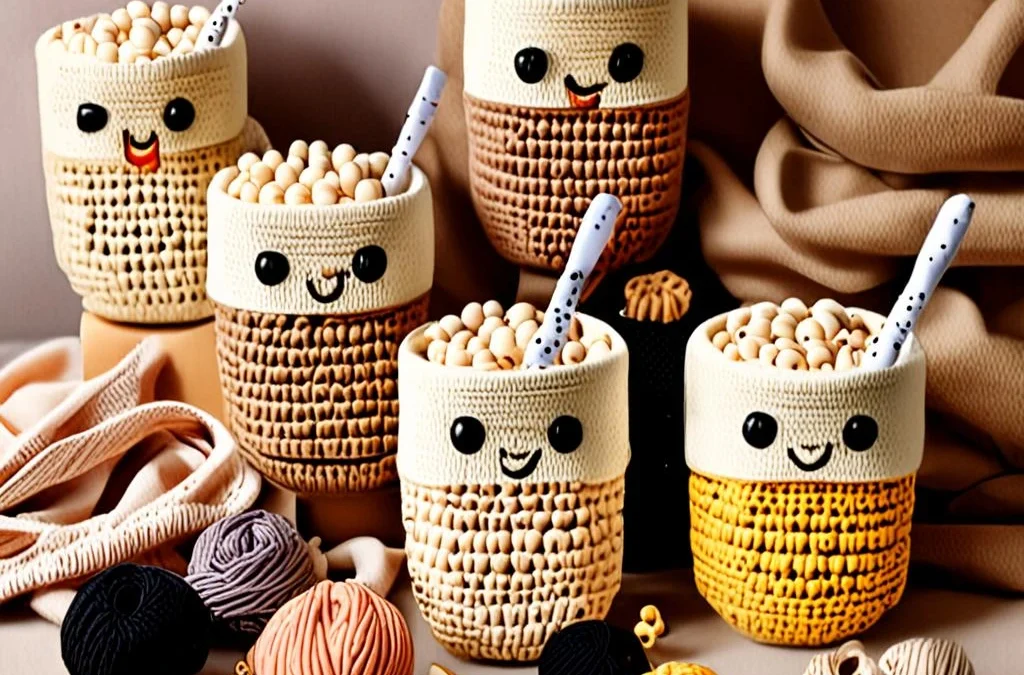
Welcome to your new favorite project! There is nothing quite as delightful as combining the world of amigurumi with everyone’s favorite treat: bubble tea. This Kawaii Crochet Boba Milk Tea Cup Plushie is the perfect quick make for markets, gifts, or simply adding a touch of sweetness to your craft room desk.
Designed with beginners in mind, this pattern uses simple stitches to create a sturdy, huggable cup shape. Whether you choose to make a classic milk tea, a taro purple, or a matcha green version, this pattern is highly customizable. Grab your yarn and let’s get stitching this adorable boba buddy!
Materials, Yarn & Hook Requirements
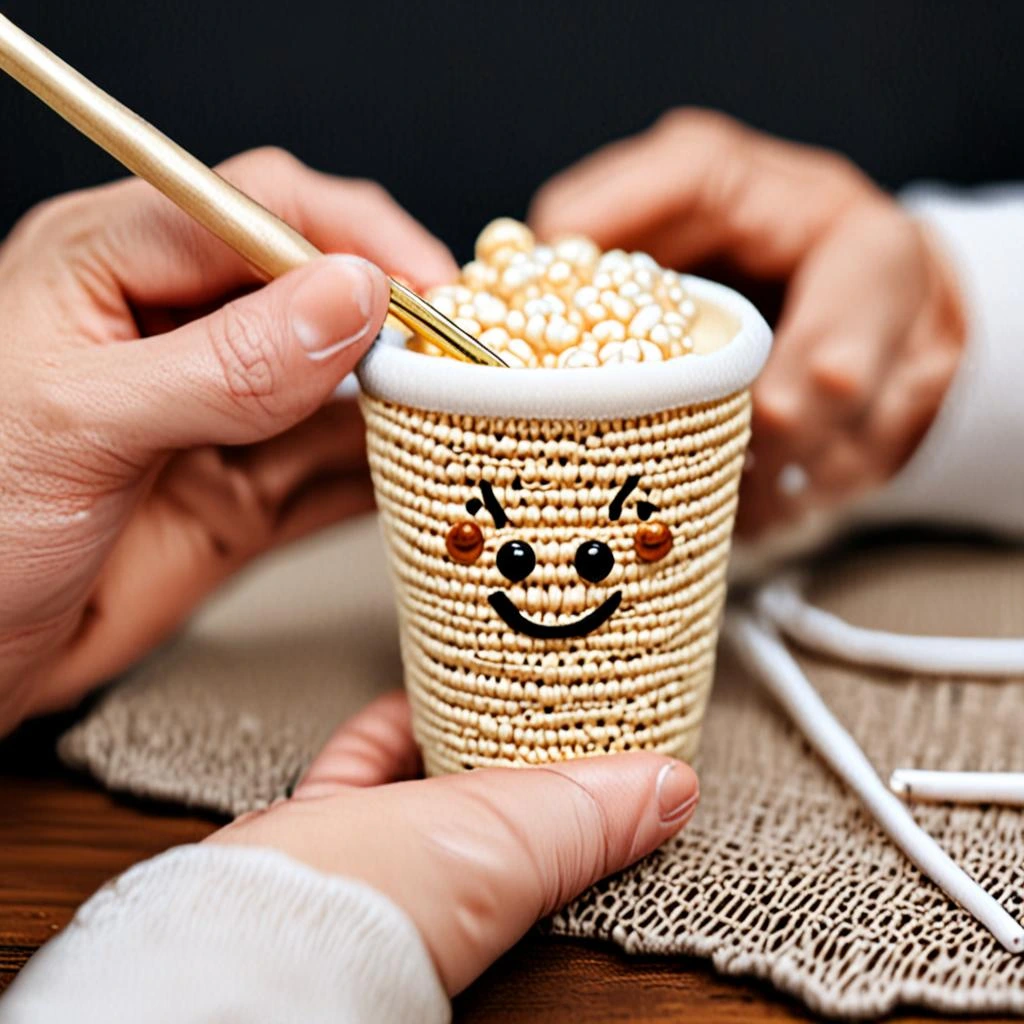
| Item | Specification |
|---|---|
| Yarn | Worsted weight (Size 4) in Cream, Brown, and Pink |
| Hook | 3.5mm (E) crochet hook |
| Safety Eyes | 8mm plastic safety eyes |
| Stuffing | Poly-fil fiberfill |
| Extras | Yarn needle, stitch marker, black embroidery thread |
Stitch Abbreviations & Gauge
- ch: chain
- sc: single crochet
- inc: increase (2 sc in one stitch)
- dec: invisible decrease (sc 2 stitches together)
- Rnd: round
- st(s): stitch(es)
- Gauge: 16 sts and 18 rows = 4 inches in sc. Gauge is not critical for this project, but keep tension tight to prevent stuffing from showing.
Step-by-Step Written Crochet Pattern
The Cup Body
Starting with Cream yarn.
Rnd 1: 6 sc in Magic Ring (6)
Rnd 2: inc in each st around (12)
Rnd 3: (1 sc, inc) repeat 6 times (18)
Rnd 4: (2 sc, inc) repeat 6 times (24)
Rnd 5: (3 sc, inc) repeat 6 times (30)
Rnd 6: (4 sc, inc) repeat 6 times (36)
Rnd 7: Working in back loops only (BLO), sc in each st around (36)
Rnd 8-18: sc in each st around (36)
Insert safety eyes between Rnd 14 and 15, about 6 stitches apart. Embroider a small mouth between the eyes.
Rnd 19: (4 sc, dec) repeat 6 times (30)
Rnd 20: (3 sc, dec) repeat 6 times (24)
Start stuffing the cup firmly.
Rnd 21: (2 sc, dec) repeat 6 times (18)
Rnd 22: (1 sc, dec) repeat 6 times (12)
Rnd 23: dec around (6)
Fasten off and weave in ends.
Tapioca Pearls (Make 5-8)
Using Brown yarn.
Rnd 1: 6 sc in Magic Ring (6)
Rnd 2: (1 sc, inc) repeat 3 times (9)
Rnd 3: sc in each st around (9)
Rnd 4: (1 sc, dec) repeat 3 times (6)
Fasten off, leave a tail for sewing. Sew onto the bottom of the cup.
Customization & Care Instructions
You can customize your boba cup by changing the “tea” color yarn. Use light green for matcha or light purple for taro! For care, hand wash your plushie in cool water with mild detergent and air dry to maintain the shape and safety eye security.
Frequently Asked Questions (FAQ)
What is the best way to do an invisible decrease?
The invisible decrease is done by inserting your hook into the front loops of the next two stitches, yarn over, pull through both front loops, yarn over, and pull through the remaining two loops on your hook.
Can I make the boba larger?
Yes! To make a larger cup, simply continue increasing by 6 stitches per round until you reach your desired width, then maintain that stitch count for the body.
Are safety eyes safe for children?
Safety eyes are secured with plastic washers, but they can be a choking hazard for children under 3. For babies, I recommend embroidering the eyes with black yarn instead.
How do I stop the yarn from showing through the stuffing?
The best way to prevent gaps is to use a hook one size smaller than recommended for your yarn weight and ensure your tension remains consistent throughout the rounds.
Conclusion
Congratulations on finishing your Kawaii Crochet Boba Milk Tea Cup! Whether you keep this cute plushie for yourself or gift it to a fellow boba addict, you have created a handmade treasure that brings joy. Don’t forget to share your photos on Pinterest and tag your creations so I can see your beautiful work!
More Free Crochet Patterns You'll Love
 Amigurumi & Plushies
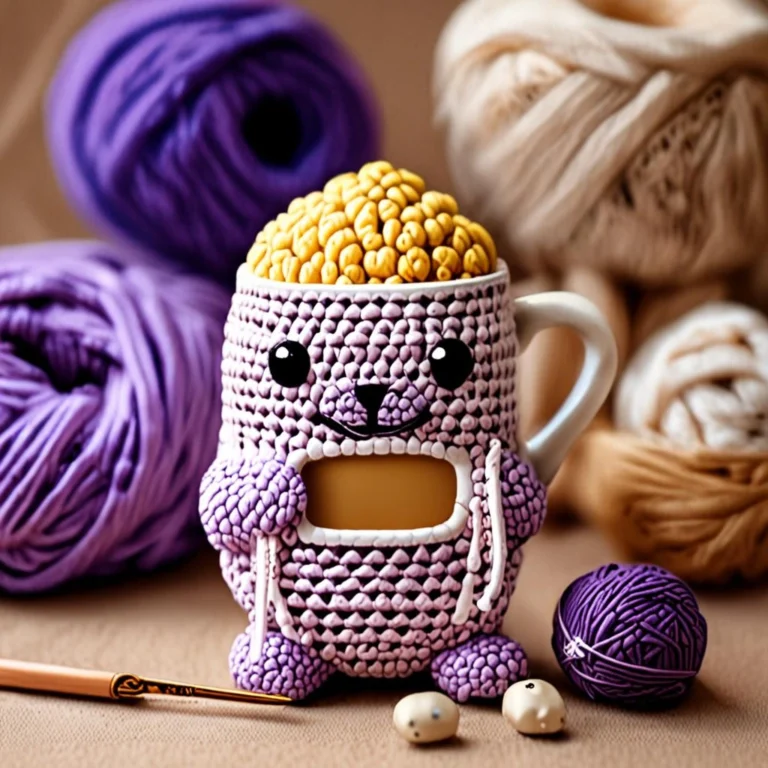
Cozy Crochet Taro Milk Tea Seal Free Amigurumi Pattern
View Free Pattern →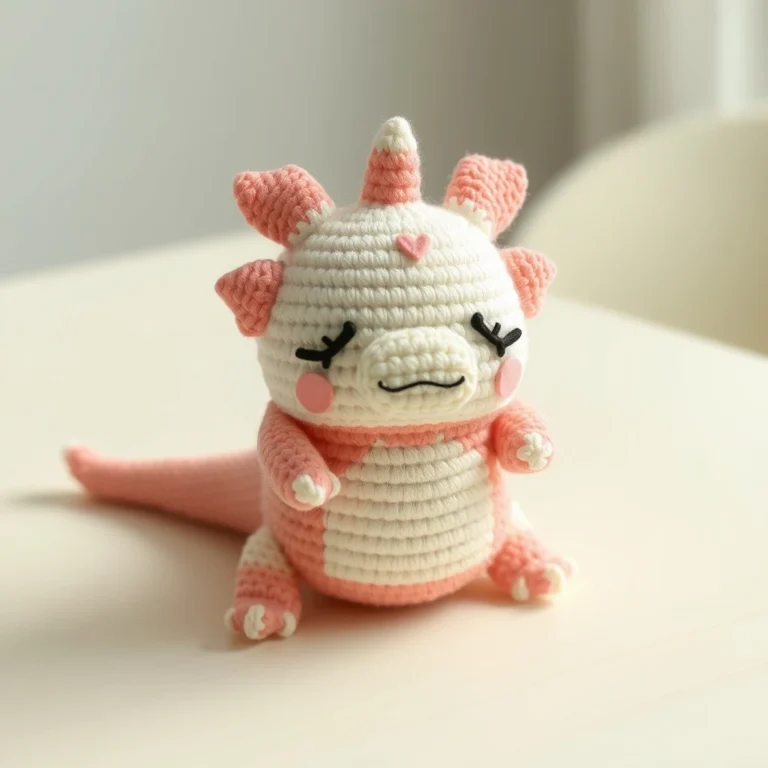 Amigurumi & Plushies
Free Crochet Peach-Cobbler Axolotl Amigurumi Pattern & Jar Tutorial
View Free Pattern → Amigurumi & Plushies

Leave a Reply