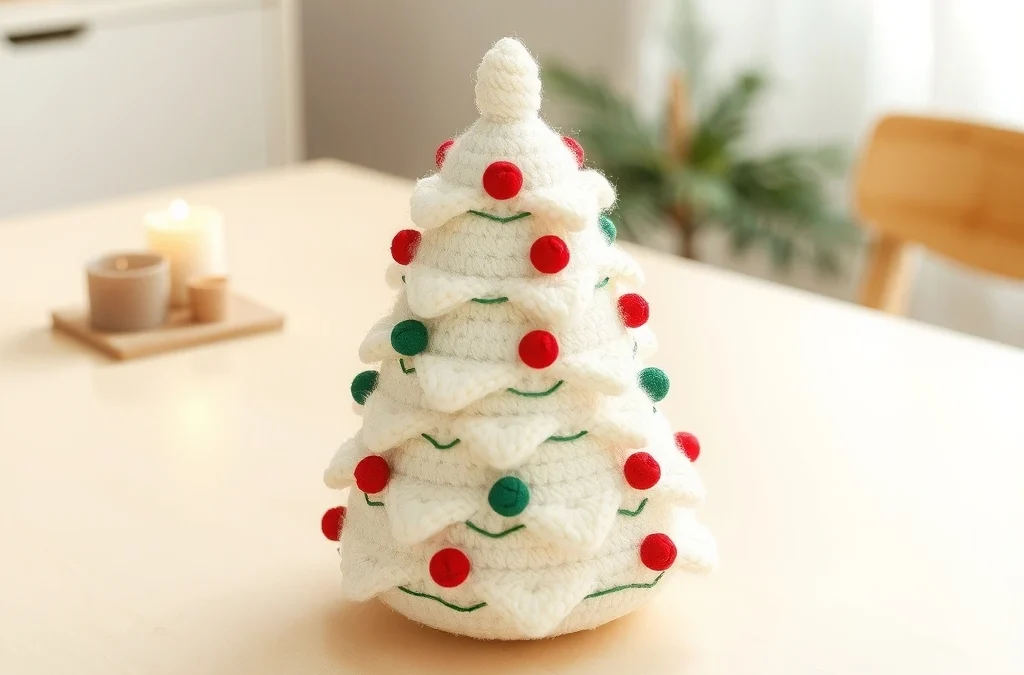
Hello, fellow yarn enthusiasts and holiday makers! There is nothing quite like bringing handmade magic into your home during the festive season, and this adorable amigurumi christmas tree is the ultimate project to spark instant holiday cheer. Designed with soft, huggable yarn and an irresistibly chunky silhouette, this little evergreen brings a playful, whimsical touch to your mantelpiece, tiered trays, or gifting lineup.
As a professional crochet designer, I have meticulously tested and optimized this pattern to ensure a seamless crafting experience. Whether you are an ambitious beginner looking to master basic amigurumi shapes or an advanced crafter wanting a quick, satisfying holiday make, this step-by-step tutorial will guide you smoothly from your first magic ring to the final hidden tail. Grab your hooks, and let us stitch up some holiday magic together!
Materials, Yarn & Hook Requirements
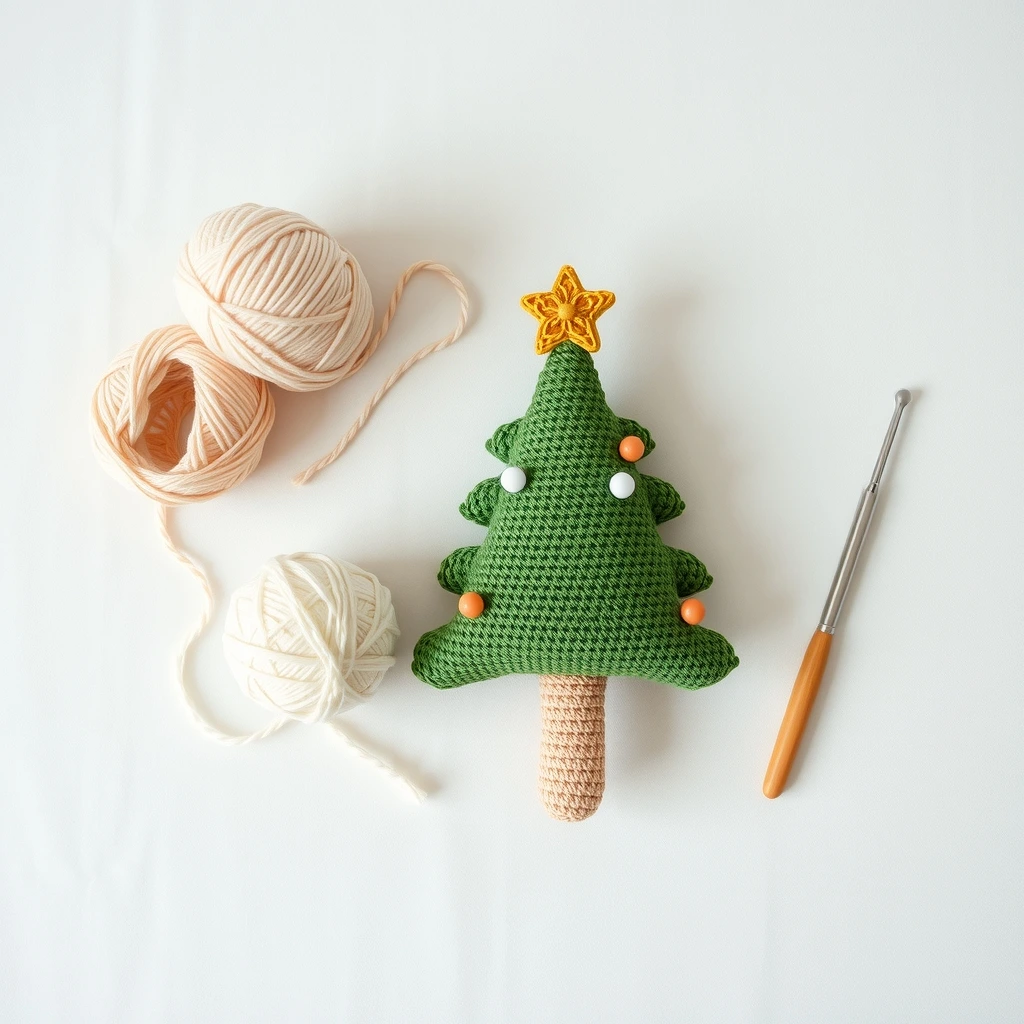
| Material | Specification |
|---|---|
| Yarn | Bulky weight (Weight 5) plush chenille yarn in Green (Color A), Star Yellow (Color B), and Brown (Color C) |
| Crochet Hook | US Size E/4 (3.5 mm) or F/5 (3.75 mm) to prevent stuffing gaps |
| Notions | Polyfill fiber stuffing, tapestry needle, stitch markers, scissors |
| Optional | Safety eyes (6mm) if you want a kawaii face |
Stitch Abbreviations & Gauge
- ch: chain
- sc: single crochet
- hdc: half double crochet
- dc: double crochet
- inc: single crochet increase (work 2 sc in the same stitch)
- dec: single crochet decrease (invisible decrease recommended)
- Rnd / Row: round or row
- st(s): stitch(es)
- FO: fasten off
Gauge: 12 sc x 12 rows = 4 inches using a 3.5mm hook with bulky plush yarn. Gauge is not critical for amigurumi, but ensure stitches are tight enough to prevent the fiber stuffing from showing through.
Step-by-Step Written Crochet Pattern
Tree Base & Body (Green Yarn)
Rnd 1: Start 6 sc in a Magic Ring (6)
Rnd 2: [sc in next st, inc in next st] around (9)
Rnd 3: sc around (9)
Rnd 4: [sc in next 2 sts, inc in next st] around (12)
Rnd 5: sc around (12)
Rnd 6: [sc in next 3 sts, inc in next st] around (15)
Rnd 7: sc around (15)
Rnd 8: [sc in next 4 sts, inc in next st] around (18)
Rnd 9: sc around (18)
Rnd 10: [sc in next 2 sts, inc in next st] around (24)
Rnd 11: sc around (24)
Rnd 12: [sc in next 3 sts, inc in next st] around (30)
Rnd 13: sc around (30)
Rnd 14: [sc in next 4 sts, inc in next st] around (36)
Rnd 15-16: sc around (36)
Begin stuffing the tree firmly. Continue stuffing as you work up the rows.
Tree Top Taper
Rnd 17: [sc in next 4 sts, dec] around (30)
Rnd 18: sc around (30)
Rnd 19: [sc in next 3 sts, dec] around (24)
Rnd 20: [sc in next 2 sts, dec] around (18)
Rnd 21: [sc in next st, dec] around (12)
Rnd 22: dec around (6)
FO, leaving a long tail to weave closed.
Tree Trunk (Brown Yarn)
Rnd 1: Start 6 sc in a Magic Ring (6)
Rnd 2: inc around (12)
Rnd 3: Working in BLO (Back Loops Only), sc around (12)
Rnd 4-5: sc around (12)
FO, leaving a long tail for sewing to the bottom of the tree.
Tree Topper Star (Yellow Yarn)
Rnd 1: Start 5 sc in a Magic Ring (5)
Rnd 2: inc around (10)
Rnd 3: [sc in next st, ch 2, sl st in 2nd ch from hook, sc in same st] repeat around to form 5 points. FO and sew securely to the apex of the tree.
Customization & Care Instructions
You can easily customize your amigurumi christmas tree by sewing colorful tiny buttons, beads, or embroidered French knots onto the body to act as holiday ornaments. If you prefer a frosted winter look, use white yarn to embroider little snowcaps along the tips of the branches.
Care Instructions: Because this plush toy is made with delicate synthetic chenille yarn, hand washing in cool water with mild soap is strongly recommended. Do not wring or tumble dry. Reshape while damp and allow it to air dry completely on a flat surface.
Frequently Asked Questions (FAQ)
Can I use regular acrylic yarn instead of plush yarn?
Yes, absolutely! You can use worsted weight cotton or acrylic yarn with a 3.0mm or 3.5mm hook. Keep in mind that your finished amigurumi christmas tree will be smaller and have a smoother texture rather than a fluffy plush finish.
How do I prevent holes in my amigurumi when stuffing?
The secret to keeping your polyfill hidden is matching your hook size tightly to your yarn weight and using invisible decreases (dec) rather than traditional standard decreases. If you see stuffing peeking through, drop down half a hook size.
Is this pattern beginner-friendly?
Yes! This design uses basic foundational stitches (ch, sc, inc, dec) combined in repetitive rounds. The plush yarn is very forgiving, making it a wonderful project for adventurous beginners.
How do I join the tree trunk securely?
Stuff the trunk lightly before sewing it to the flat bottom center of the tree body using a whip stitch through both the remaining loops of the trunk and the underside of the green body.
Conclusion
Congratulations on completing your very own handmade amigurumi christmas tree! This festive plush buddy is guaranteed to bring smiles, warmth, and handmade charm to your holiday celebrations. Be sure to pin this pattern to your favorite crochet boards on Pinterest, share your finished photos with fellow makers, and tag your creations so I can admire your wonderful holiday masterpieces. Happy crocheting!
More Free Crochet Patterns You'll Love
 Amigurumi & Plushies
Cozy Crochet Vanilla-Chai Deer in a Ceramic Mug Free Pattern
View Free Pattern → Amigurumi & Plushies
Cozy Crochet Matcha-Latte Frog in a Ceramic Teacup Free Pattern
View Free Pattern → Amigurumi & Plushies

Leave a Reply