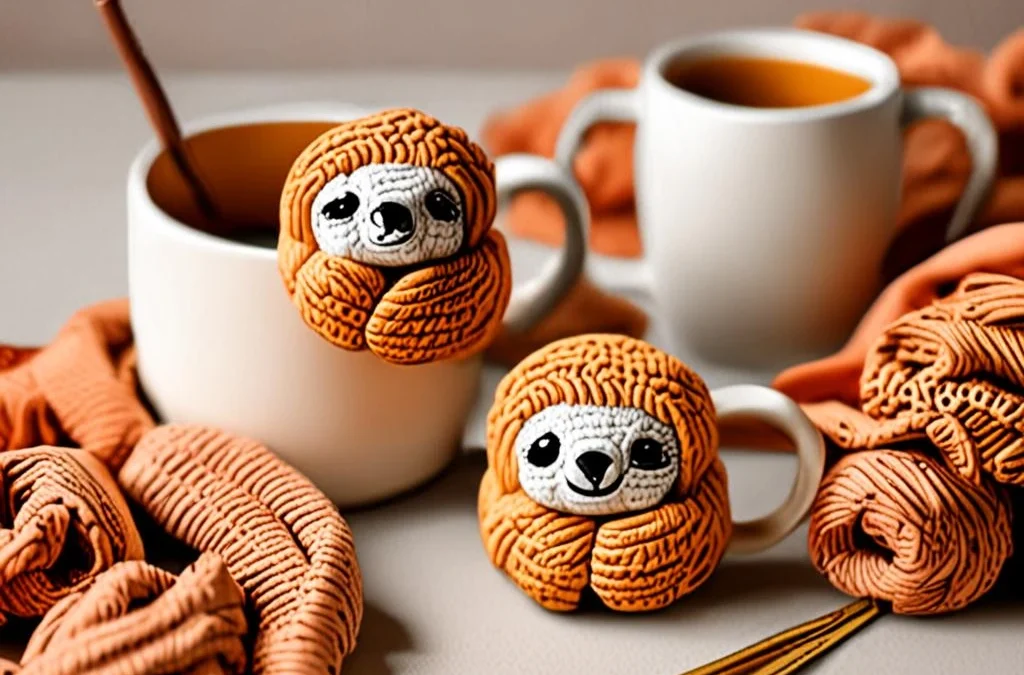
There is nothing quite as comforting as the combination of a warm cinnamon roll and a slow-moving, sleepy sloth. This project brings those two joys together in a whimsical amigurumi design that is perfect for desk decor or a thoughtful handmade gift. Whether you are a seasoned plushie maker or just starting your crochet journey, this pattern is designed to be approachable, relaxing, and incredibly rewarding to complete.
In this tutorial, we will walk through the construction of your very own “Cinnamon-Roll Sloth,” focusing on the iconic swirled texture and the sweet, sleepy expression that makes this little guy so lovable. Once you have finished your sloth, you will nestle him into a cozy “ceramic” mug base, creating a finished piece that looks just like a treat you would find in a boutique bakery. Grab your favorite yarn colors and let’s get stitching!
Materials, Yarn & Hook Requirements
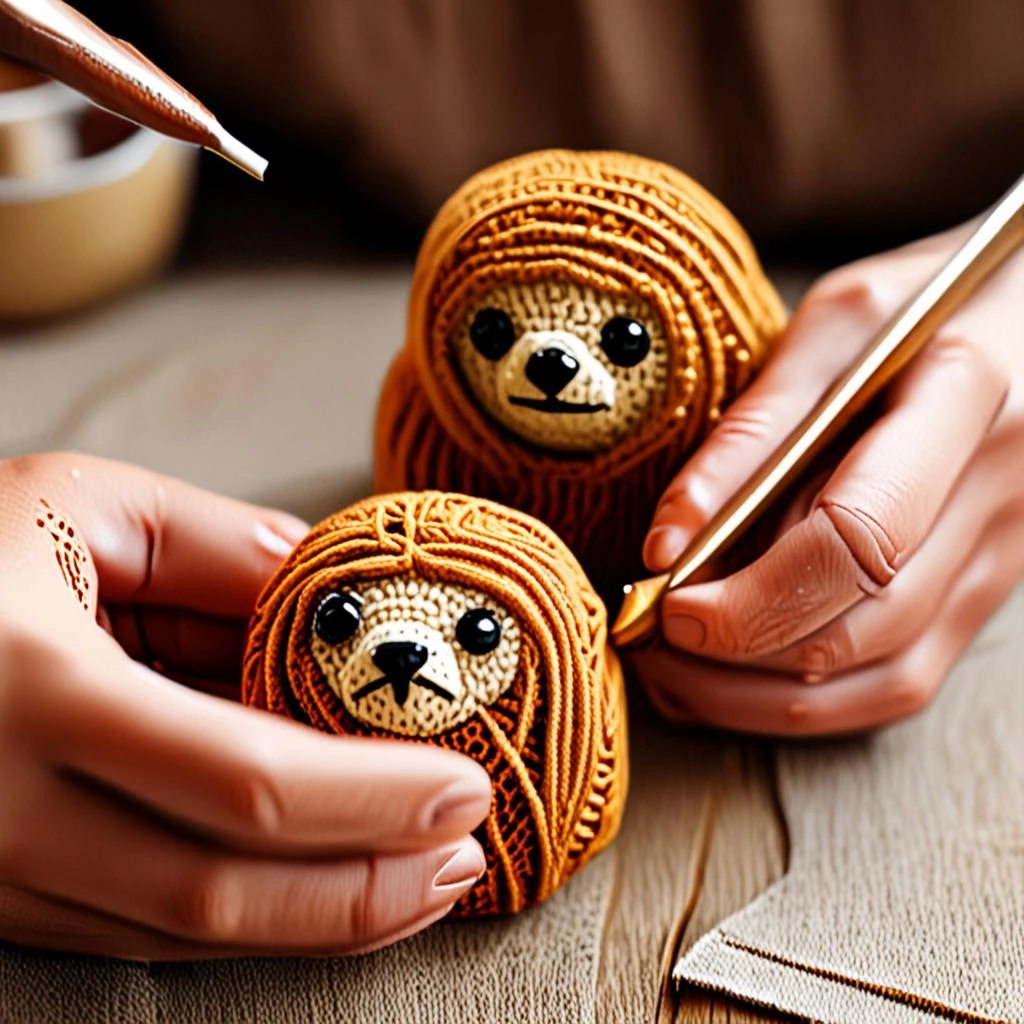
| Material | Specification |
|---|---|
| Yarn | Worsted Weight (Size 4) in Cream, Light Brown, and Dark Brown |
| Crochet Hook | 3.5mm (E) |
| Safety Eyes | 8mm black plastic safety eyes |
| Stuffing | Polyester fiberfill |
| Extras | Yarn needle, stitch markers, embroidery thread for mouth |
Stitch Abbreviations & Gauge
- ch: chain
- sc: single crochet
- hdc: half double crochet
- dc: double crochet
- inc: increase (2 sc in one stitch)
- dec: decrease (sc 2 together)
- Rnd: round
- St(s): stitch(es)
Gauge: 18 sc x 20 rows = 4 inches. Gauge is not critical for this project, but keep tension tight to prevent stuffing from showing through.
Step-by-Step Written Crochet Pattern
Part 1: The Cinnamon-Roll Sloth Body
Using Light Brown yarn:
Rnd 1: 6 sc in Magic Ring (6)
Rnd 2: inc around (12)
Rnd 3: (1 sc, inc) repeat around (18)
Rnd 4: (2 sc, inc) repeat around (24)
Rnd 5: (3 sc, inc) repeat around (30)
Rnd 6-10: sc in each st around (30)
Rnd 11: (3 sc, dec) repeat around (24)
Rnd 12: (2 sc, dec) repeat around (18)
Insert safety eyes between Rnd 7 and 8. Stuff firmly.
Rnd 13: (1 sc, dec) repeat around (12)
Rnd 14: dec around (6). Fasten off and weave in ends.
Part 2: The Glazed Ceramic Mug
Using Cream yarn (for the mug base):
Rnd 1: 6 sc in Magic Ring (6)
Rnd 2: inc around (12)
Rnd 3: (1 sc, inc) repeat around (18)
Rnd 4: (2 sc, inc) repeat around (24)
Rnd 5: (3 sc, inc) repeat around (30)
Rnd 6: BLO (Back Loop Only) sc in each st around (30)
Rnd 7-12: sc in each st around (30)
Rnd 13: (3 sc, dec) repeat around (24). Fasten off.
Customization & Care Instructions
You can customize your sloth by adding a tiny felt “drizzle” of white icing on top of his head. For care, spot clean your plushie with a damp cloth and mild soap. Do not machine wash, as the safety eyes may scratch or loosen.
Frequently Asked Questions (FAQ)
Can I use a different yarn weight?
Yes, but note that changing the yarn weight will change the final size of your sloth. You must also adjust your hook size accordingly to maintain a tight fabric.
How do I secure the sloth inside the mug?
Use a whip stitch to sew the bottom of the sloth to the inner base of the mug for a permanent hold.
Is this pattern beginner-friendly?
Absolutely! If you know how to work in the round and perform basic increases and decreases, you will find this pattern very manageable.
Can I sell items made from this pattern?
Yes, you are welcome to sell finished items made from this pattern, provided you credit the design to this blog.
Conclusion
Congratulations on completing your very own Cinnamon-Roll Sloth! This project is a wonderful way to practice your amigurumi shaping while creating a unique piece of decor that is sure to spark conversation. We hope you enjoyed this pattern as much as we enjoyed designing it. Don’t forget to share your finished photos on social media and tag us so we can see your beautiful creations!
More Free Crochet Patterns You'll Love
 Amigurumi & Plushies
Plush Crochet Sea Turtle Amigurumi Pattern with Sunflower Shell
View Free Pattern → Amigurumi & Plushies
Kawaii Crochet Boba Milk Tea Cup Plushie: Easy Amigurumi Pattern
View Free Pattern →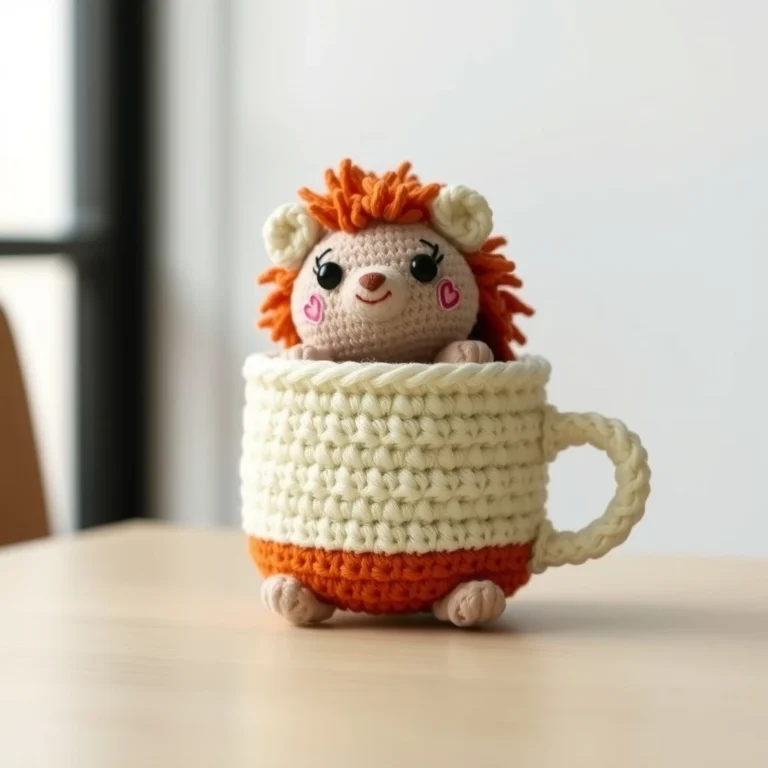 Amigurumi & Plushies

Leave a Reply