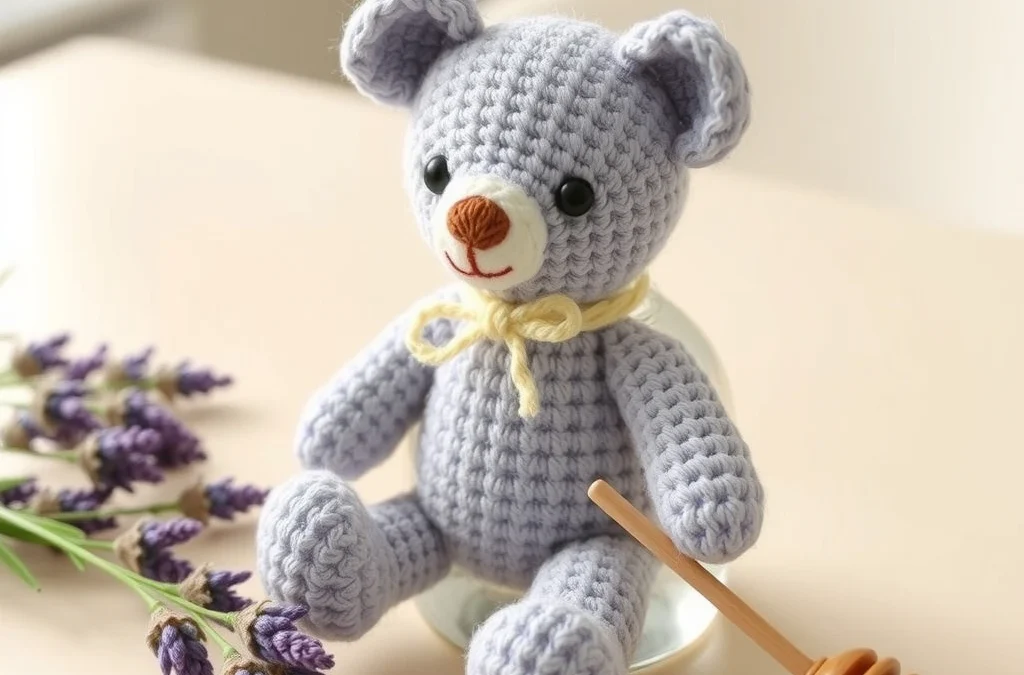
Welcome to the sweetest amigurumi project of the season! If you love pairing whimsical charm with soft, huggable textures, you are going to fall completely in love with this unique design. The Cozy Crochet Lavender-Honey Bear in a Glass Honeycomb Jar combines a pastel purple cuddly bear tucked snugly inside a textured glass-look container, making it an absolute showstopper for home decor, nursery displays, or handmade gifts.
As a master designer, I have meticulously engineered this pattern for both structural integrity and maximum cuteness. Using standard US crochet terminology and mathematically precise stitch counts, this tutorial walks you through every single ear, limb, and honeycomb detail. Grab your hook, and let us bring this charming little bear to life!
Materials, Yarn & Hook Requirements
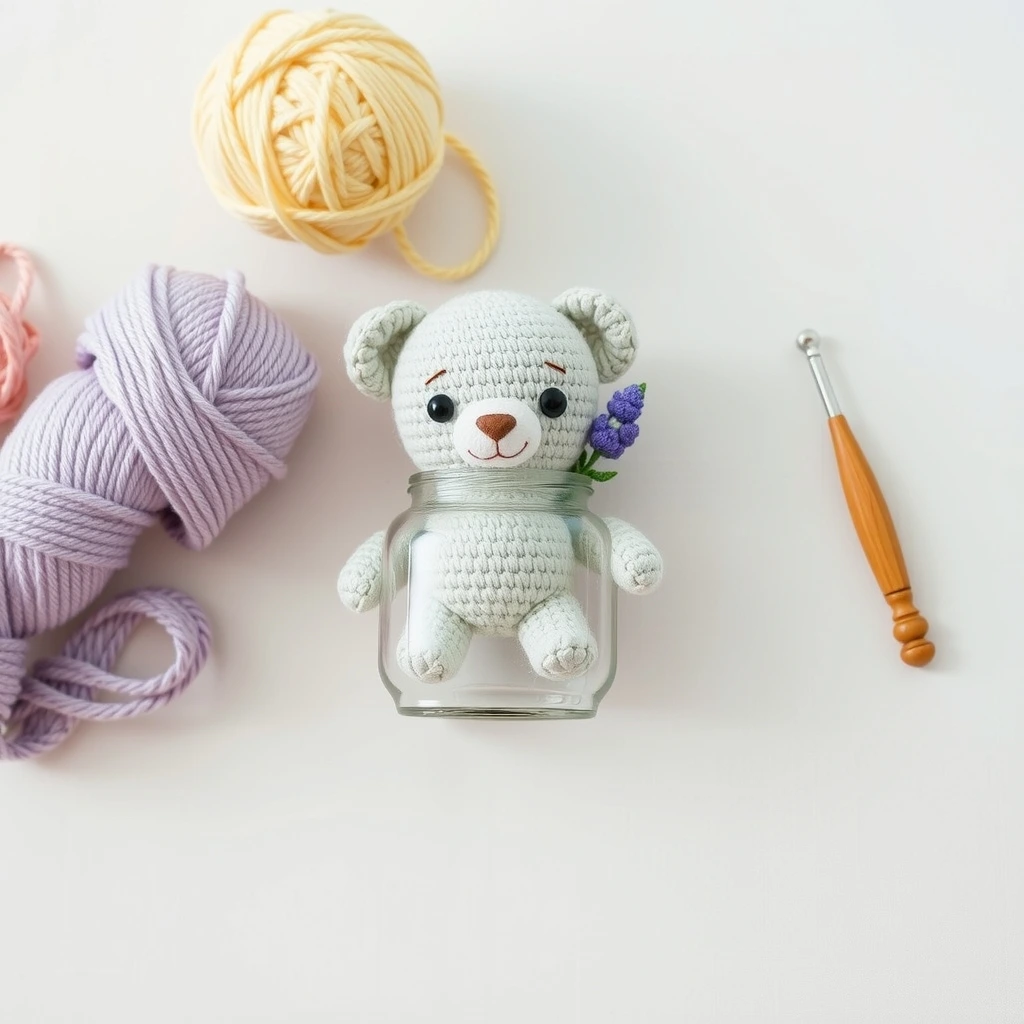
| Material / Supply | Specification / Color |
|---|---|
| Yarn A (Bear Body) | Worsted Weight (Medium #4) in Dusty Lavender (approx. 80 yds) |
| Yarn B (Snout & Ears) | Worsted Weight (Medium #4) in Cream or Soft Yellow (approx. 20 yds) |
| Yarn C (Honey Jar) | Worsted Weight (Medium #4) in Honey Gold (approx. 60 yds) |
| Crochet Hook | US Size E/4 (3.50mm) |
| Notions | Polyfill stuffing, tapestry needle, stitch markers, 9mm safety eyes, black embroidery floss |
Stitch Abbreviations & Gauge
- ch: chain
- sc: single crochet
- hdc: half double crochet
- dc: double crochet
- inc: single crochet increase (2 sc in one stitch)
- dec: single crochet invisible decrease
- Rnd / Row: Round or Row
- st(s): stitch(es)
- (): repeat instructions inside the parentheses for the indicated number of times
- Gauge: 5 sts and 5 rows per 1 inch in single crochet. Meeting exact gauge ensures your bear fits perfectly inside the jar base.
Step-by-Step Written Crochet Pattern
Bear Head (Yarn A – Dusty Lavender)
Rnd 1: 6 sc in Magic Ring (6)
Rnd 2: (inc) around (12)
Rnd 3: (1 sc, inc) around (18)
Rnd 4: (2 sc, inc) around (24)
Rnd 5: (3 sc, inc) around (30)
Rnd 6: (4 sc, inc) around (36)
Rnds 7-11: sc around (36)
Rnd 12: (4 sc, dec) around (30)
Rnd 13: (3 sc, dec) around (24). Insert safety eyes between Rnds 8 and 9, about 6 stitches apart.
Rnd 14: (2 sc, dec) around (18). Stuff firmly with polyfill.
Rnd 15: (1 sc, dec) around (12)
Rnd 16: (dec) around (6). Fasten off and weave in ends.
Bear Snout (Yarn B – Cream)
Rnd 1: 6 sc in Magic Ring (6)
Rnd 2: (inc) around (12)
Rnd 3: (1 sc, inc) around (18)
Rnd 4: sc around (18). Fasten off, leaving a long tail for sewing. Embroider a cute nose with black floss.
Bear Body (Yarn A – Dusty Lavender)
Rnd 1: 6 sc in Magic Ring (6)
Rnd 2: (inc) around (12)
Rnd 3: (1 sc, inc) around (18)
Rnd 4: (2 sc, inc) around (24)
Rnd 5: (3 sc, inc) around (30)
Rnds 6-9: sc around (30)
Rnd 10: (3 sc, dec) around (24)
Rnds 11-12: sc around (24)
Rnd 13: (2 sc, dec) around (18). Stuff firmly.
Rnd 14: sc around (18). Fasten off, leaving a long tail to attach to the head.
Bear Arms & Legs (Make 4 total – Yarn A)
Rnd 1: 6 sc in Magic Ring (6)
Rnd 2: (1 sc, inc) around (9)
Rnds 3-5: sc around (9). Lightly stuff. Fasten off, leaving a tail for sewing.
Honeycomb Jar Base (Yarn C – Honey Gold)
Rnd 1: 6 sc in Magic Ring (6)
Rnd 2: (inc) around (12)
Rnd 3: (1 sc, inc) around (18)
Rnd 4: (2 sc, inc) around (24)
Rnd 5: (3 sc, inc) around (30)
Rnd 6: (4 sc, inc) around (36)
Rnd 7: Working in back loops only (BLO), sc around (36)
Rnds 8-18: sc around (36)
Rnd 19: (4 sc, dec) around (30)
Rnd 20: sc around (30). Fasten off and weave in ends.
Customization & Care Instructions
You can easily customize this project by swapping out the lavender yarn for pastel mint, baby pink, or classic honey brown. Add a tiny crocheted bee or a ribbon bow around the bear’s neck for an extra touch of sweetness. For care, spot clean your amigurumi bear with a damp cloth and mild soap. Do not submerge completely in water if you use cardboard structural inserts.
Frequently Asked Questions (FAQ)
Can I use chunky chenille yarn for this pattern?
Yes, but keep in mind that using bulky chenille yarn and a larger hook will make your bear and jar significantly larger, meaning it will no longer fit inside standard glass jars unless scaled down.
How do I secure the bear inside the honeycomb jar?
You can either tack the bottom of the bear’s body to the inside base of the jar using matching yarn stitches, or leave it unattached so the bear can pop out of the jar for playtime!
What is the best way to do an invisible decrease?
To perform an invisible decrease, insert your hook into the front loop only of the next two stitches, yarn over, pull through both front loops, yarn over, and pull through the remaining two loops on your hook.
Are safety eyes safe for small children?
Safety eyes are secured with backings, but for infants and toddlers under 3 years old, it is always recommended to embroider the eyes using black yarn or embroidery floss as a choking hazard precaution.
Conclusion
Congratulations on completing your Cozy Crochet Lavender-Honey Bear in a Glass Honeycomb Jar! This delightful project blends technical amigurumi construction with absolute aesthetic charm. Be sure to pin this pattern to your favorite crochet boards on Pinterest, and share your finished creations online using #LavenderHoneyBearCrochet so I can admire your wonderful handmade work!
More Free Crochet Patterns You'll Love
 Amigurumi & Plushies
Cozy Crochet Lavender-Milk Cow in a Vintage Milk Bottle Pattern
View Free Pattern → Amigurumi & Plushies
Pastel Crochet Sleeping Bunny in a Teacup Amigurumi Free Pattern
View Free Pattern → Amigurumi & Plushies

Leave a Reply