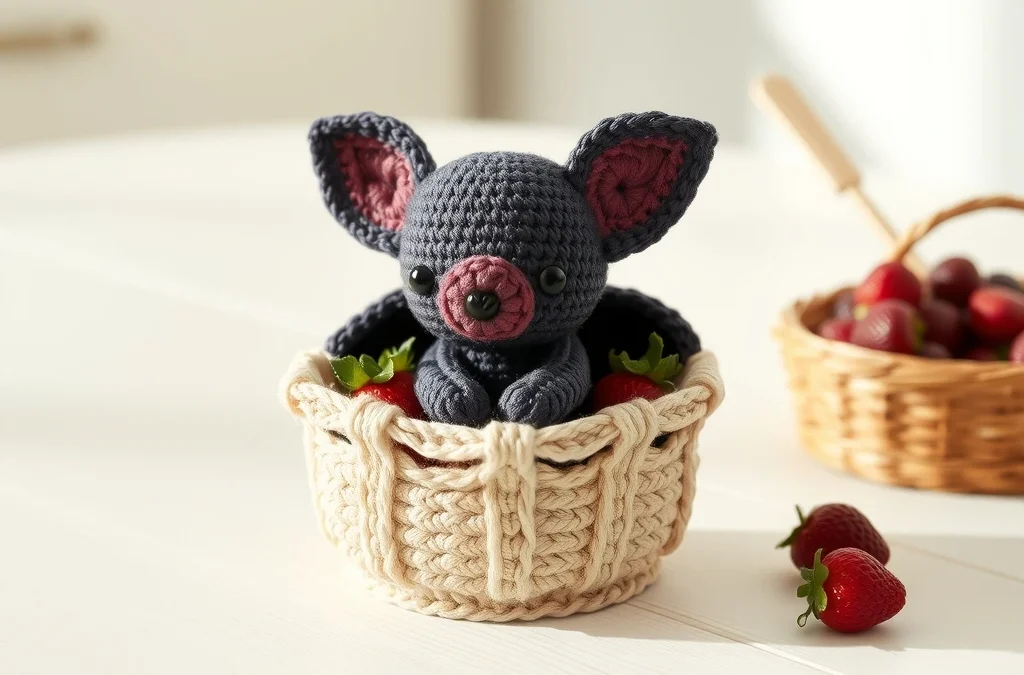
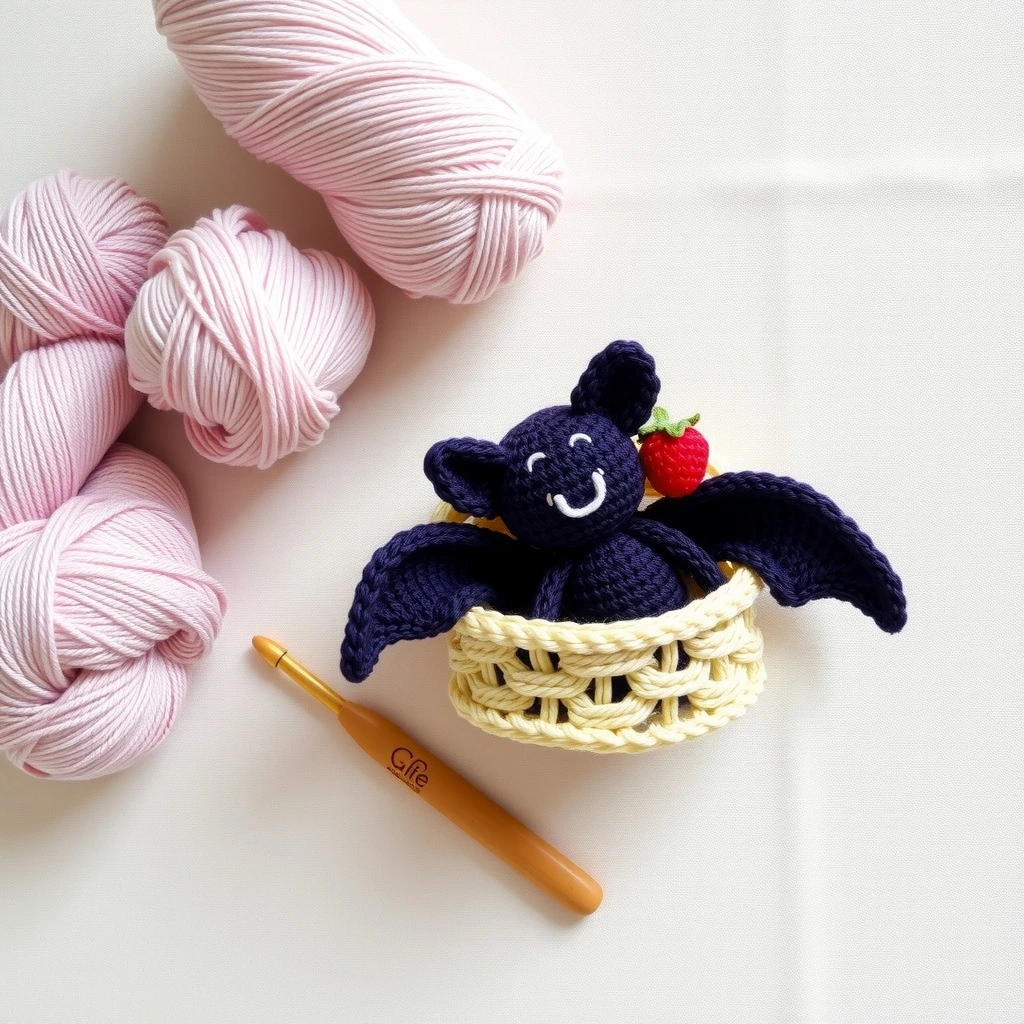
Hello, fellow yarn enthusiasts and welcome to your new favorite autumn-meets-summer crafting obsession! If you have ever wanted to combine cozy dessert aesthetics with undeniably cute nocturnal creatures, this project is tailor-made for you. The “Cozy Crochet Blackberry-Pie Bat in a Woven Picnic Basket Free Amigurumi Pattern” brings together a plump, berry-inspired plushie nestled snugly inside a textured, rustic basket. With its scalloped pie-crust wings, rich berry body, and soft felt details, this little bat is guaranteed to steal your heart and become the star of your handmade decor shelf.
As a master crochet designer, I have carefully engineered every single stitch to ensure your finished amigurumi is structurally sound, mathematically precise, and an absolute joy to stitch. Whether you are prepping for a themed market stall, crafting a unique handmade gift, or simply treating yourself to a delightful weekend project, this comprehensive tutorial guides you seamlessly from your very first magic ring to the final tucked-in yarn tail. Grab your hooks, pick your favorite cozy yarn shades, and let us bring this sweet little pastry-bat to life!
Materials, Yarn & Hook Requirements
| Material / Supply | Specification / Color | Quantity |
|---|---|---|
| Worsted Weight Yarn (Weight 4) | Deep Plum (Bat Body & Head) | 1 Skein (approx. 100 yds) |
| Worsted Weight Yarn (Weight 4) | Light Cream/Tan (Basket & Wings) | 1 Skein (approx. 80 yds) |
| Worsted Weight Yarn (Weight 4) | Burgundy or Dark Berry (Pie Crust Trim) | Small Scrap (approx. 20 yds) |
| Crochet Hook | US Size E/4 (3.5 mm) | 1 |
| Polyfill Stuffing | Standard plush toy stuffing | 1 Small Bag |
| Safety Eyes | 9 mm Black Plastic Safety Eyes | 1 Pair |
| Notions | Stitch markers, yarn needle, scissors, pink felt | As needed |
Stitch Abbreviations & Gauge
- ch: chain
- sc: single crochet
- hdc: half double crochet
- dc: double crochet
- inc: single crochet increase (2 sc in same stitch)
- dec: invisible single crochet decrease
- sl st: slip stitch
- Rnd / Row: Round or Row
- FO: fasten off
- Gauge: 7 sc x 7 rows = 2 inches using a 3.5 mm hook. Maintaining consistent tension ensures stuffing does not show through stitches.
Step-by-Step Written Crochet Pattern
Part 1: The Blackberry-Pie Bat Head & Body (Worked as One Piece)
Using Deep Plum yarn:
Rnd 1: 6 sc in Magic Ring (6)
Rnd 2: inc around (12)
Rnd 3: (1 sc, inc) 6 times (18)
Rnd 4: (2 sc, inc) 6 times (24)
Rnd 5: (3 sc, inc) 6 times (30)
Rnd 6 – Rnd 11: sc around in all 30 stitches (30)
Note: Insert safety eyes between Rnd 7 and Rnd 8, about 5 stitches apart. Embroider a tiny pink nose with scrap yarn.
Rnd 12: (3 sc, dec) 6 times (24)
Rnd 13: (2 sc, dec) 6 times (18)
Begin stuffing the head and body firmly with polyfill.
Rnd 14: (1 sc, dec) 6 times (12)
Rnd 15: dec 6 times (6)
FO, weave in tail to close.
Part 2: Blackberry-Pie Wings (Make 2)
Using Light Cream/Tan yarn (representing the pie crust):
Rnd 1: 6 sc in Magic Ring (6)
Rnd 2: inc around (12)
Rnd 3: (1 sc, inc) 6 times (18)
Rnd 4: (2 sc, inc) 6 times (24)
Fold the circle in half to form a semi-circle. Working through both thicknesses across the flat edge:
Row 5: ch 1, work 12 sc evenly across the straight edge to seal the wing closed (12). FO leaving a long tail for sewing.
Optional: Add a scallop trim along the curved edge using Burgundy yarn: (Skip 1 st, 4 dc in next st, skip 1 st, sl st in next st) repeat across.
Part 3: Bat Ears (Make 2)
Using Deep Plum yarn:
Rnd 1: 4 sc in Magic Ring (4)
Rnd 2: (1 sc, inc) twice (6)
Rnd 3: (2 sc, inc) twice (8)
Rnd 4: (3 sc, inc) twice (10)
FO leaving a long tail for sewing. Do not stuff ears.
Part 4: The Woven Picnic Basket
Using Light Cream/Tan yarn:
Rnd 1: 6 sc in Magic Ring (6)
Rnd 2: inc around (12)
Rnd 3: (1 sc, inc) 6 times (18)
Rnd 4: (2 sc, inc) 6 times (24)
Rnd 5: (3 sc, inc) 6 times (30)
Rnd 6: (4 sc, inc) 6 times (36)
Rnd 7: Working in BACK LOOPS ONLY (BLO), sc around in all 36 stitches (36)
Rnd 8 – Rnd 13: sc around in all 36 stitches (36)
Rnd 14: Crab stitch (reverse single crochet) all the way around the top rim for a sturdy, decorative edge (36). FO and weave in ends.
Customization & Care Instructions
Feel free to customize your blackberry-pie bat by switching up the berry colors! Try substituting the plum body with rich strawberry red or blueberry blue yarn to represent your favorite fruit pie flavors. You can also sew tiny felt leaves onto the top of the bat’s head to look like the stem of a real berry.
To care for your finished amigurumi, spot clean gently with a damp cloth and mild soap. Submerging the entire toy in water is not recommended due to the polyfill stuffing and safety components. Allow to air dry completely in a well-ventilated area.
Frequently Asked Questions (FAQ)
Can I use blanket yarn to make a jumbo version of this bat?
Yes, absolutely! If you use super bulky chenille yarn and an 8.0 mm crochet hook, this pattern will scale up into a wonderfully cuddly, jumbo-sized plushie. Just remember to swap in larger safety eyes accordingly.
How do I make the basket stand up straight without collapsing?
The basket is designed with tight tension and a solid base using worsted weight yarn. If you prefer extra rigidity, you can cut a small circle of cardboard or plastic mesh to place inside the bottom of the basket before seating your bat.
Are the wings supposed to be stuffed?
No, the wings are crocheted in the round, folded in half, and sewed shut to create a flat, stiff semi-circle reminiscent of pastry crust. This keeps them lightweight and easy to pose against the bat’s body.
What is the best way to attach the bat securely inside the basket?
Use your yarn needle and matching plum yarn to anchor the bottom of the bat’s body to the interior base of the basket with a few secure tacking stitches. This keeps your bat permanently nestled and prevents it from falling out.
Conclusion
Congratulations on completing your very own Cozy Crochet Blackberry-Pie Bat in a Woven Picnic Basket! Creating intricate amigurumi pieces like this allows you to flex your crochet skills while crafting something truly magical and unique. I hope you enjoyed following along with this step-by-step tutorial. Be sure to share photos of your finished pie-bats online, tag your creations, and keep your hooks ready for many more whimsical crochet adventures to come!
More Free Crochet Patterns You'll Love
 Amigurumi & Plushies
Cozy Crochet Peach-Cobbler Hedgehog in a Woven Picnic Basket Pattern
View Free Pattern → Amigurumi & Plushies
Cozy Crochet Vanilla-Bean Alpaca in a Waffle-Cone Mug Free Pattern
View Free Pattern →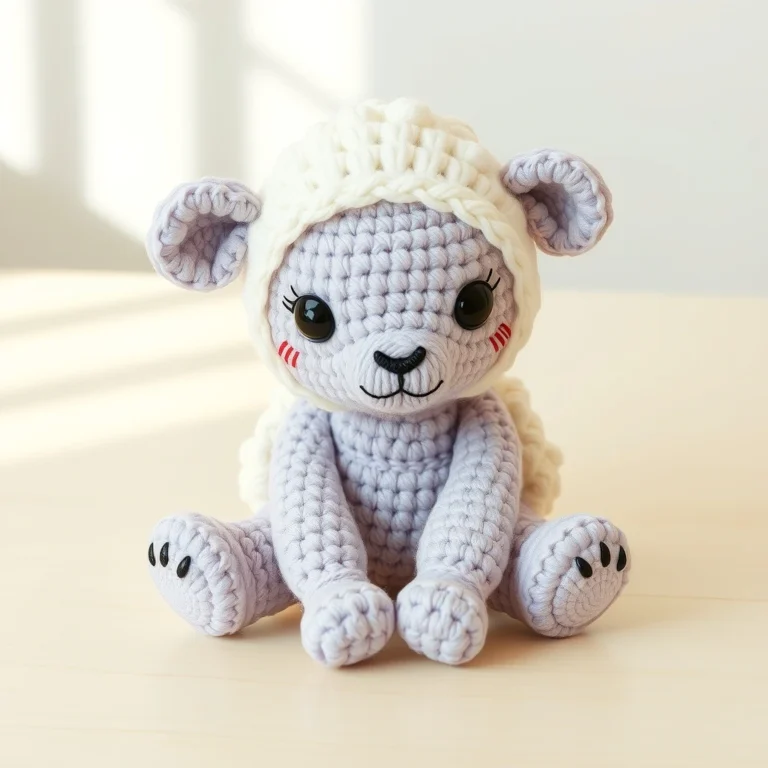 Amigurumi & Plushies

Leave a Reply