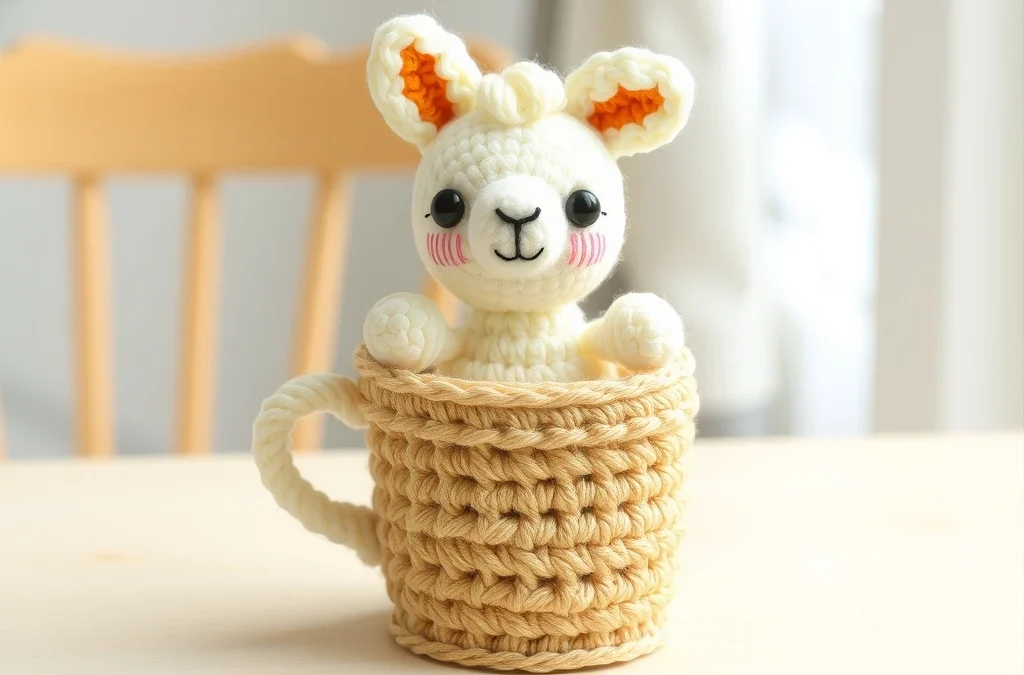
There is nothing quite as comforting as a warm mug of cocoa or a sweet vanilla treat, and this little project brings that cozy feeling directly to your craft room. Meet the Vanilla-Bean Alpaca, a whimsical character nestled perfectly inside a textured waffle-cone mug. Whether you are looking to brighten up your desk or searching for the perfect handmade gift for a loved one, this amigurumi project is sure to bring a smile to anyone’s face.
This pattern is designed with both beginners and seasoned crocheters in mind, utilizing simple stitches to create intricate textures. The waffle-cone base uses front-post stitches to mimic the classic grid pattern, while the alpaca is crafted with soft, fluffy yarn to give it that authentic, huggable charm. Grab your favorite hook, pick your softest pastel yarns, and let’s start stitching this adorable little companion today!
Materials, Yarn & Hook Requirements
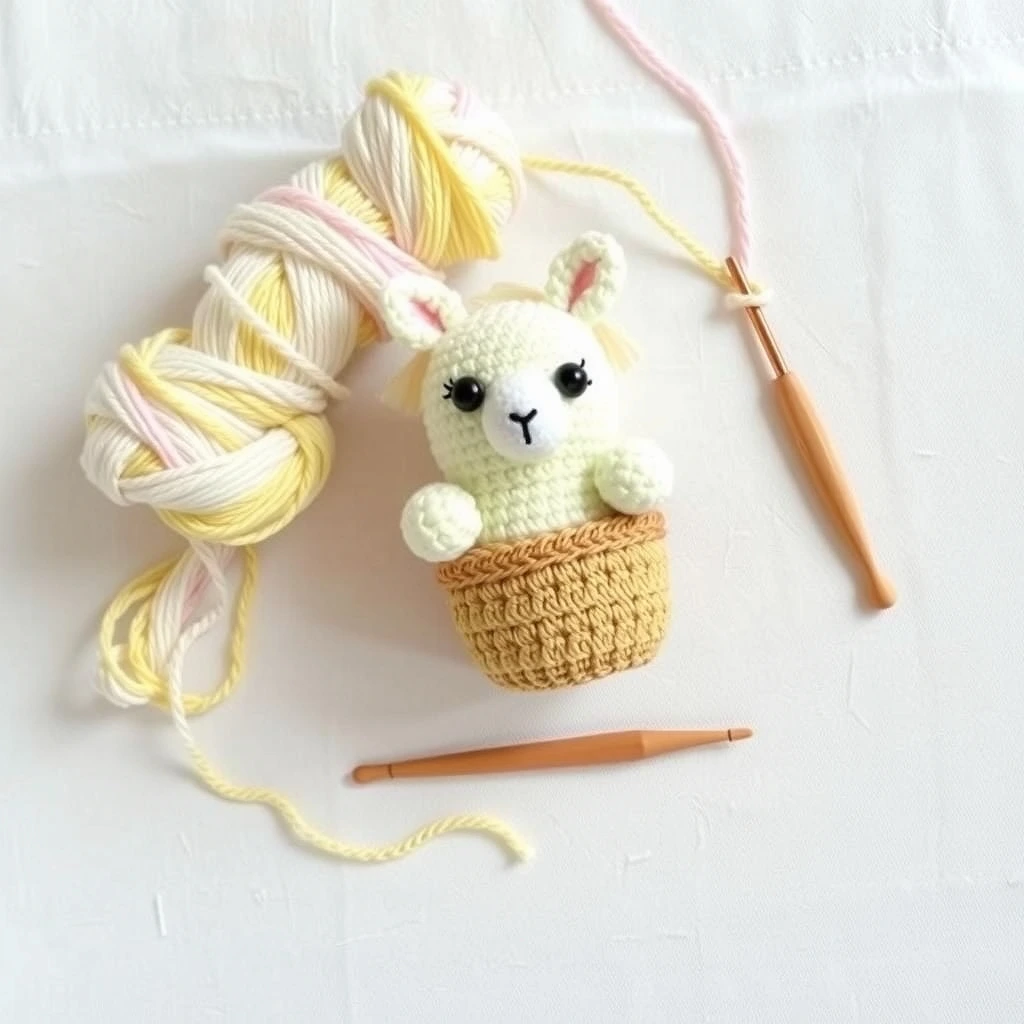
| Item | Specification |
|---|---|
| Yarn | Worsted Weight (Size 4) – Cream, Tan, and Pink |
| Crochet Hook | 3.5mm (E) |
| Safety Eyes | 8mm Black Plastic |
| Stuffing | Poly-fil Fiberfill |
| Tools | Yarn needle, stitch markers, scissors |
Stitch Abbreviations & Gauge
- ch: chain
- sc: single crochet
- hdc: half double crochet
- dc: double crochet
- inc: increase (2 sc in one stitch)
- dec: invisible decrease (sc 2 together)
- FPdc: front post double crochet
- Rnd: round
- Gauge: 18 sts x 20 rows = 4 inches in sc
Step-by-Step Written Crochet Pattern
Part 1: The Waffle-Cone Mug
Using Tan yarn:
Rnd 1: 6 sc in Magic Ring (6)
Rnd 2: inc around (12)
Rnd 3: (1 sc, inc) repeat around (18)
Rnd 4: (2 sc, inc) repeat around (24)
Rnd 5: (3 sc, inc) repeat around (30)
Rnd 6: BLO sc around (30)
Rnd 7-12: (1 dc, 1 FPdc) repeat around (30)
Rnd 13: sc around (30)
Fasten off and weave in ends.
Part 2: The Vanilla-Bean Alpaca Body
Using Cream yarn:
Rnd 1: 6 sc in Magic Ring (6)
Rnd 2: inc around (12)
Rnd 3: (1 sc, inc) repeat around (18)
Rnd 4: (2 sc, inc) repeat around (24)
Rnd 5-10: sc around (24)
Rnd 11: (2 sc, dec) repeat around (18)
Add safety eyes between Rnd 7 and 8.
Rnd 12: (1 sc, dec) repeat around (12)
Stuff firmly, then fasten off leaving a long tail for sewing to the mug.
Customization & Care Instructions
To customize your alpaca, feel free to add a tiny crochet bow on its head or use different shades of yarn to create a “chocolate” or “strawberry” version. For care, I recommend hand washing your finished plushie in cool water with a mild detergent and laying it flat to dry. Do not machine dry, as the heat can melt the plastic safety eyes and distort the polyester fiberfill.
Frequently Asked Questions (FAQ)
Can I use chunky yarn for this project?
Yes! If you use chunky yarn, simply increase your hook size to a 5.0mm or 6.0mm to maintain a tight fabric that prevents the stuffing from showing through.
How do I make the alpaca look more “fluffy”?
You can use a pet slicker brush to gently brush the surface of the finished alpaca body. This fluffs up the fibers and gives it a realistic, woolly appearance.
What if I am struggling with the FPdc stitch?
The Front Post Double Crochet can be tricky at first! Remember to yarn over, insert your hook from the front to the back around the post of the stitch below, pull up a loop, and finish the double crochet as normal.
Is this pattern safe for babies?
Safety eyes can be a choking hazard. If you are gifting this to a young child, I recommend embroidering the eyes with black yarn instead of using plastic safety eyes.
Conclusion
Thank you for joining me in creating this sweet Vanilla-Bean Alpaca. I hope you enjoyed the process as much as I enjoyed designing it for you. Don’t forget to share your finished photos on Pinterest and tag me so I can see your beautiful work. Happy crocheting, and may your stitches always be even and your yarn stash ever-growing!
More Free Crochet Patterns You'll Love
 Amigurumi & Plushies
Cozy Crochet Lavender Lamb in a Floral Basket Free Pattern
View Free Pattern → Amigurumi & Plushies
Free Crochet Peach-Cobbler Axolotl Amigurumi Pattern & Jar Tutorial
View Free Pattern →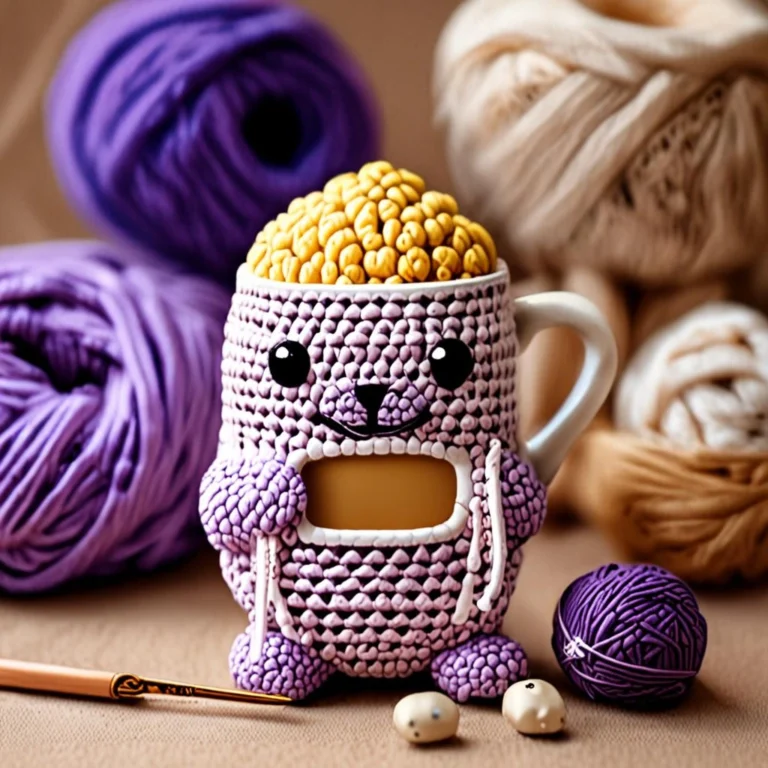 Amigurumi & Plushies

Leave a Reply