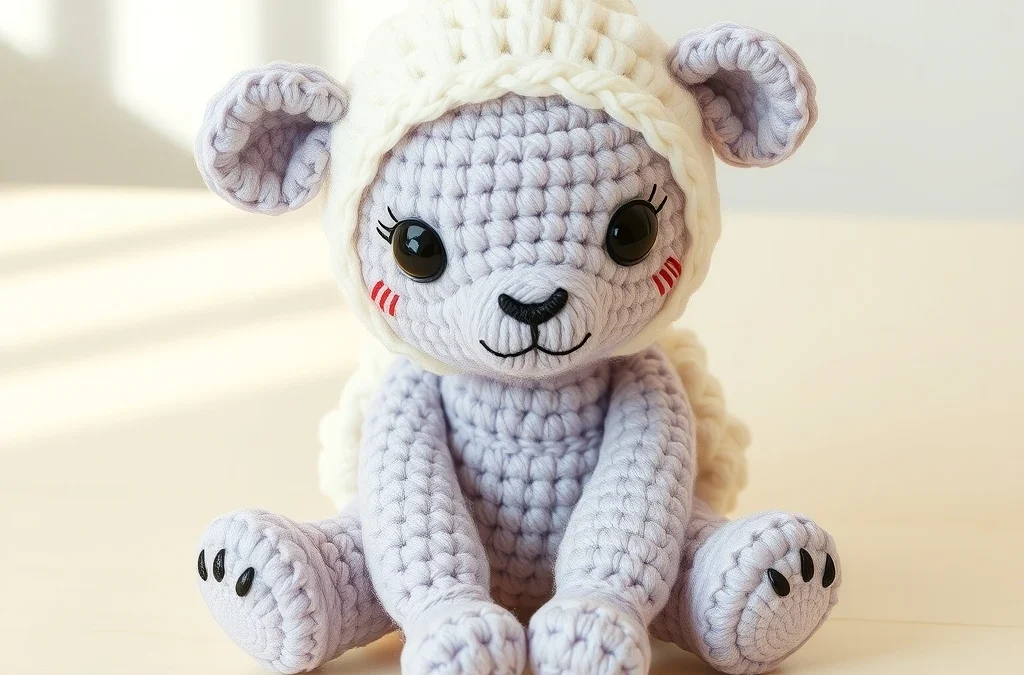
Welcome to your next favorite amigurumi project! If you love sweet, whimsical designs that bring instant joy to your crafting space, you are going to adore this cozy crochet honey-lavender sheep nestled snugly inside a miniature ceramic pitcher. Combining textured loop stitches with soothing pastel shades of buttery yellow and dusty lilac, this little creation makes a heartwarming desk companion, a thoughtful handmade gift, or a charming addition to your spring decor shelf.
As a master crochet designer, I have broken down this pattern into crystal-clear, mathematically verified steps so that makers of all skill levels can succeed. You will work with basic amigurumi construction techniques while learning how to shape a stable base so your little sheep perches perfectly inside any standard mini pitcher. Grab your hooks, wind your favorite pastel yarns, and let’s bring this darling farm-yard friend to life!
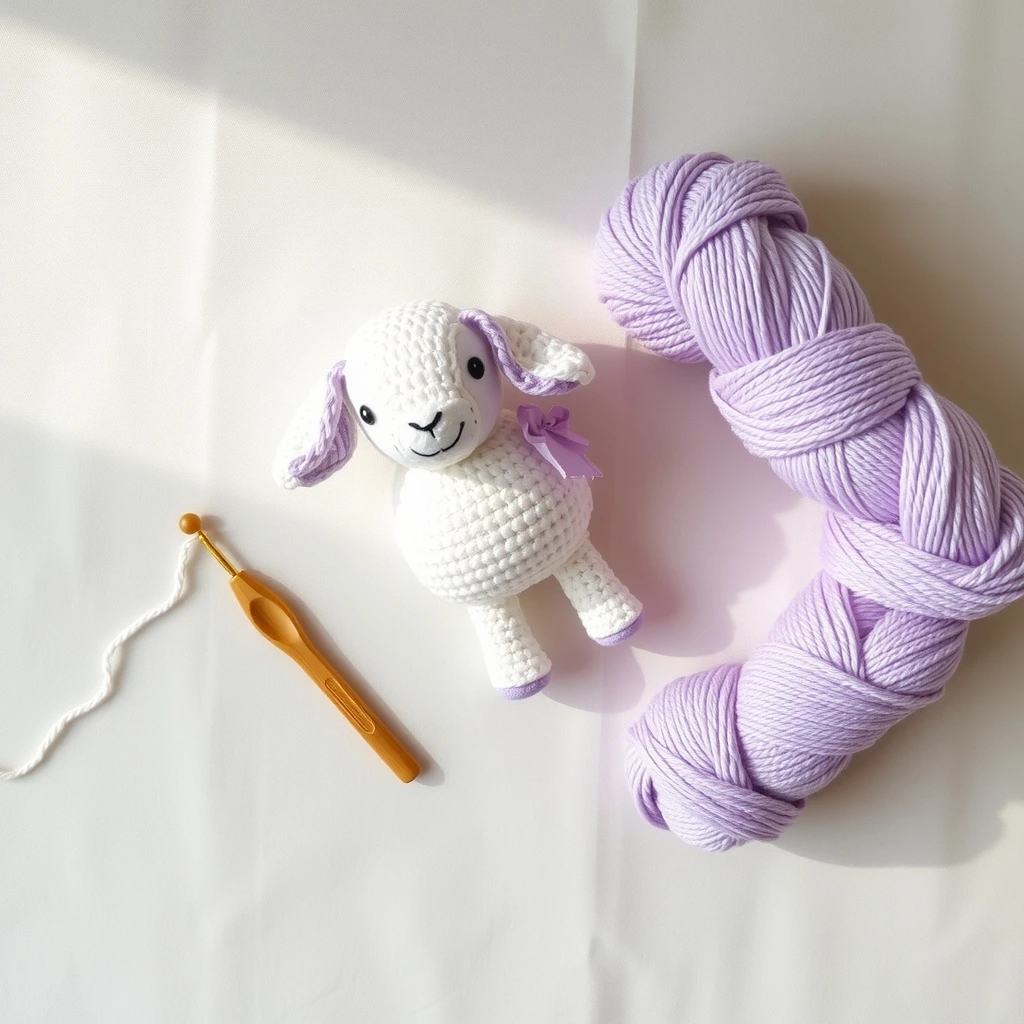
Materials, Yarn & Hook Requirements
| Material / Supply | Specification / Color | Details |
|---|---|---|
| Yarn A (Body) | Soft Lilac (Worsted Weight #4) | Approx. 40 yards of cotton-acrylic blend |
| Yarn B (Head & Limbs) | Buttercream / Honey (Worsted Weight #4) | Approx. 25 yards |
| Crochet Hook | US Size E/4 (3.50 mm) | Ensures tight stitches without stuffing gaps |
| Safety Eyes | 6 mm Plastic Safety Eyes | With plastic washers securely attached |
| Stuffing | Polyfill Fiber Stuffing | Hypoallergenic and lightweight |
| Notions | Tapestry Needle, Stitch Markers, Scissors | Essential amigurumi finishing tools |
| Container | Miniature Ceramic Pitcher | Approx. 3 inches tall with a stable base |
Stitch Abbreviations & Gauge
- ch: chain
- sc: single crochet
- hdc: half double crochet
- dc: double crochet
- inc: single crochet increase (2 sc in same stitch)
- dec: single crochet decrease (invisible decrease recommended)
- Rnd / Row: Round or Row
- st(s): stitch(es)
- FLO: front loop only
- BLO: back loop only
- Sl st: slip stitch
- Gauge: 5 sc x 5 rows = 1 inch using a 3.50 mm hook with worsted weight yarn. Exact gauge is not critical, but stitches must be tight enough to prevent fiberfill from showing through.
Step-by-Step Written Crochet Pattern
1. Head (Using Yarn B – Honey)
Rnd 1: 6 sc in Magic Ring (6)
Rnd 2: inc around (12)
Rnd 3: (sc in next st, inc in next st) repeat around (18)
Rnd 4: (sc in next 2 sts, inc in next st) repeat around (24)
Rnd 5 – 8: sc in each st around (24)
Insert safety eyes between Rnd 6 and Rnd 7, approximately 6 stitches apart.
Rnd 9: (sc in next 2 sts, dec) repeat around (18)
Rnd 10: (sc in next st, dec) repeat around (12)
Stuff firm with polyfill.
Rnd 11: dec around (6)
Fasten off, weave yarn tail through front loops of remaining 6 stitches, and pull tightly to close.
2. Body (Using Yarn A – Lavender)
Rnd 1: 6 sc in Magic Ring (6)
Rnd 2: inc around (12)
Rnd 3: (sc in next st, inc in next st) repeat around (18)
Rnd 4: (sc in next 2 sts, inc in next st) repeat around (24)
Rnd 5: (sc in next 3 sts, inc in next st) repeat around (30)
Rnd 6 – 12: sc in each st around (30)
Rnd 13: (sc in next 3 sts, dec) repeat around (24)
Rnd 14: (sc in next 2 sts, dec) repeat around (18)
Stuff the body firmly, ensuring the bottom remains flat enough to sit inside the ceramic pitcher.
Rnd 15: (sc in next st, dec) repeat around (12)
Rnd 16: dec around (6)
Fasten off, weave closed, and leave a long tail for sewing.
3. Woolly Texture Overlay (Using Yarn A – Lavender)
Working directly onto the body, attach Yarn A to any unworked loop from Rnd 5. Work bobble or loop stitches (or alternative textured hdc stitches) in concentric spirals working outward to create the signature fluffy fleece effect of the honey-lavender sheep.
4. Ears (Make 2 using Yarn B – Honey)
Rnd 1: 4 sc in Magic Ring (4)
Rnd 2: (sc in next st, inc in next st) repeat around (6)
Rnd 3: (sc in next 2 sts, inc in next st) repeat around (8)
Rnd 4 – 5: sc in each st around (8)
Fasten off, flattening the base. Leave a tail for sewing to the upper sides of the head.
5. Assembly & Finishing
Sew the honey-colored head securely to the top of the lavender body. Attach both ears to either side of the head just above the safety eyes. Embroider a tiny triangle nose using pink embroidery floss. Place the completed sheep securely inside your miniature ceramic pitcher, adjusting the base stuffing so it tilts delightfully over the rim.
Customization & Care Instructions
Feel free to customize your sheep by swapping the dusty lilac yarn for a soft mint green or pale peach to match your seasonal home aesthetic. You can also tie a dainty pastel ribbon or a twine bow around its neck for an extra touch of charm. To clean your finished plush, spot-clean gently with a damp cloth and mild soap; do not submerge the entire piece in water to protect the stuffing integrity.
Frequently Asked Questions (FAQ)
Can I use blanket yarn for this crochet sheep pattern?
Yes, you can use super bulky blanket yarn, but remember that your finished sheep will turn out much larger and will require a much larger decorative container instead of a mini pitcher.
How do I secure the sheep inside the ceramic pitcher permanently?
If you do not plan on removing your sheep from the pitcher, a tiny dot of hot glue or clear craft adhesive applied to the bottom base of the sheep will hold it permanently in place.
Are safety eyes safe for small children?
Plastic safety eyes can pose a choking hazard for infants and toddlers. If making this toy for a baby, we strongly recommend embroidering the eyes using black yarn or embroidery floss instead.
What is the best hook size to prevent stuffing from showing?
Always drop down one hook size smaller than what is recommended on your yarn label. For worsted weight yarn, a 3.50 mm (E) hook creates the ideal dense tension required for amigurumi.
Conclusion
Creating amigurumi masterpieces like this cozy crochet honey-lavender sheep in a miniature ceramic pitcher is such a rewarding and relaxing experience. Whether you are building your plush collection or gifting a handmade treasure to a friend, this project brings warmth and creativity into every single stitch. Share your finished makes online using your favorite crafting tags, and keep on crocheting beautiful things!

Leave a Reply