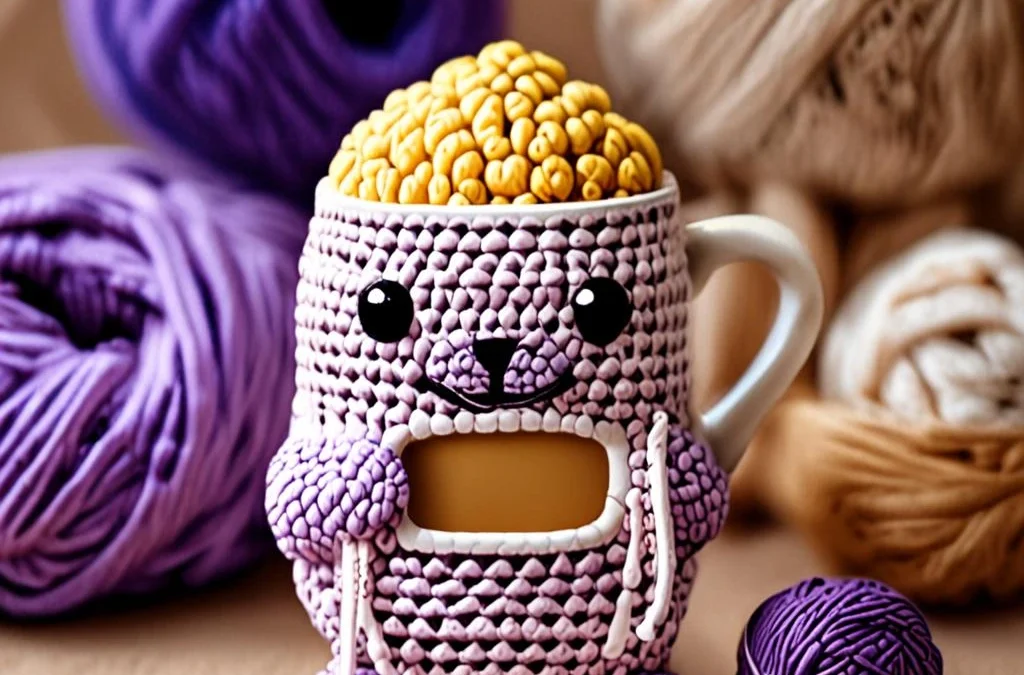
Welcome to the ultimate cozy amigurumi project! If you love bubble tea and adorable sea creatures, this taro milk tea seal crochet pattern is about to become your new favorite make. Combining the squishy charm of a baby seal with the aesthetic delight of a pastel taro root boba mug, this design is packed with delightful details like embroidered facial expressions and whimsical felt boba pearls resting right on top.
As a Certified Master Crochet Designer, I have carefully structured this mathematical blueprint to ensure your plushie turns out perfectly balanced, stable in its mug, and delightfully huggable. Grab your favorite yarn colors, brew a warm cup of tea, and let us dive straight into creating your very own sweet taro seal companion!
Materials, Yarn & Hook Requirements
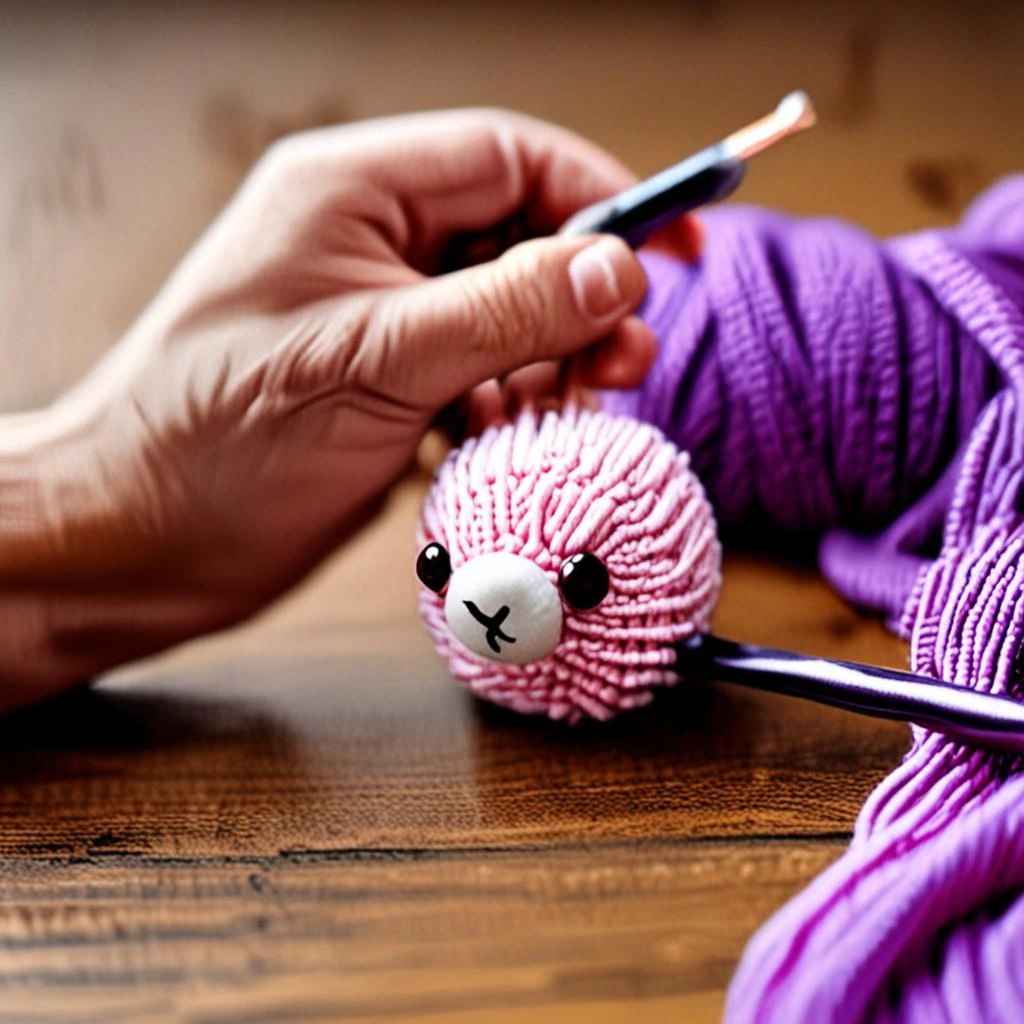
| Material / Item | Specification & Details |
|---|---|
| Yarn A (Seal Body) | Light Purple (Lavender) Worsted Weight Yarn (Approx. 80 yds) |
| Yarn B (Mug & Details) | Deep Purple (Taro Root) Worsted Weight Yarn (Approx. 60 yds) |
| Yarn C (Boba Pearls) | Dark Brown or Black Worsted Weight Yarn (Small scrap amount) |
| Crochet Hook | US Size E/4 (3.5 mm) |
| Notions | Polyfill stuffing, tapestry needle, stitch markers, 9mm safety eyes, brown embroidery floss |
Stitch Abbreviations & Gauge
- ch: chain
- sc: single crochet
- hdc: half double crochet
- dc: double crochet
- inc: single crochet increase (2 sc in the same stitch)
- dec: single crochet invisible decrease
- Rnd / Row: round or row
- st(s): stitch(es)
- ( ): repeat instructions within parentheses for the specified number of times
- [ ]: total stitch count at the end of each round
Gauge: 7 sc x 7 rows = 2 inches using a 3.5 mm hook. Exact gauge is not critical for amigurumi, but keep your tension tight and consistent to prevent stuffing from showing through the stitches.
Step-by-Step Written Crochet Pattern
Seal Body (Yarn A – Light Purple)
Work in continuous rounds without joining unless otherwise stated. Use a stitch marker to track the beginning of each round.
Rnd 1: 6 sc in Magic Ring [6]
Rnd 2: inc around [12]
Rnd 3: (1 sc, inc) 6 times [18]
Rnd 4: (2 sc, inc) 6 times [24]
Rnd 5: (3 sc, inc) 6 times [30]
Rnd 6 – Rnd 12: sc in each st around [30]
Rnd 13: (3 sc, dec) 6 times [24]
Rnd 14: (2 sc, dec) 6 times [18] (Insert safety eyes between Rnd 9 and Rnd 10, about 5 stitches apart)
Rnd 15: (1 sc, dec) 6 times [12]
Stuff the body firmly with polyfill.
Rnd 16: dec 6 times [6]
Fasten off, weave in the tail, and close the remaining opening.
Taro Root Mug (Yarn B – Deep Purple)
Rnd 1: 8 sc in Magic Ring [8]
Rnd 2: inc around [16]
Rnd 3: (1 sc, inc) 8 times [24]
Rnd 4: (2 sc, inc) 8 times [32]
Rnd 5: (3 sc, inc) 8 times [40]
Rnd 6: Working in back loops only (BLO), sc in each st around [40]
Rnd 7 – Rnd 15: sc in each st around (9 rounds total) [40]
Rnd 16: (3 sc, dec) 8 times [32]
Rnd 17: Slip stitch around all stitches for a neat top edge rim.
Fasten off and weave in the ends.
Mug Handle
Row 1: Ch 7, starting in 2nd ch from hook, make 6 sc [6]
Row 2: Turn, ch 1, sc in each st across [6]
Fasten off, leaving a long tail for sewing. Attach the handle securely to the side of the taro mug between Rnd 8 and Rnd 14.
Boba Pearls (Make 5 – Yarn C)
Rnd 1: 6 sc in Magic Ring [6]
Rnd 2: sc around [6]
Fasten off, leave a tail for assembly, stuff lightly, and sew onto the top rim area of the mug alongside the seal.
Customization & Care Instructions
Feel free to customize your taro milk tea seal by changing up the milk tea colors! You can swap light purple for matcha green yarn to create a matcha seal mug, or classic beige for a traditional milk tea look. Add rosy pink blush to the seal’s cheeks using acrylic paint or actual cosmetic makeup blusher for extra cuteness.
Care Instructions: Spot clean your amigurumi plushie using a damp cloth and mild soap. Do not submerge completely in water or machine wash, as this may warp the polyfill stuffing and damage the safety eyes.
Frequently Asked Questions (FAQ)
Can I use blanket yarn to make a jumbo version of this seal?
Yes, absolutely! If you use super bulky blanket yarn and a 6.0 mm or 8.0 mm crochet hook, your taro seal will turn out much larger and extra snuggly. Just remember to size up your safety eyes accordingly.
What is the best way to attach the safety eyes securely?
Always attach your safety eyes before stuffing the body completely. Double-check their placement between Rnd 9 and 10, and press the plastic washers on firmly from the inside. If giving to a baby or toddler, consider embroidering the eyes with black yarn instead.
Why do we work in the back loops only (BLO) for the mug base?
Working in the back loops only on Rnd 6 of the mug creates a distinct, crisp horizontal ridge line. This helps the base of the mug stay flat and gives it a structured, professional container silhouette.
How do I keep my tension even while working amigurumi rounds?
Maintaining consistent tension comes down to how you hold your yarn and hook. Try utilizing yarn guides or wrapping the yarn an extra time around your index finger to keep the yarn feed tight, preventing holes from forming where the stuffing shows through.
Conclusion
Congratulations on completing your very own cozy crochet taro milk tea seal! This delightful amigurumi piece brings together two of life’s greatest pleasures: adorable sea animals and delicious bubble tea. Be sure to snap photos of your finished creation, share them on Pinterest, and tag your progress to inspire fellow crafters. Happy crocheting!
More Free Crochet Patterns You'll Love
 Amigurumi & Plushies
Cozy Crochet Honey-Lemon Duckling in a Teapot Nest Free Pattern
View Free Pattern → Amigurumi & Plushies
Cozy Crochet Acorn Squirrel in a Maple Leaf Hammock Free Pattern
View Free Pattern → Amigurumi & Plushies

Leave a Reply