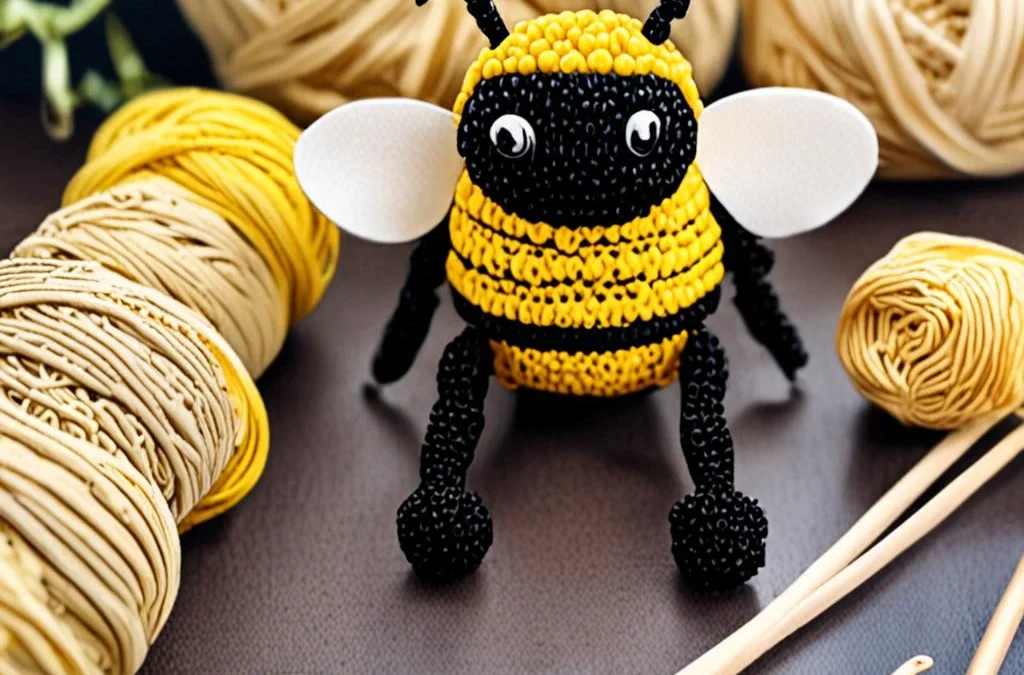
Welcome to your new favorite quick-make project! If you love the cozy, velvet texture of jumbo yarn plushies but dread the tedious assembly process of sewing on wings, antennae, and limbs, this pattern is your ultimate dream come true. Designed with efficiency and irresistible squishiness in mind, this little buzzy friend is crafted entirely as one continuous piece—meaning absolutely zero sewing is required to bring your bumblebee to life.
Whether you are preparing inventory for your next craft fair, looking for a fast last-minute handmade gift, or simply wanting to indulge in a satisfying weekend crochet session, this beginner-friendly tutorial guides you through every single stitch. Grab your favorite plush yarn and hook, and let’s dive into creating your very own adorably plump, no-sew chenille bumblebee!
Materials, Yarn & Hook Requirements
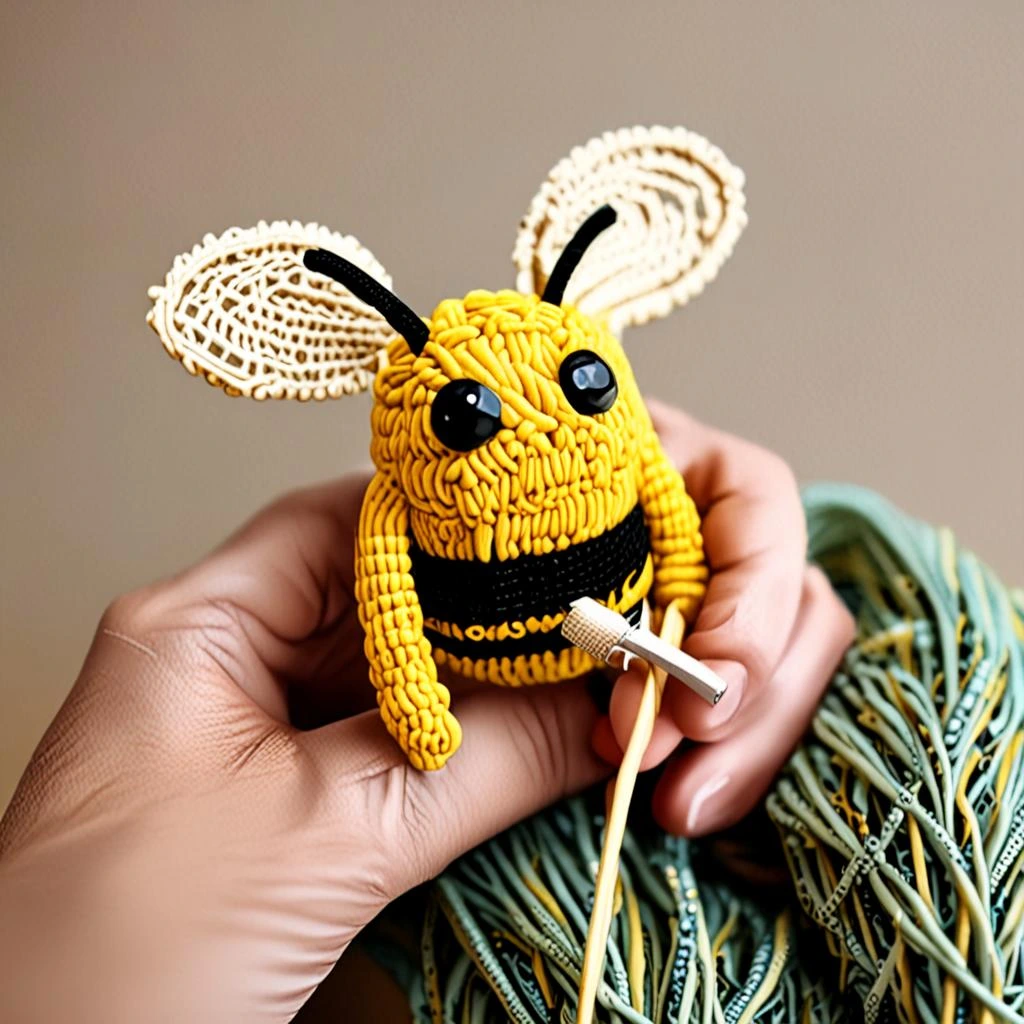
| Material | Specification |
|---|---|
| Yarn | Super Bulky (#6) Chenille Yarn (Colors: Yellow, Black, White) |
| Crochet Hook | 6.5 mm (K-10.5) or 7.0 mm crochet hook |
| Safety Eyes | 16mm or 18mm plastic safety eyes with washers |
| Stuffing | Poly-fil fiber stuffing |
| Notions | Stitch marker, yarn needle, scissors |
Stitch Abbreviations & Gauge
- ch: chain
- sc: single crochet
- hdc: half double crochet
- dc: double crochet
- inc: single crochet increase (2 sc in same stitch)
- dec: single crochet invisible decrease
- Rnd / Row: round or row
- st(s): stitch(es)
- sl st: slip stitch
Gauge: 8 sts and 8 rows = 4 inches in single crochet with specified yarn and hook. Gauge is not overly critical for amigurumi, but ensure your stitches are tight enough to prevent the stuffing from showing through.
Step-by-Step Written Crochet Pattern
Body Base & Color Changing
Start with Yellow yarn. Working in continuous rounds without joining unless specified.
Rnd 1: 6 sc in Magic Ring (6)
Rnd 2: inc around (12)
Rnd 3: (sc in next st, inc in next st) repeat around (18)
Rnd 4: (sc in next 2 sts, inc in next st) repeat around (24)
Rnd 5: (sc in next 3 sts, inc in next st) repeat around (30)
Rnd 6 – Rnd 7: sc in each st around (30) [2 rounds total]
Switch to Black yarn.
Rnd 8 – Rnd 9: sc in each st around (30) [2 rounds total]
Switch to Yellow yarn.
Rnd 10 – Rnd 11: sc in each st around (30) [2 rounds total]
Switch to Black yarn.
Rnd 12 – Rnd 13: sc in each st around (30) [2 rounds total]
Switch to Yellow yarn.
Rnd 14 – Rnd 15: sc in each st around (30) [2 rounds total]
Insert safety eyes between Rnd 11 and Rnd 12, about 5 stitches apart. Secure safety backings firmly. Begin stuffing the body firmly with fiberfill.
Closing the Body
Rnd 16: (sc in next 3 sts, dec) repeat around (24)
Rnd 17: (sc in next 2 sts, dec) repeat around (18)
Add final adjustments of poly-fil stuffing to ensure a plump shape.
Rnd 18: (sc in next st, dec) repeat around (12)
Rnd 19: dec around (6)
Fasten off, leaving a short tail. Weave the tail through the front loops of the remaining 6 stitches and pull tight to close the hole completely. Hide yarn inside the body.
Integrated No-Sew Wings (Make 2)
Using White chenille yarn. Wings are crocheted directly into the body surface
More Free Crochet Patterns You'll Love
 Amigurumi & Plushies
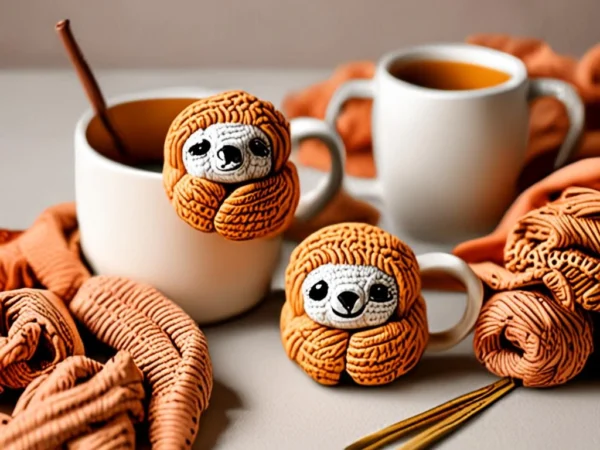
Cozy Crochet Cinnamon-Roll Sloth in a Glazed Ceramic Mug Free Pattern
View Free Pattern →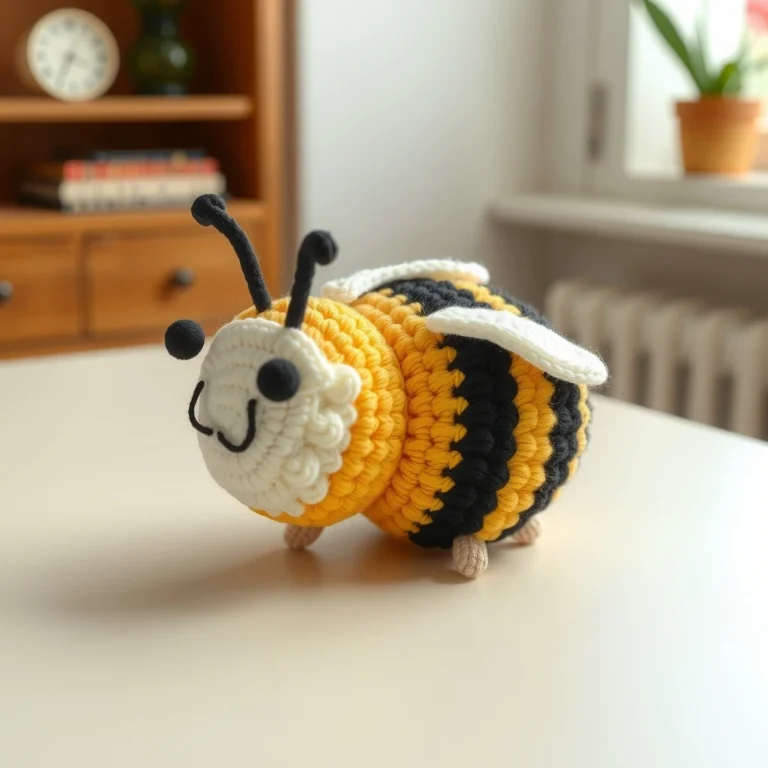 Amigurumi & Plushies
Easy No-Sew Chunky Chenille Bumblebee Amigurumi Crochet Pattern
View Free Pattern → Amigurumi & Plushies

Leave a Reply