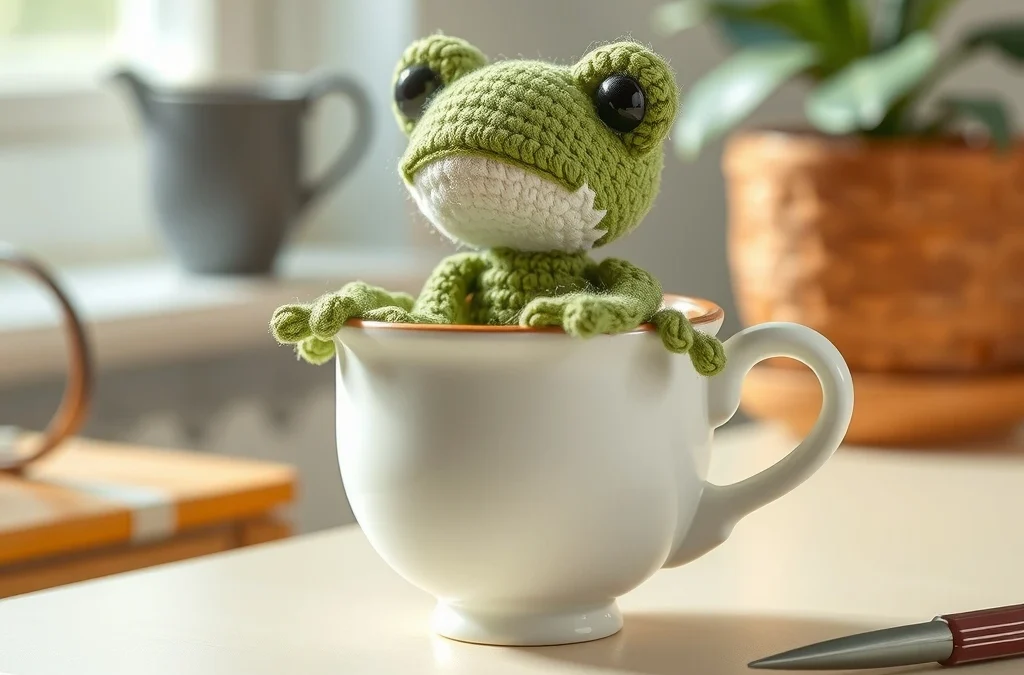
Welcome to your next favorite amigurumi obsession! If you love cozy drinks and adorable little creatures, the Cozy Crochet Matcha-Latte Frog in a Ceramic Teacup Free Pattern is guaranteed to melt your heart. This delightful project combines the soothing, creamy green tones of matcha tea with an irresistibly sweet plush frog resting comfortably in its own tiny ceramic-style mug. Whether you are looking to brighten up your desk space, gift a handmade treasure to a tea-loving friend, or simply spend a relaxing afternoon hooking up some adorable plushie magic, this step-by-step tutorial has you covered.
Designed with meticulous attention to detail and mathematically balanced stitch counts, this pattern ensures a seamless, frustration-free assembly. We will guide you through crafting the ceramic mug base, the creamy foam topping, the round frog body, and those iconic wide-eyed expressions that give amigurumi frogs so much personality. Grab your hooks and favorite yarn colors, and let’s dive straight into this whimsical crafting adventure!
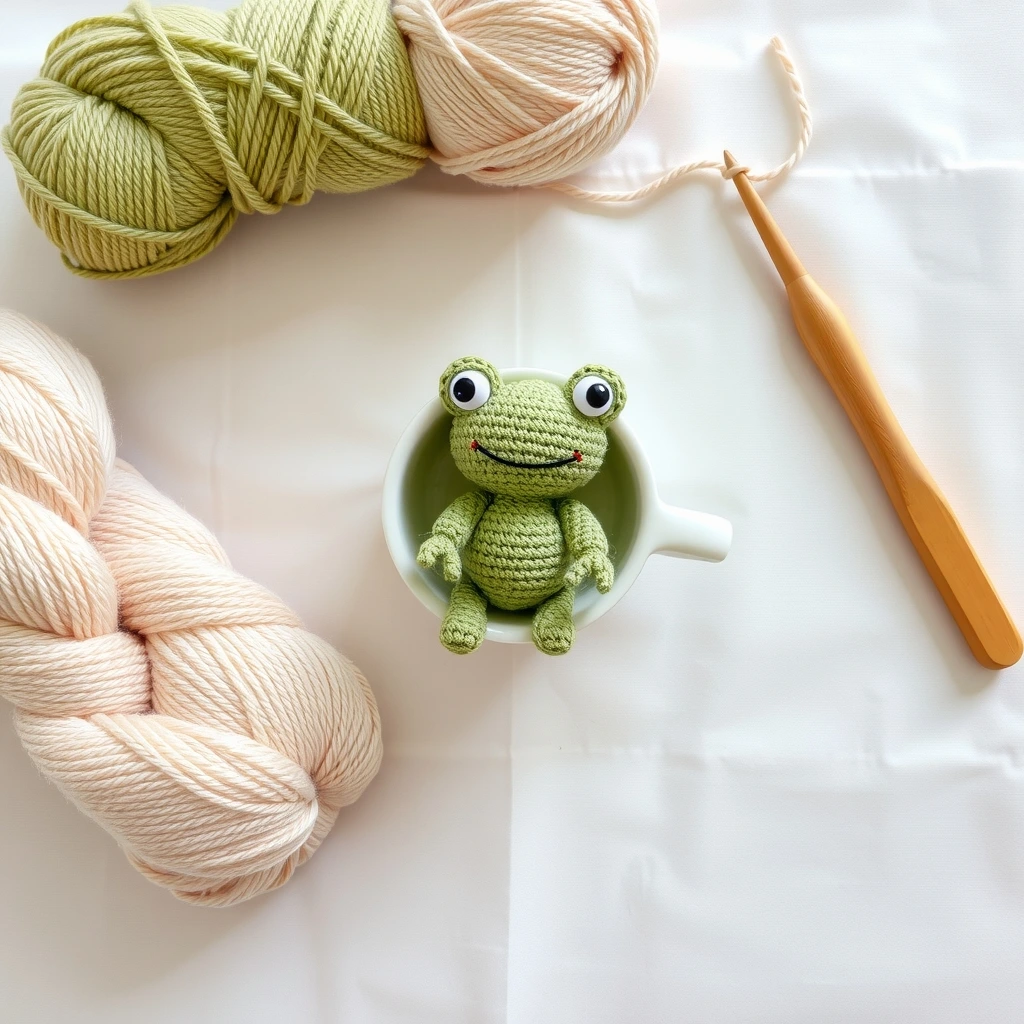
Materials, Yarn & Hook Requirements
| Item | Description / Color | Recommended Brand |
|---|---|---|
| Yarn A (Frog Body) | Light Matcha Green (Worsted Weight / #4) | Lion Brand Basic Stitch (Matcha) |
| Yarn B (Teacup) | Off-White / Cream (Worsted Weight / #4) | Red Heart Super Saver (Aran) |
| Yarn C (Latte Foam) | Pale Creamy Yellow (Worsted Weight / #4) | Caron Simply Soft (Bone) |
| Crochet Hook | US Size E/4 (3.50mm) | Clover Amour Hook |
| Notions | Polyfill stuffing, 9mm safety eyes, yarn needle, stitch markers, scissors | Standard Amigurumi Toolkit |
Stitch Abbreviations & Gauge
- ch: chain
- sc: single crochet
- hdc: half double crochet
- dc: double crochet
- inc: single crochet increase (2 sc in the same stitch)
- dec: single crochet invisible decrease
- Rnd / Row: round or row
- sl st: slip stitch
- st(s): stitch(es)
Gauge: 6 sts and 6 rows in sc = 1 inch using a 3.50mm hook. Maintaining a tight, even tension is key to preventing stuffing from showing through your stitches.
Step-by-Step Written Crochet Pattern
1. The Ceramic Teacup (Yarn B: Cream)
Rnd 1: 6 sc in Magic Ring (6)
Rnd 2: inc around (12)
Rnd 3: (1 sc, inc) around (18)
Rnd 4: (2 sc, inc) around (24)
Rnd 5: (3 sc, inc) around (30)
Rnd 6: Working in BLO (Back Loops Only), sc around (30)
Rnd 7-13: sc in each st around (30) – 7 rounds total
Rnd 14: (3 sc, dec) around (24)
Rnd 15: sl st in each st around, fasten off and weave in ends. (24 sl st)
2. Matcha Latte Foam Insert (Yarn C: Pale Yellow)
Rnd 1: 6 sc in Magic Ring (6)
Rnd 2: inc around (12)
Rnd 3: (1 sc, inc) around (18)
Rnd 4: (2 sc, inc) around (24)
Rnd 5: (3 sc, inc) around (30)
Fasten off, leaving a long tail for sewing. Insert this piece inside the top of the teacup just below the rim, stuff the cup lightly underneath, and sew the foam disk securely in place.
3. The Matcha Frog Body (Yarn A: Matcha Green)
Rnd 1: 6 sc in Magic Ring (6)
Rnd 2: inc around (12)
Rnd 3: (1 sc, inc) around (18)
Rnd 4: (2 sc, inc) around (24)
Rnd 5: (3 sc, inc) around (30)
Rnd 6-10: sc in each st around (30) – 5 rounds total
Note: Insert safety eyes between Rnd 7 and Rnd 8, about 6 stitches apart.
Rnd 11: (3 sc, dec) around (24)
Rnd 12: (2 sc, dec) around (18)
Stuff the frog firmly with polyfill.
Rnd 13: (1 sc, dec) around (12)
Rnd 14: dec around (6)
Fasten off, close the hole, and weave in the tail.
4. Frog Eyes (Make 2 – Yarn A: Matcha Green)
Rnd 1: 6 sc in Magic Ring (6)
Rnd 2: inc around (12)
Rnd 3: sc in each st around (12)
Fasten off, leaving a long tail. Lightly stuff and sew the eyes securely to the top of the frog’s head.
5. Frog Cheeks & Assembly
Using a short strand of pink yarn, embroider small French knots or straight stitches for blush under the safety eyes. Seat your finished frog directly onto the latte foam disk inside the teacup and sew the bottom of the frog to the foam so it stays permanently cozy and secure!
Customization & Care Instructions
Make this pattern uniquely yours by swapping out yarn colors! You can create an iced-berry frog with pink strawberry milk yarn, or a chocolate mocha frog with rich brown tones. For care, gently spot-clean your amigurumi with a damp cloth and mild soap. Do not submerge in water due to the polyfill stuffing and safety eyes.
Frequently Asked Questions (FAQ)
Can I use blanket yarn to make a jumbo version?
Yes, absolutely! If you switch to super bulky chenille yarn and a 6.50mm or 8.00mm hook, your matcha-latte frog will turn into a massive, huggable cuddle pillow. Just remember to size up your safety eyes accordingly.
How do I make the safety eyes extra secure?
Always attach safety eyes with their plastic washers firmly pushed onto the back before stuffing the body. If giving this toy to a baby or toddler, we strongly recommend embroidering the eyes with black yarn instead of using plastic safety eyes to prevent choking hazards.
What if my teacup starts to slouch?
If your worsted-weight yarn teacup loses its shape, you can insert a small circle of heavy plastic mesh (plastic canvas) cut to fit the bottom of the cup during Rnd 5. This adds incredible structure and keeps the cup standing proud!
Can I remove the frog from the teacup?
In this pattern, the frog is designed to be permanently seated inside the teacup. However, if you want a removable frog, simply omit sewing the frog to the foam disk and adjust the frog’s bottom so it sits flat on its own!
Conclusion
Creating your very own Cozy Crochet Matcha-Latte Frog in a Ceramic Teacup is a wonderfully rewarding project that brings instant smiles and cozy vibes to any room. We love seeing your handmade creations come to life, so be sure to share your finished photos online and tag us! Happy crocheting, and may your stitches always be even!
More Free Crochet Patterns You'll Love
 Amigurumi & Plushies
Cozy Crochet Cinnamon-Roll Sloth in a Glazed Ceramic Mug Free Pattern
View Free Pattern → Amigurumi & Plushies
Cozy Crochet Sakura-Blossom Fox in a Ceramic Teacup Free Pattern
View Free Pattern → Amigurumi & Plushies

Leave a Reply