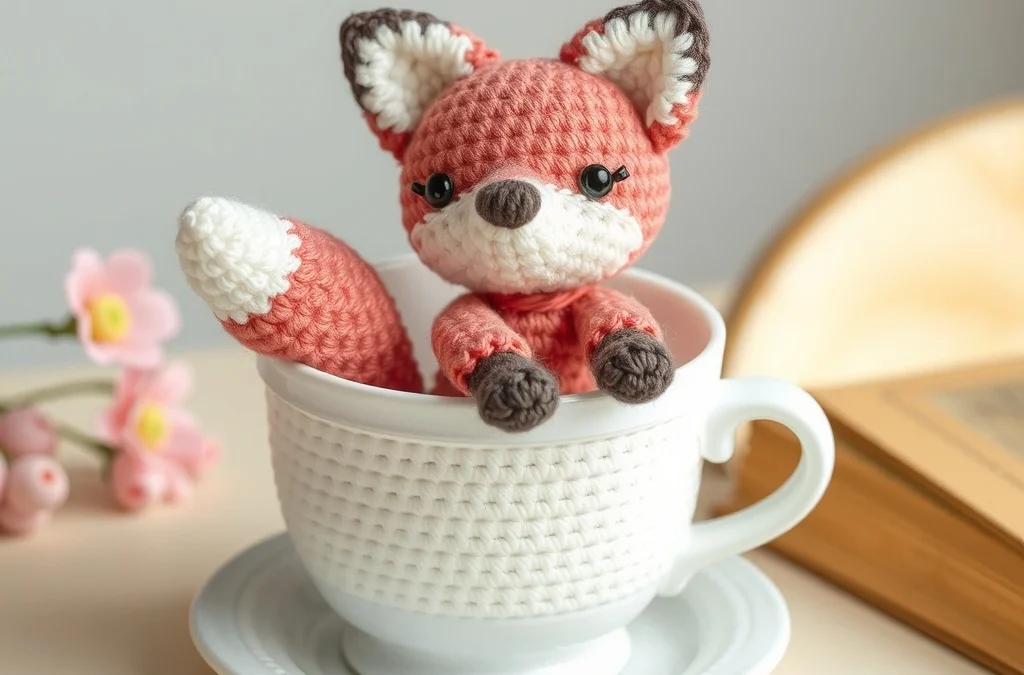
Welcome to your next favorite springtime amigurumi adventure! There is something endlessly comforting about a steaming cup of tea, but imagine lifting the rim to find a tiny, sleepy fox nestled among delicate pink sakura blossoms. This free crochet pattern combines the timeless charm of woodland plushies with the whimsical aesthetic of Japanese cherry blossoms, resulting in an irresistible desktop companion that will warm your heart all year round.
Designed with beginner-to-intermediate crocheters in mind, this project uses simple continuous rounds, basic shaping techniques, and easy surface embroidery to bring your fox to life. Whether you are searching for a thoughtful handmade gift, a sweet spring shelf decor piece, or simply an excuse to dive into your pastel yarn stash, this cozy ceramic teacup fox delivers maximum cuteness with clear, mathematically precise instructions.
Materials, Yarn & Hook Requirements
| Material / Supply | Specification / Color |
|---|---|
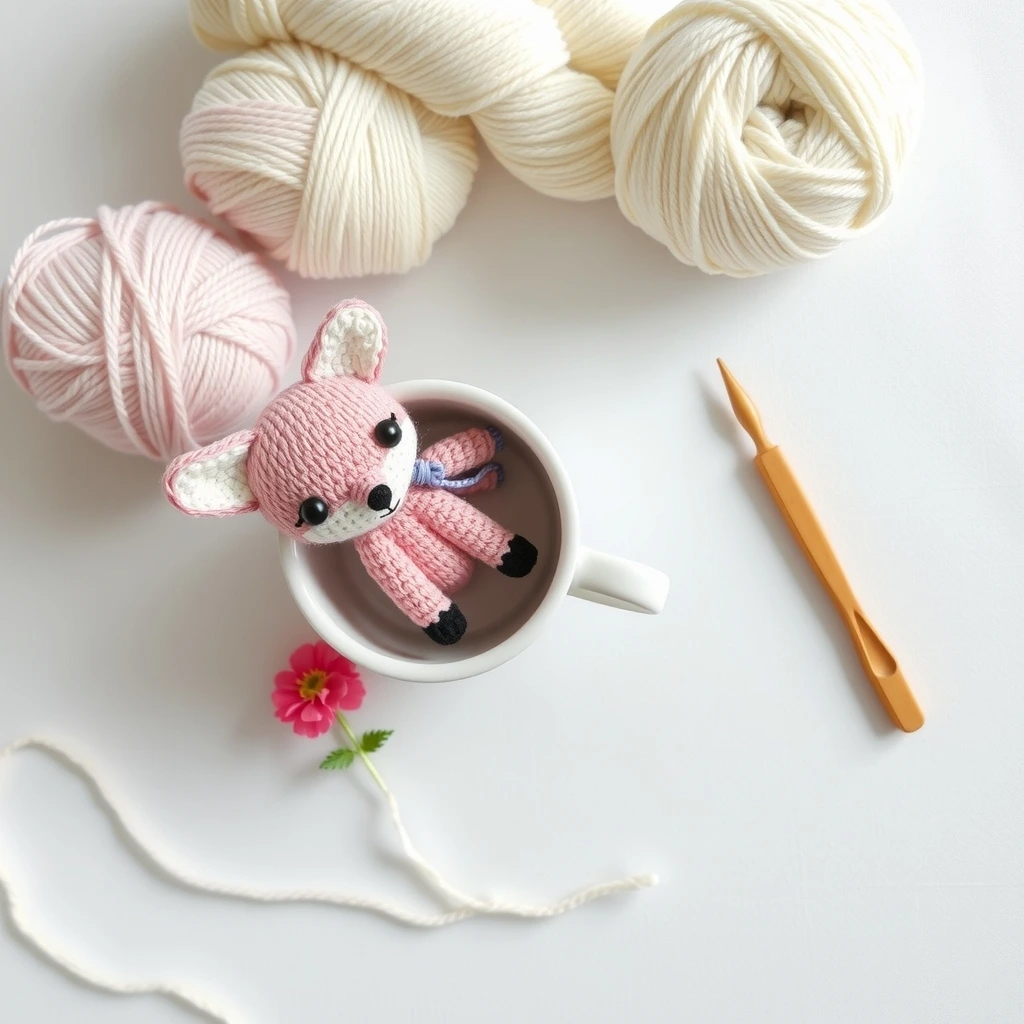
| Yarn (Sport Weight / Fine 2) | Burnt Orange (Main Fox), White (Muzzle & Tail Tip), Soft Pink (Sakura Blossoms), Pastel Mint (Teacup), Brown (Teacup Rim) |
| Crochet Hook | 2.5 mm (C/2) |
| Safety Eyes | 6.0 mm black plastic safety eyes |
| Notions | Polyfill fiber stuffing, yarn needle, stitch marker, pink embroidery floss, sewing pins |
Stitch Abbreviations & Gauge
- ch: chain
- sc: single crochet
- hdc: half double crochet
- dc: double crochet
- inc: single crochet increase (2 sc in one stitch)
- dec: invisible single crochet decrease
- sl st: slip stitch
- Rnd / Row: round or row
- FO: fasten off
- Gauge: 7 sc x 7 rows = 1 inch using a 2.5 mm hook. Exact gauge is not critical for amigurumi, but maintain tight, even tension to prevent stuffing from showing.
Step-by-Step Written Crochet Pattern
Fox Head
Using Burnt Orange yarn:
Rnd 1: 6 sc in Magic Ring (6)
Rnd 2: inc around (12)
Rnd 3: (1 sc, inc) 6 times (18)
Rnd 4: (2 sc, inc) 6 times (24)
Rnd 5: (3 sc, inc) 6 times (30)
Rnd 6 – Rnd 10: sc around (30)
Rnd 11: (3 sc, dec) 6 times (24)
Rnd 12: (2 sc, dec) 6 times (18)
Insert safety eyes between Rnd 7 and Rnd 8, approximately 6 stitches apart. Stuff the head firmly with polyfill.
Rnd 13: (1 sc, dec) 6 times (12)
Rnd 14: dec 6 times (6)
FO, weave tail through front loops of Rnd 14 to close tightly.
Fox Body
Using Burnt Orange yarn:
Rnd 1: 6 sc in Magic Ring (6)
Rnd 2: inc around (12)
Rnd 3: (1 sc, inc) 6 times (18)
Rnd 4: (2 sc, inc) 6 times (24)
Rnd 5 – Rnd 8: sc around (24)
Rnd 9: (2 sc, dec) 6 times (18)
Rnd 10 – Rnd 11: sc around (18)
Rnd 12: (1 sc, dec) 6 times (12)
Stuff firmly. FO, leaving a long tail for sewing to the head and placing inside the teacup.
Fox Ears (Make 2)
Using Burnt Orange yarn:
Rnd 1: 4 sc in Magic Ring (4)
Rnd 2: (1 sc, inc) twice (6)
Rnd 3: (2 sc, inc) twice (8)
Rnd 4: (3 sc, inc) twice (10)
Rnd 5: (4 sc, inc) twice (12)
FO, leaving a long tail for sewing. Do not stuff ears.
Sakura Blossoms (Make 3)
Using Soft Pink yarn:
Rnd 1: Working into a Magic Ring: (ch 2, 2 dc, ch 2, sl st) 5 times. Pull ring tight to close.
FO, leaving a long tail to attach blossoms to the fox’s head and teacup rim.
Ceramic Teacup
Using Pastel Mint yarn:
Rnd 1: 8 sc in Magic Ring (8)
Rnd 2: inc around (16)
Rnd 3: (1 sc, inc) 8 times (24)
Rnd 4: (2 sc, inc) 8 times (32)
Rnd 5: (3 sc, inc) 8 times (40)
Rnd 6: Working in back loops only (BLO): sc around (40)
Rnd 7 – Rnd 15: sc around (40)
Change to Brown yarn for the teacup rim:
Rnd 16: sc around (40)
Rnd 17: (3 sc, inc) 10 times (50)
Rnd 18: sc around (50), sl st to first st and FO.
Customization & Care Instructions
Make this pattern uniquely yours by switching up the color palette! Try lavender yarn for a sweet lavender-latte theme, or classic white fur for an arctic fox variation. To care for your finished sakura-blossom fox, surface clean gently with a damp cloth and mild soap. Do not submerge in water due to the cardboard base insert inside the teacup.
Frequently Asked Questions (FAQ)
Can I use worsted weight yarn for this pattern?
Yes, you can use worsted weight (Weight 4) yarn with a 3.5 mm or 4.0 mm hook, but your finished fox and teacup will turn out noticeably larger, and you will need to adjust your safety eye size to 8 mm or 9 mm.
How do I attach the safety eyes securely?
Always place the plastic backing washer onto the safety eye post immediately after pushing it through your designated crochet stitch. If you are gifting this toy to a baby or toddler under 3 years old, we strongly recommend embroidering the eyes with black embroidery floss instead of using plastic safety eyes.
Why does my teacup curl inward or flare outward?
Tension variance is usually the culprit. Make sure you are maintaining consistent tension throughout the straight body rounds (Rounds 7-15). Using a stitch marker at the start of every round will also help you keep track of your stitch counts.
How do I make the fox stay snugly inside the teacup?
Stitch the bottom of the fox’s body directly to the inside base of the teacup using matching burnt orange yarn and a whip stitch. You can also add a small dab of hot glue underneath the fox body for extra stability.
Conclusion
Congratulations on completing your Cozy Crochet Sakura-Blossom Fox in a Ceramic Teacup! This delightful project brings together cozy crafting and charming spring aesthetics, making it a wonderful keepsake for yourself or a handmade treasure for a loved one. Be sure to pin this pattern to your favorite crochet boards and share your finished creations online!
More Free Crochet Patterns You'll Love
 Amigurumi & Plushies
Easy No-Sew Chunky Chenille Bumblebee Amigurumi Crochet Pattern
View Free Pattern → Amigurumi & Plushies
Cozy Crochet Matcha Latte Bear Plushie: Easy Amigurumi Pattern
View Free Pattern → Amigurumi & Plushies

Leave a Reply