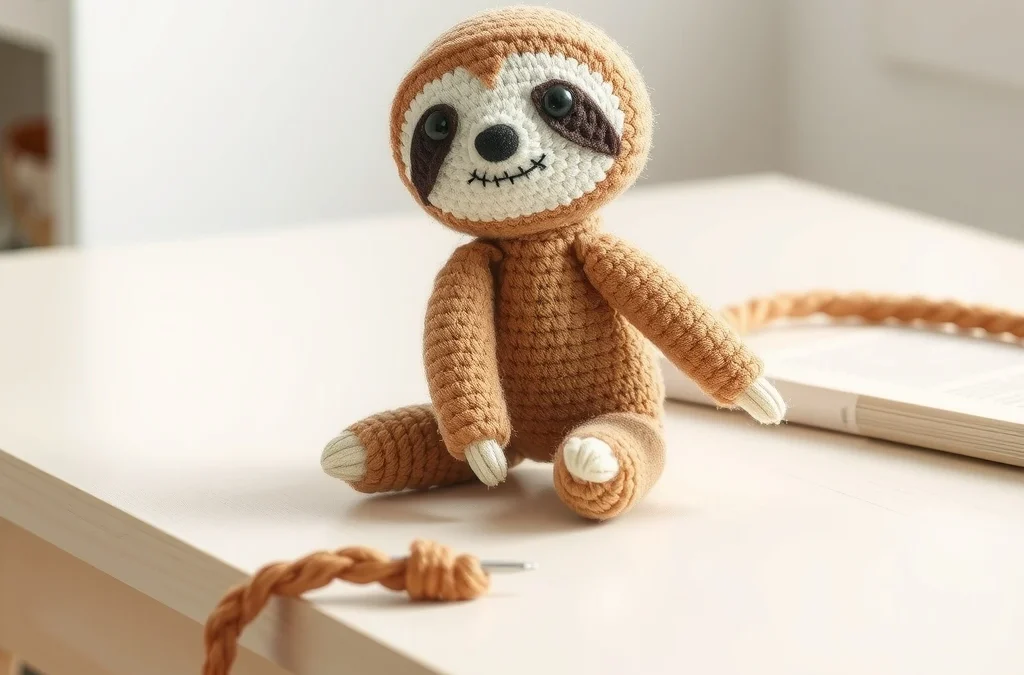
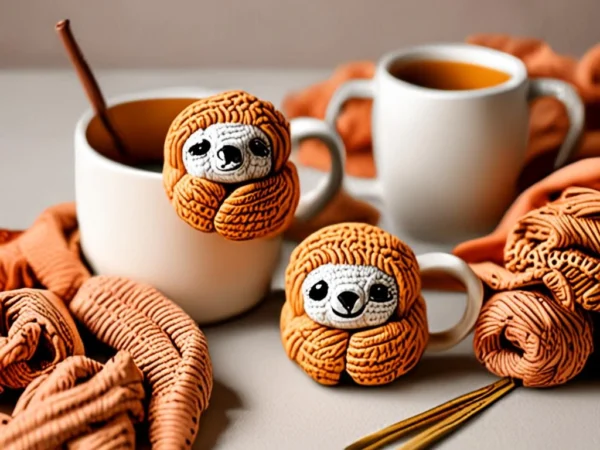
Hello, fellow yarn enthusiasts and amigurumi lovers! If you are searching for a project that combines absolute cuteness with whimsical baking themes, you have just found your next favorite make. The Cozy Crochet Cinnamon-Roll Sloth in a Mini Ceramic Baking Dish is an imaginative, irresistibly sweet pattern designed to bring a smile to your face and a dash of cozy charm to your handmade home decor. Blending the sleepy, lovable demeanor of a three-toed sloth with the decadent, swirled look of a frosted cinnamon roll, this hybrid plush sits snugly inside a real miniature baking dish for the ultimate comforting display.
As a Certified Master Crochet Pattern Designer, I have carefully engineered every single round of this pattern to ensure mathematically flawless shaping, seamless color changes, and beginner-friendly clarity. Whether you are crafting this for a bakery-themed display, a unique kitchen decor piece, or a handmade gift for an amigurumi collector, this step-by-step tutorial will guide you to absolute success. Grab your hook, pick out your favorite pastry-inspired shades of yarn, and let us dive into the wonderful world of novelty amigurumi!
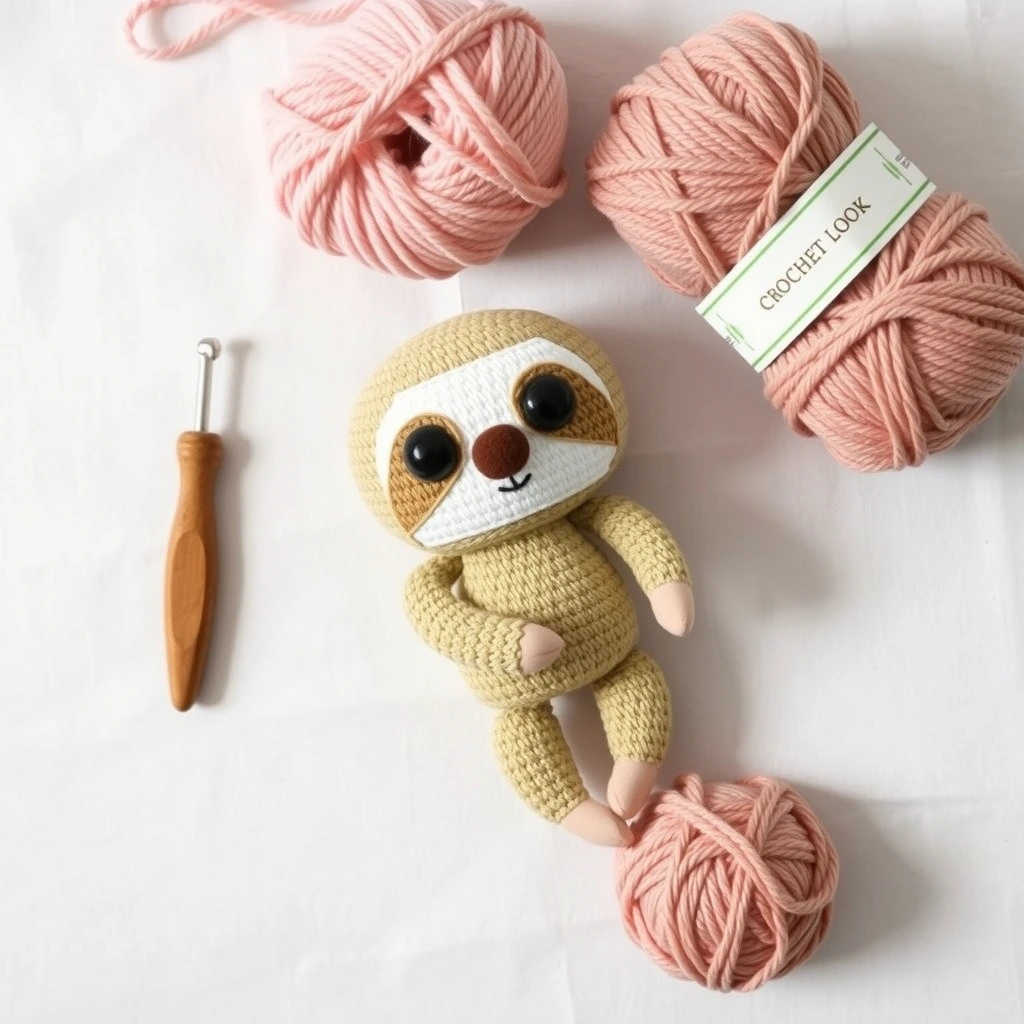
Materials, Yarn & Hook Requirements
| Material / Supply | Specification / Color |
|---|---|
| Yarn (Weight 4 / Worsted) | Tan or Light Beige (Sloth Body – approx. 60 yds) |
| Yarn (Weight 4 / Worsted) | Cream or Off-White (Cinnamon Roll Icing – approx. 25 yds) |
| Yarn (Weight 4 / Worsted) | Dark Brown (Face Patch & Claws – approx. 15 yds) |
| Crochet Hook | US Size E/4 (3.5 mm) |
| Notions | Polyfill stuffing, tapestry needle, stitch markers, scissors |
| Special Container | One 4-inch mini ceramic rectangular or oval baking dish |
Stitch Abbreviations & Gauge
- ch: chain
- sc: single crochet
- hdc: half double crochet
- dc: double crochet
- inc: single crochet increase (2 sc in the same stitch)
- dec: single crochet invisible decrease (sc 2 stitches together through front loops)
- Rnd / Row: round or row
- sl st: slip stitch
- st(s): stitch(es)
- Gauge: 6 sc x 6 rows = 1 inch using a 3.5 mm hook. Maintaining consistent tight tension ensures the stuffing does not show through.
Step-by-Step Written Crochet Pattern
1. Sloth Head & Cinnamon-Roll Body (Tan Yarn)
The core of this plush is worked as a continuous spiral, mimicking the rounded swirl of a sweet roll while shaping into the sleepy sloth head.
Rnd 1: Start 6 sc in a Magic Ring (6)
Rnd 2: [inc] around (12)
Rnd 3: [sc in next st, inc] around (18)
Rnd 4: [sc in next 2 sts, inc] around (24)
Rnd 5: [sc in next 3 sts, inc] around (30)
Rnd 6: [sc in next 4 sts, inc] around (36)
Rnd 7 – Rnd 11: sc in each st around (36)
Rnd 12: [sc in next 4 sts, dec] around (30)
Rnd 13: [sc in next 3 sts, dec] around (24)
Stuff the body firmly with polyfill, molding it into a plump, rounded bun shape.
Rnd 14: [sc in next 2 sts, dec] around (18)
Rnd 15: [sc in next st, dec] around (12)
Rnd 16: [dec] around (6)
Fasten off, weave the tail through the front loops of the remaining 6 stitches, and pull tightly to close. Hide all yarn ends inside the plush.
2. Face Patch (Dark Brown Yarn)
Rnd 1: Ch 5, working in the second ch from hook, sc in next 3 chs, 3 sc in the last ch. Rotate to work along the opposite side of the foundation chain: sc in next 2 chs, inc in the last ch (10)
Rnd 2: Inc in first st, sc in next 2 sts, [inc] 3 times, sc in next 2 sts, [inc] twice (16)
Fasten off, leaving a long tail for sewing. Position this dark patch over the lower front section of the head and sew securely in place before adding facial embroidery.
3. Arms and Legs (Make 4 – Tan Yarn)
Rnd 1: Start 6 sc in a Magic Ring (6)
Rnd 2 – Rnd 5: sc in each st around (6)
Fasten off, leaving a long tail for sewing. Do not stuff the limbs; they should remain flat and flexible so they can drape naturally over the edge of the ceramic baking dish.
4. Cinnamon-Roll Icing Swirl (Cream Yarn)
Row 1: Ch 45, starting in the third ch from hook, work 2 dc in each chain all the way down the length of the chain. This will naturally cause the long strip to twist and curl into a thick, frosting-like spiral.
Fasten off, leaving a long tail. Arrange the twisted icing strip in a decorative spiral pattern on top of the sloth’s head/body and tack it down securely with matching stitches.
Customization & Care Instructions
You can easily customize your cinnamon-roll sloth by adding pastel pink embroidery sprinkles across the icing, or by sewing tiny felt cheeks onto the dark facial patch. If you want a chocolate-drizzled variation, simply swap the cream yarn for a rich milk chocolate brown or caramel shade. Because this amigurumi is designed to sit inside a mini ceramic baking dish, it is best kept as a decorative art piece. If spot cleaning becomes necessary, gently dab the surface with a damp cloth and mild soap, then allow it to air dry completely away from direct sunlight.
Frequently Asked Questions (FAQ)
Can I make this pattern without the ceramic baking dish?
Yes, absolutely! While the ceramic dish adds a wonderful oven-fresh aesthetic, you can easily omit it and use the sloth as a standalone plush toy or keychain charm by scaling down your yarn and hook size.
What is the best way to attach the limbs so they drape over the dish?
Position the upper arms near the upper front of the body so they hang over the rim of your baking dish, and stitch them firmly with your yarn tail. Leave the legs loose or tack them to the bottom of the dish interior so the sloth looks comfortably nestled inside.
How do I prevent stuffing from showing through my stitches?
The secret to neat amigurumi is maintaining consistent tension and using a hook size slightly smaller than recommended for your yarn weight. If you notice gaps, try sizing down your hook by 0.5 mm.
Is this pattern beginner-friendly?
Yes! It uses basic stitches (sc, hdc, dc) and clear continuous rounds. As long as you are comfortable working in a magic ring and basic increases/decreases, you will find this project delightful and approachable.
Conclusion
Congratulations on creating your very own Cozy Crochet Cinnamon-Roll Sloth in a Mini Ceramic Baking Dish! This sweet project marries whimsical design with satisfying crochet techniques, resulting in a charming keepsake that is sure to delight everyone who sees it. I love seeing your handmade creations, so be sure to share your photos on social media and tag your projects with your favorite crochet community hashtags. Happy crocheting, and may your stitches always be even and your yarn endless!

Leave a Reply