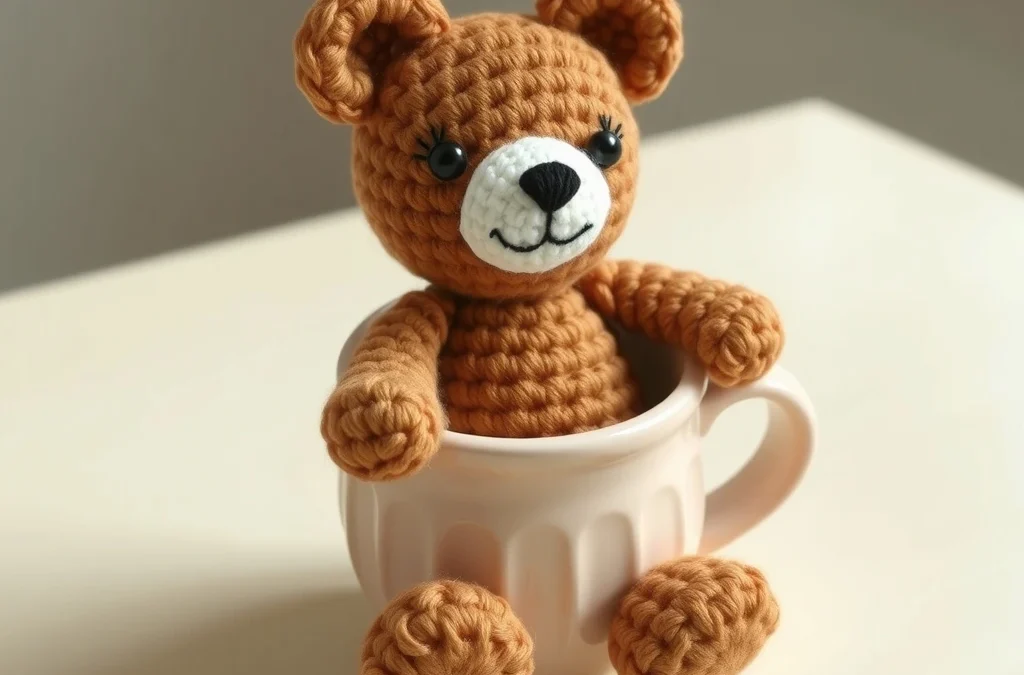
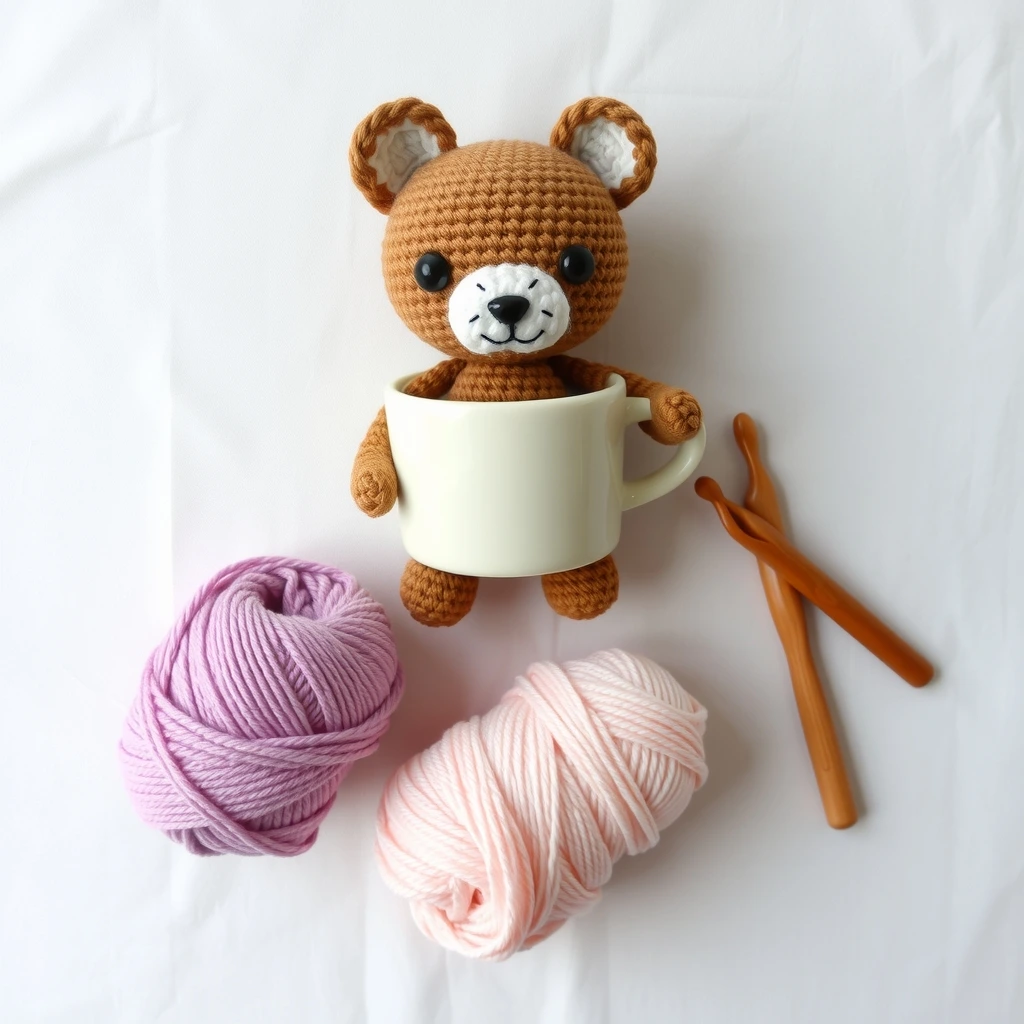
There is nothing quite as comforting as a warm beverage on a crisp autumn morning, and this Brown-Butter Maple Bear is designed to capture that exact feeling. Whether you are looking for the perfect desk companion or a thoughtful handmade gift, this little bear nestled in its own ceramic mug brings a touch of whimsy and warmth to any space. Its soft, earthy tones and compact size make it an ideal project for using up scrap yarn while practicing your amigurumi skills.
As a designer, I love creating projects that tell a story. This maple bear features a rich, warm brown shade reminiscent of brown butter and a sweet expression that is sure to melt your heart. This pattern is written in clear, US crochet terms and includes step-by-step instructions to ensure your stitches are as cozy as the bear itself. Grab your favorite hook, a cup of tea, and let’s start stitching this adorable forest friend!
Materials, Yarn & Hook Requirements
| Item | Requirement |
|---|---|
| Yarn | Worsted Weight (Size 4) Acrylic or Cotton Blend |
| Hook | 3.5mm (E) Crochet Hook |
| Safety Eyes | 8mm Plastic Safety Eyes |
| Stuffing | Poly-fil Fiberfill |
| Extra | Yarn needle, stitch markers, embroidery thread |
Stitch Abbreviations & Gauge
- ch: chain
- sc: single crochet
- inc: increase (2 sc in one stitch)
- dec: invisible decrease (sc 2 stitches together through front loops)
- Rnd: Round
- Gauge: 18 sts and 20 rows = 4 inches (though gauge is not critical for amigurumi)
Step-by-Step Written Crochet Pattern
The Bear Head and Body (One Piece)
Rnd 1: 6 sc in Magic Ring (6)
Rnd 2: inc around (12)
Rnd 3: (1 sc, inc) repeat 6 times (18)
Rnd 4: (2 sc, inc) repeat 6 times (24)
Rnd 5-9: sc around (24)
Rnd 10: (2 sc, dec) repeat 6 times (18)
Rnd 11: (1 sc, dec) repeat 6 times (12)
Rnd 12: (1 sc, inc) repeat 6 times (18)
Rnd 13-16: sc around (18)
Rnd 17: (1 sc, dec) repeat 6 times (12)
Rnd 18: dec around (6)
Fasten off and weave in ends.
The Ears (Make 2)
Rnd 1: 6 sc in Magic Ring (6)
Rnd 2: (1 sc, inc) repeat 3 times (9)
Fasten off, leaving a tail for sewing to the top of the head.
The Ceramic Mug
Rnd 1: 8 sc in Magic Ring (8)
Rnd 2: inc around (16)
Rnd 3: (1 sc, inc) repeat 8 times (24)
Rnd 4: Back loops only, sc around (24)
Rnd 5-10: sc around (24)
Fasten off, weave in ends.
Customization & Care Instructions
To customize your maple bear, try using different shades of brown for a “toasted” effect, or add a small crochet bow tie to the neck. For care, spot clean with a damp cloth and mild soap. Do not submerge in water if using safety eyes, as they may loosen over time.
Frequently Asked Questions (FAQ)
Can I use a different yarn weight?
Yes, but note that your bear will change size. If you use chunky yarn, ensure you increase your hook size accordingly to maintain a tight fabric.
How do I secure the safety eyes properly?
Insert the eyes between Rnd 7 and 8 of the head, spaced about 4 stitches apart. Snap the washers on firmly from the inside before stuffing.
Is this pattern beginner-friendly?
Absolutely! It uses basic stitches and simple shaping, making it a perfect project for those just starting their amigurumi journey.
How do I make the bear sit in the mug?
The mug pattern is designed with a flat bottom. Simply place the bear inside after stuffing the mug slightly with a small base of yarn scraps or stuffing to give it height.
Conclusion
Thank you for choosing this Brown-Butter Maple Bear pattern! I hope you enjoyed creating this little piece of cozy decor as much as I enjoyed designing it. Don’t forget to share your finished photos on Pinterest and tag me so I can see your beautiful creations. Happy crocheting!
More Free Crochet Patterns You'll Love
 Amigurumi & Plushies
Cozy Crochet Marshmallow-Cloud Bunny in a Pastel Candy Jar Pattern
View Free Pattern → Amigurumi & Plushies
Cozy Crochet Vanilla Pudding Ghost in a Tulip Teacup Free Pattern
View Free Pattern →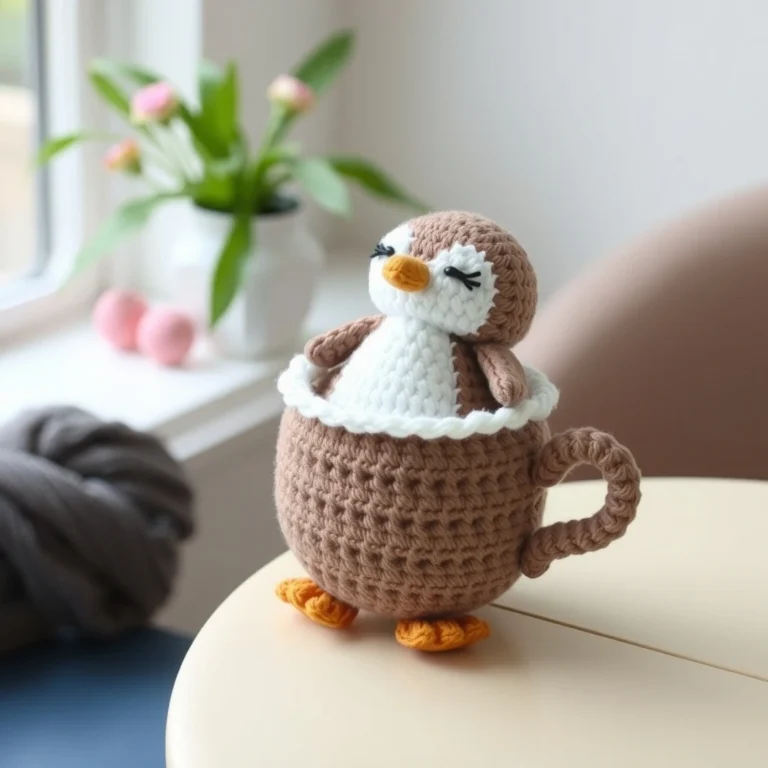 Amigurumi & Plushies

Leave a Reply