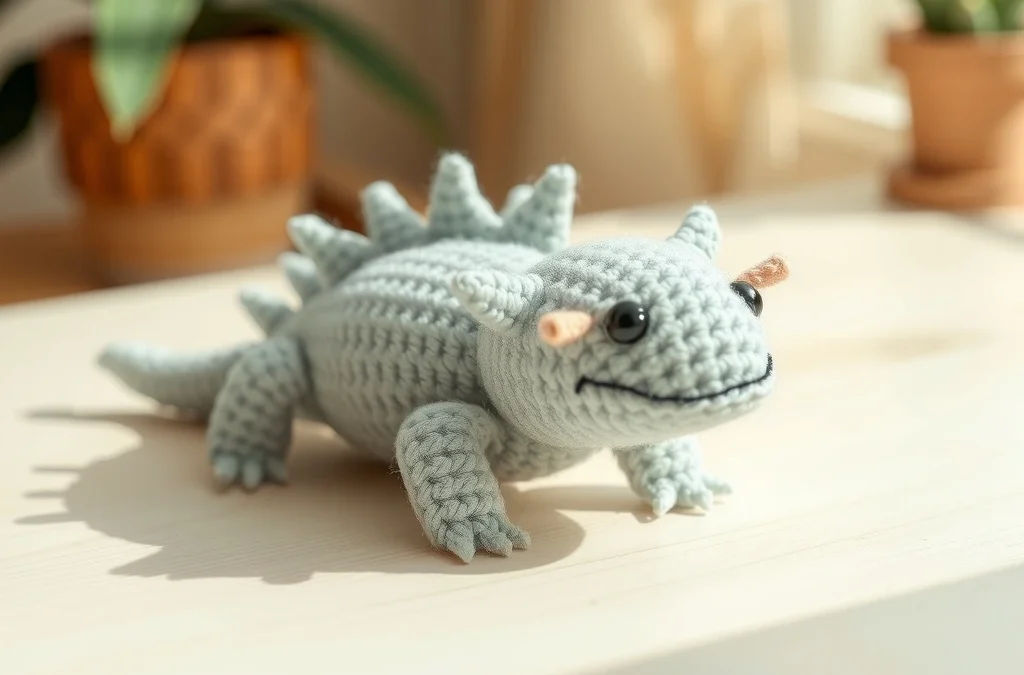
Welcome to your next favorite amigurumi obsession! If you have fallen in love with these smiling, water-dwelling creatures, you are going to adore making this mini crochet axolotl plushie. Worked up in a gorgeous, soothing shade of soft coral pink yarn, this pocket-sized friend features signature feathery external gills, tiny stubby legs, and a delightfully chubby body that makes it impossible to put down. Whether you are building inventory for your next craft fair or looking for a quick, rewarding gift, this project delivers maximum cuteness with minimal assembly time.
As a master crochet designer, I have fine-tuned this pattern to ensure seamless construction with minimal sewing required. By working the body in one continuous piece and utilizing simple shaping techniques, you will achieve a professional finish even if you are relatively new to plushie making. Grab your hooks, wind your yarn, and let us dive into the wonderful world of amigurumi design together to bring this sweet little pink axolotl to life!
Materials, Yarn & Hook Requirements
| Material / Supply | Specification / Detail |
|---|---|
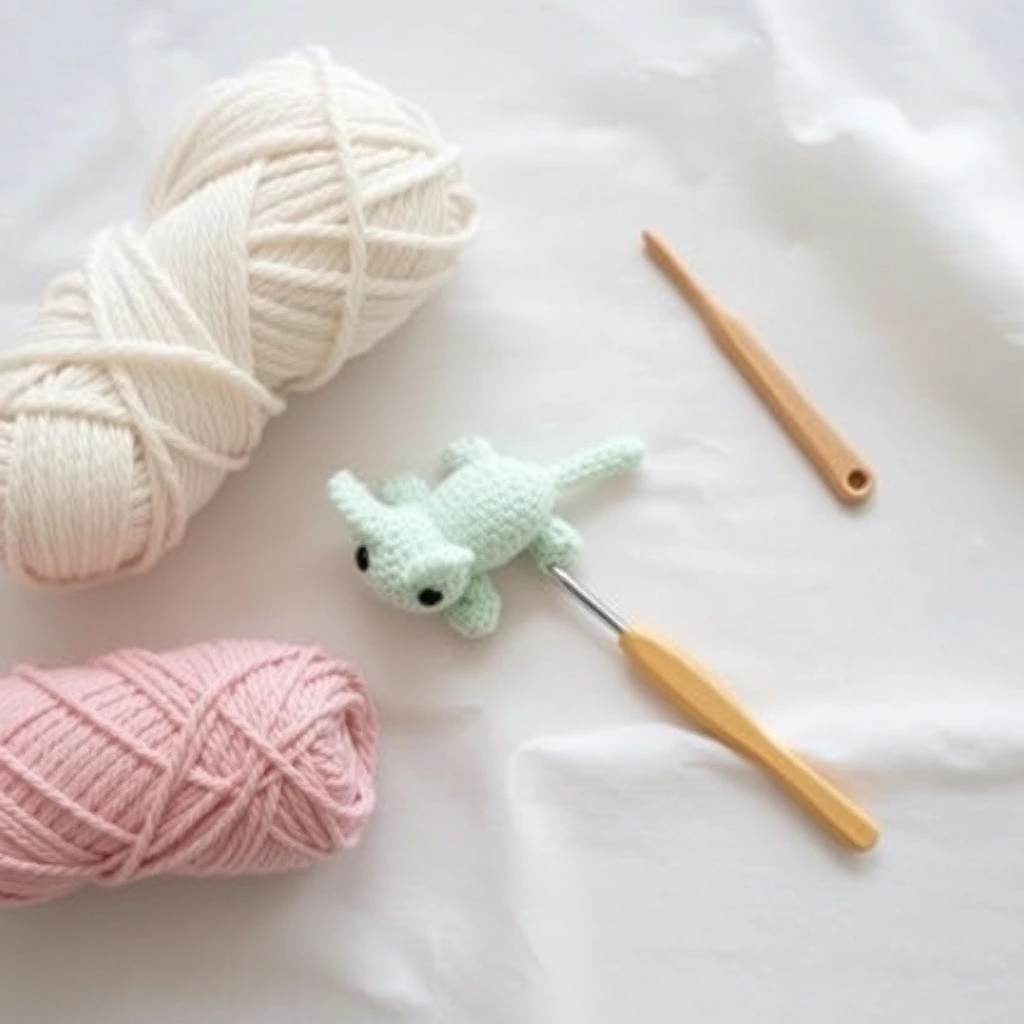
| Yarn | Super Bulky (Weight 6) plush chenille yarn in Soft Coral Pink (approx. 45 yards) |
| Accent Yarn | Medium weight or lighter plush yarn in Dusty Rose for gill shading (optional) |
| Crochet Hook | US Size E/4 (3.5 mm) or US Size G/6 (4.0 mm) depending on your tension |
| Safety Eyes | 10 mm plastic safety eyes with washers |
| Notions | Polyfill fiber stuffing, yarn needle, stitch marker, scissors |
Stitch Abbreviations & Gauge
- ch: chain
- sc: single crochet
- hdc: half double crochet
- dc: double crochet
- inc: increase (work 2 sc in the same stitch)
- dec: invisible decrease (sc 2 stitches together through front loops)
- Rnd / Row: round or row
- sl st: slip stitch
- Gauge: 4 sc x 4 rows = 1 inch using recommended hook and chenille yarn. Exact gauge is not critical for amigurumi, but ensure stitches are tight enough to prevent stuffing from showing.
Step-by-Step Written Crochet Pattern
Body & Head (Worked continuously from top to bottom)
Rnd 1: Start 6 sc in a Magic Ring (6)
Rnd 2: inc around (12)
Rnd 3: (sc 1, inc) around (18)
Rnd 4: (sc 2, inc) around (24)
Rnd 5: (sc 3, inc) around (30)
Rnd 6 – Rnd 10: sc in all 30 stitches (30)
Note: Insert safety eyes between Rnd 7 and Rnd 8, approximately 6 stitches apart.
Rnd 11: (sc 3, dec) around (24)
Rnd 12: (sc 2, dec) around (18)
Begin stuffing the head firmly with polyfill fiber stuffing.
Rnd 13: (sc 1, dec) around (12)
Rnd 14 – Rnd 15: sc in all 12 stitches (12)
Rnd 16: (sc 1, inc) around (18)
Rnd 17: (sc 2, inc) around (24)
Rnd 18 – Rnd 19: sc in all 24 stitches (24)
Rnd 20: (sc 2, dec) around (18)
Finish stuffing the body firmly.
Rnd 21: (sc 1, dec) around (12)
Rnd 22: dec around (6)
Fasten off, weave the tail through the front loops of the remaining 6 stitches, and pull tight to close. Hide the yarn tail inside the body.
External Gills (Make 6 total: 3 for each side of the head)
Row 1: Ch 7, working in the second ch from hook, sc 1, hdc 1, dc 1, hdc 1, sc 1, sl st 1 into the last chain. Fasten off, leaving a long tail for sewing to the sides of the head behind the eyes.
Legs (Make 4)
Rnd 1: Start 5 sc in a Magic Ring (5)
Rnd 2: sc in all 5 stitches (5)
Fasten off, leaving a long tail. Sew two legs to the front lower body and two legs to the back lower body.
Customization & Care Instructions
You can easily customize your mini crochet axolotl plushie by swapping out the soft coral pink yarn for pastel mint, lavender, or classic yellow to create a whole aquarium of cute friends. Add a tiny dab of blush powder to the cheeks for an extra blush of sweetness, or embroider tiny smiling mouths with black embroidery floss.
For care, spot cleaning with a damp cloth and mild soap is recommended to preserve the integrity of the plush fibers. If machine washing is necessary, place your plushie inside a mesh laundry bag on a gentle, cold water cycle and air dry completely flat.
Frequently Asked Questions (FAQ)
Can I use regular cotton or acrylic yarn for this pattern?
Yes, absolutely! You can use DK, worsted weight, or cotton yarn with a corresponding smaller hook (like a 2.5mm or 3.0mm). Keep in mind that using thinner yarn will result in a much smaller plushie toy.
How do I prevent holes from forming when I stuff my amigurumi?
Holes usually happen when your tension is too loose or your crochet hook is too big for the yarn weight. Ensure you are using an appropriate hook size and tear your stuffing into small, fluffy pieces rather than stuffing one giant clump inside.
Are safety eyes safe for babies and toddlers?
Plastic safety eyes can pose a choking hazard for children under three years old. If you are gifting this toy to an infant or toddler, we strongly recommend embroidering the eyes using black yarn or embroidery floss instead.
What is the easiest way to sew the gills and legs securely?
Always pin your pieces in place using stainless steel sewing pins before you attach them permanently with your yarn needle. This allows you to check symmetry and adjust placement before making your final stitches.
Conclusion
Congratulations on completing your very own mini crochet axolotl plushie! This charming little creature is sure to bring a smile to anyone’s face, whether it sits on your desk, hangs out on your bookshelf, or finds a home in a loved one’s hands. Do not forget to pin this pattern to your favorite crochet boards on Pinterest, share your finished photos with fellow makers, and keep creating beautiful handmade magic every single day!
More Free Crochet Patterns You'll Love
 Amigurumi & Plushies
Cozy Crochet Brown-Butter Maple Bear in a Ceramic Mug Free Pattern
View Free Pattern → Amigurumi & Plushies
No-Sew Crochet Baby Duckling with Tiny Frog Hat Pattern Tutorial
View Free Pattern → Amigurumi & Plushies

Leave a Reply