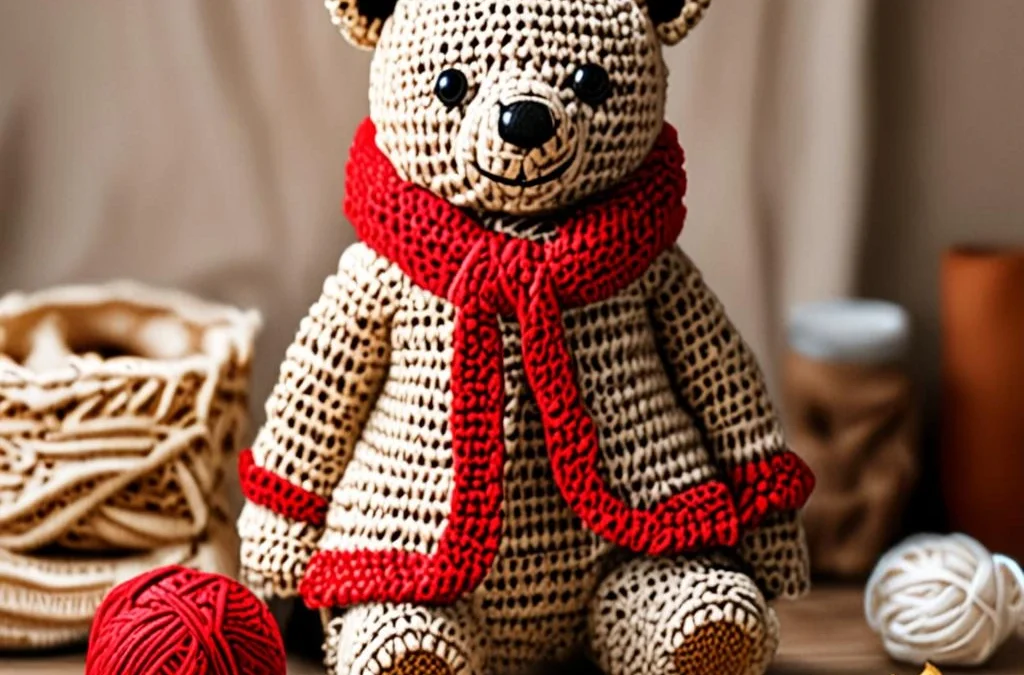
Bring a touch of rustic charm into your home with our free Cozy Woodland Bear Amigurumi crochet pattern! This adorable little plushie features soft beige yarn, sweet embroidered facial details, and a snuggly handmade winter scarf to keep him warm during chilly forest adventures. Whether you are looking to create a heartfelt handmade gift for a little one or wanting to expand your amigurumi collection, this project offers a rewarding and fun experience for crocheters who love working in the round.
Designed with beginner-to-intermediate makers in mind, this pattern utilizes basic amigurumi techniques like the magic ring, single crochet increases, and invisible decreases to ensure a smooth, professional finish. By following our mathematically verified stitch counts and step-by-step instructions, you will achieve a clean, perfectly proportioned bear every single time. Grab your hooks, pick out your favorite shades of cozy yarn, and let us bring this charming woodland creature to life!
Materials, Yarn & Hook Requirements
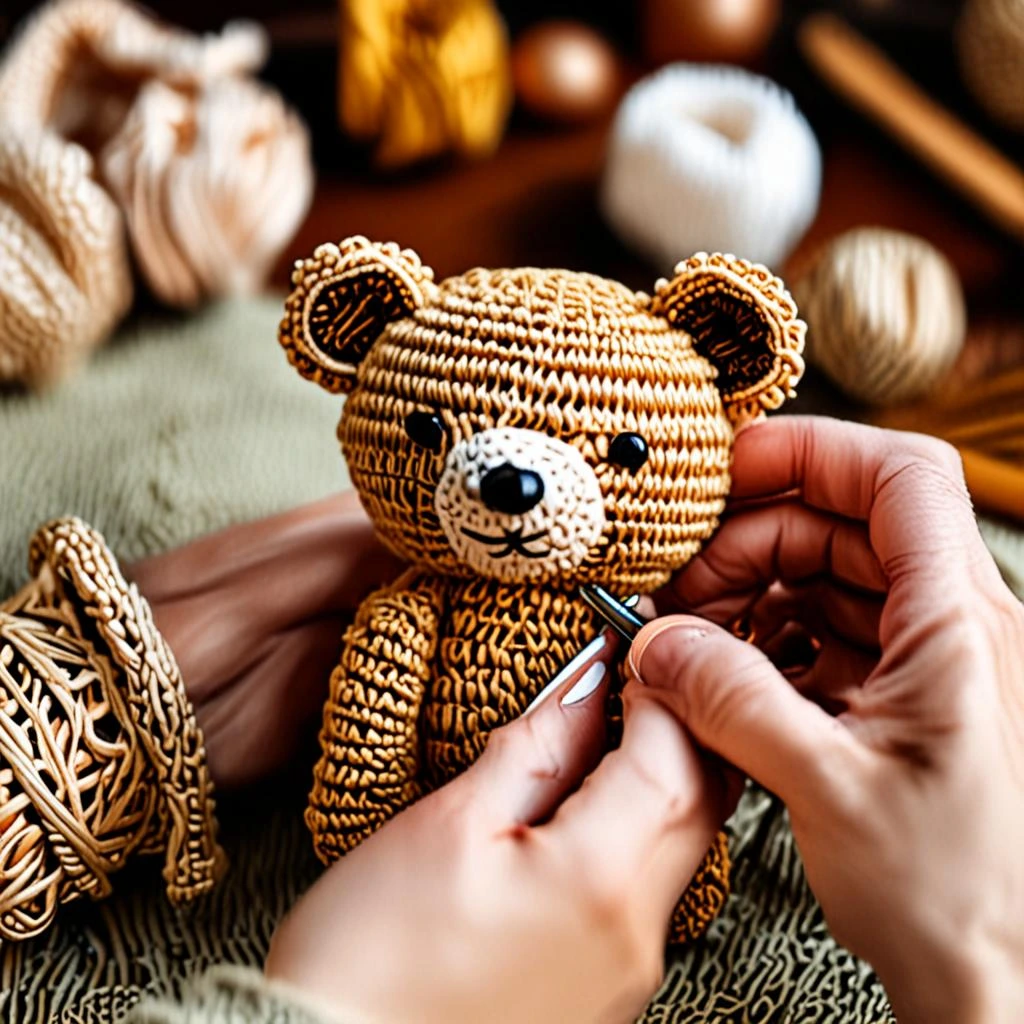
| Material / Supply | Specification / Color | Notes |
|---|---|---|
| Worsted Weight Yarn (Color A) | Beige (Approx. 120 yards) | Main body, head, arms, legs, ears |
| Worsted Weight Yarn (Color B) | Cream or White (Approx. 20 yards) | Muzzle and ear accents |
| Worsted Weight Yarn (Color C) | Forest Green or Brick Red (Approx. 30 yards) | Scarf |
| Crochet Hook | US Size E/4 (3.5 mm) | Essential for tight, gap-free stitches |
| Notions | Polyfill stuffing, tapestry needle, stitch markers, scissors | Basic amigurumi tool kit |
| Safety Eyes | 9 mm black safety eyes | With plastic washers |
| Embroidery Floss | Dark brown | For nose and eyebrow details |
Stitch Abbreviations & Gauge
- ch: chain
- sc: single crochet
- hdc: half double crochet
- dc: double crochet
- inc: single crochet increase (work 2 sc in the same stitch)
- dec: invisible single crochet decrease (sc next 2 stitches together through front loops only)
- Rnd / Row: round or row
- st(s): stitch(es)
- ( ): repeat instructions within parentheses the given number of times
- [ ]: total stitch count at the end of the round or row
Gauge: 6 sc and 6 rows = 1 inch using a 3.5 mm crochet hook with worsted weight yarn. Exact gauge is not critical for amigurumi, but ensure your stitches are tight enough to prevent the polyfill stuffing from showing through.
Step-by-Step Written Crochet Pattern
Head (Using Color A – Beige)
Rnd 1: 6 sc in Magic Ring [6]
Rnd 2: inc around [12]
Rnd 3: (1 sc, inc) around [18]
Rnd 4: (2 sc, inc) around [24]
Rnd 5: (3 sc, inc) around [30]
Rnd 6: (4 sc, inc) around [36]
Rnd 7: (5 sc, inc) around [42]
Rnds 8-14: sc around in each st [42] (7 rounds total)
Rnd 15: (5 sc, dec) around [36]
Rnd 16: (4 sc, dec) around [30]
Insert safety eyes between Rnds 11 and 12, about 7 stitches apart. Begin stuffing the head firmly.
Rnd 17: (3 sc, dec) around [24]
Rnd 18: (2 sc, dec) around [18]
Finish stuffing completely.
Rnd 19: (1 sc, dec) around [12]
Rnd 20: dec around [6]
Fasten off, weave the yarn tail through the front loops of the remaining 6 stitches, and pull tightly to close. Hide yarn end.
Muzzle (Using Color B – Cream)
Rnd 1: 6 sc in Magic Ring [6]
Rnd 2: inc around [12]
Rnd 3: (1 sc, inc) around [18]
Rnd 4: sc around [18]
Fasten off, leaving a long tail for sewing. Lightly stuff and sew centered below the safety eyes on the head.
Body (Using Color A – Beige)
Rnd 1: 6 sc in Magic Ring [6]
Rnd 2: inc around [12]
Rnd 3: (1 sc, inc) around [18]
Rnd 4: (2 sc, inc) around [24]
Rnd 5: (3 sc, inc) around [30]
Rnd 6: (4 sc, inc) around [36]
Rnds 7-11: sc around in each st [36] (5 rounds total)
Rnd 12: (4 sc, dec) around [30]
Rnds 13-14: sc around in each st [30] (2 rounds total)
Rnd 15: (3 sc, dec) around [24]
Rnds 16-17: sc around in each st [24] (2 rounds total)
Rnd 18: (2 sc, dec) around [18]
Rnd 19: sc around [18]
Fasten off, leaving a long tail for sewing the body to the head.
Arms (Make 2 – Using Color A)
Rnd 1: 6 sc in Magic Ring [6]
Rnd 2: (1 sc, inc) around [9]
Rnds 3-10: sc around in each st [9] (8 rounds total)
Lightly stuff the lower half of the arms. Flatten the opening and sew across both sides to close. Fasten off, leaving a long tail for sewing.
Legs (Make 2 – Using Color A)
Rnd 1: 6 sc in Magic Ring [6]
Rnd 2: inc around [12]
Rnd 3: (1 sc, inc) around [18]
Rnds 4-5: sc around in each st [18] (2 rounds total)
Rnd 6: 6 sc, 3 dec, 6 sc [15]
Rnd 7: (3 sc, dec) around [12]
Rnds 8-10: sc around in each st [12] (3 rounds total)
Stuff the legs firmly. Flatten the opening and sc across both sides to close. Fasten off, leaving a long tail for sewing.
Ears (Make 2 – Using Color A)
Rnd 1: 6 sc in Magic Ring [6]
Rnd 2: inc around [12]
Rnd 3: (1 sc, inc) around [18]
Rnds 4-5: sc around in each st [18] (2 rounds total)
Fasten off, leaving a long tail for sewing. Do not stuff the ears; flatten them before attaching to the upper sides of the head.
Scarf (Using Color C)
Row 1: Ch 51, turn and working in the 2nd ch from hook, work 50 hdc across [50]
Row 2: Ch 2, turn, work 50 hdc in back loops only [50]
Fasten off and weave in ends. Tie the finished scarf around the bear’s neck.
Customization & Care Instructions
Make your woodland bear truly unique by customizing his accessories! You can swap the scarf yarn for a variegated wool blend to give him a rustic patchwork look, or stitch a tiny felt pocket onto his chest. If you are gifting this toy to a baby under three years old, substitute the plastic safety eyes with embroidered French knots using black embroidery floss for complete safety.
For best care, hand wash your finished amigurumi in cool water with a mild wool detergent. Gently squeeze out excess water by pressing the bear in a clean towel—never wring or twist the plushie, as this can distort the stuffing and stretch the crochet stitches. Allow the bear to air dry completely on a flat surface in a well-ventilated room.
Frequently Asked Questions (FAQ)
What is the best yarn for making amigurumi?
Smooth, tightly plied acrylic or cotton-blend yarns in worsted weight (Category 4) work best for amigurumi. They offer great stitch definition, do not fuzz up easily, and hold their shape wonderfully over time when stuffed.
Why do my amigurumi stitches have holes where stuffing shows?
Gaps usually happen because your crochet hook is too large for the yarn weight you are using. To fix this, drop down one or two hook sizes (such as using a 3.5 mm hook for worsted weight yarn) to create a dense, tight fabric.
How do I make an invisible decrease in crochet?
An invisible decrease is made by inserting your hook only through the front loops of the next two stitches, yarn over, pull through both front loops, yarn over again, and pull through the final two loops on your hook.
Can I sell finished items made from this crochet pattern?
Yes, you are welcome to sell finished items handmade by you from this pattern, provided you give design credit to our blog. Mass production or redistribution of the written pattern itself is strictly prohibited.
Conclusion
Congratulations on completing your very own Cozy Woodland Bear Amigurumi! With his sweet beige coat, charming little muzzle, and handmade winter scarf, this lovable forest friend is bound to bring warmth and joy wherever he goes. We love seeing your handmade creations, so be sure to share pictures of your finished bears on social media and tag our community so we can celebrate your wonderful crochet craftsmanship!
More Free Crochet Patterns You'll Love
 Amigurumi & Plushies
Cozy Crochet Cinnamon-Roll Sloth in a Glazed Ceramic Mug Free Pattern
View Free Pattern → Amigurumi & Plushies
Cozy Crochet Acorn Squirrel in a Maple Leaf Hammock Free Pattern
View Free Pattern → Amigurumi & Plushies

Leave a Reply