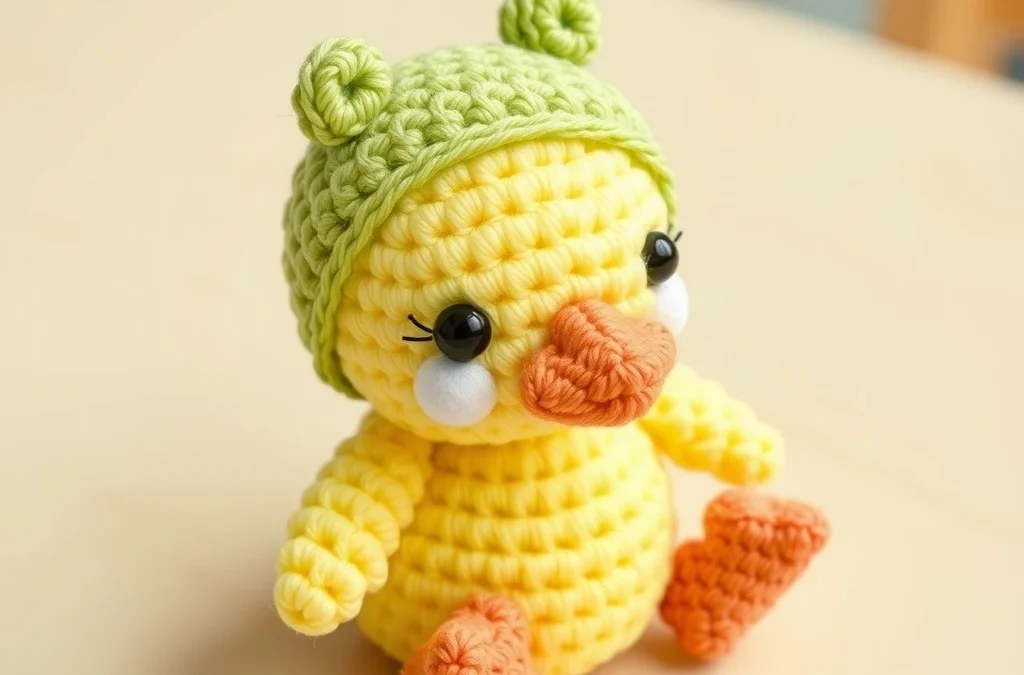
Welcome to the sweetest little project on your hook! If you adore charming, miniature amigurumi with a whimsical twist, you are going to fall completely in love with the Cozy Crochet Honey-Lemon Duckling in a Ceramic Teacup. Combining a buttery honey-yellow body with a bright, citrus-lemon beak and wings, this precious plushie brings instant warmth and sunshine to any craft room, desk, or nursery shelf. Designed to fit snugly inside its very own handmade crocheted ceramic-style teacup, this project is as delightful to make as it is to display.
As a master crochet designer, I have meticulously engineered this pattern to ensure a seamless construction experience. By working in continuous spiral rounds with beginner-friendly amigurumi techniques, you will achieve clean stitch definition and a professional finish without any awkward gaps or stuffing leaks. Grab your favorite pastel yarns, settle into your coziest chair, and let us bring this cheerful little duckling and its cozy teacup to life stitch by stitch!
Materials, Yarn & Hook Requirements
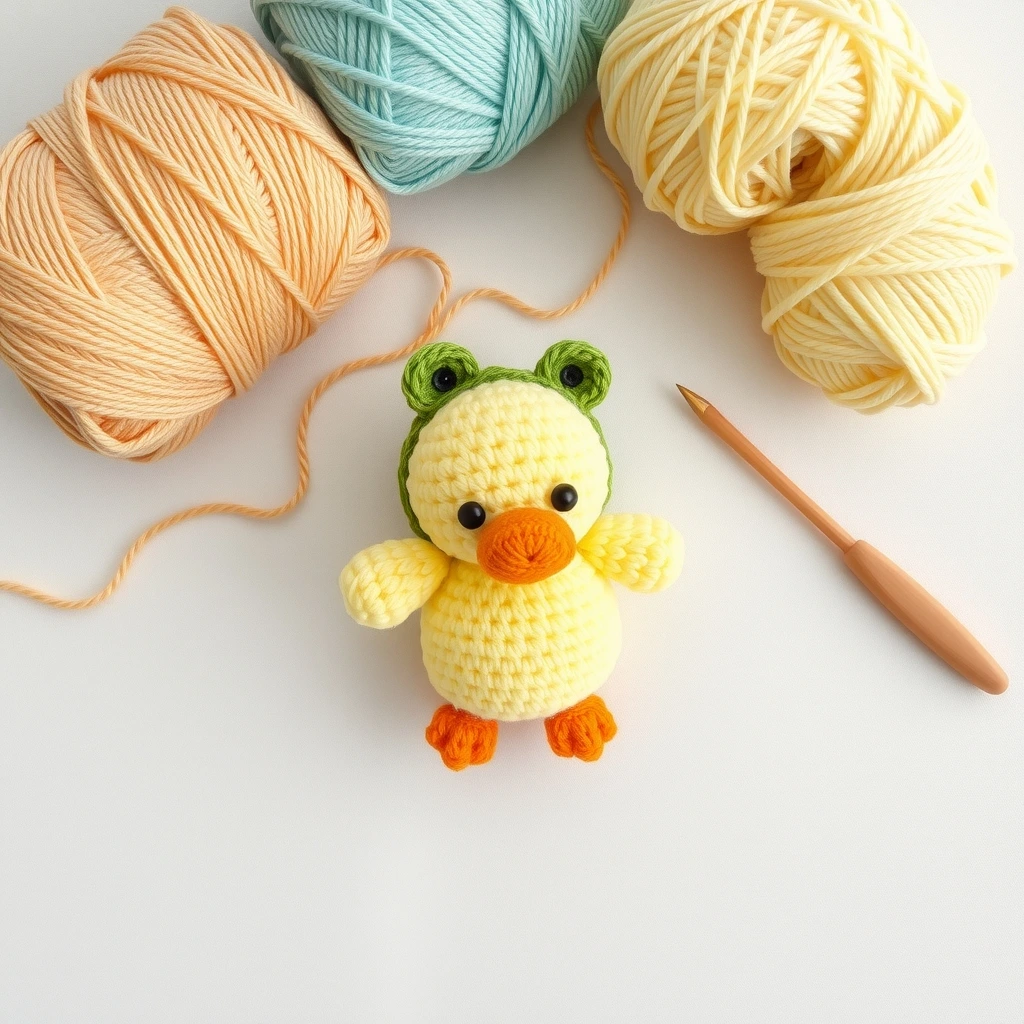
| Material / Supply | Description & Details |
|---|---|
| Yarn Color A (Honey) | Sport or DK weight cotton yarn (approx. 45 yards) for the duckling body |
| Yarn Color B (Lemon) | Sport or DK weight cotton yarn (approx. 15 yards) for the beak, feet, and accents |
| Yarn Color C (Mint/Pastel) | Sport or DK weight cotton yarn (approx. 50 yards) for the ceramic teacup |
| Crochet Hook | US C/2 (2.75 mm) ergonomic crochet hook |
| Notions | Poly-fil stuffing, yarn needle, stitch markers, 6mm safety eyes, and embroidery floss |
Stitch Abbreviations & Gauge
- ch: chain
- sc: single crochet
- hdc: half double crochet
- dc: double crochet
- inc: single crochet increase (2 sc in the same stitch)
- dec: single crochet invisible decrease (sc next 2 stitches together through front loops)
- Rnd / Row: round or row
- sl st: slip stitch
- FO: fasten off
Gauge: 7 sc and 7 rows = 1 inch using a 2.75 mm hook with sport weight cotton yarn. Exact gauge is not critical for amigurumi, but ensure your tension is tight enough to prevent poly-fil stuffing from showing through.
Step-by-Step Written Crochet Pattern
Duckling Body & Head (Worked in One Piece from Bottom Up)
Using Honey yarn (Color A):
Rnd 1: 6 sc in Magic Ring (6)
Rnd 2: inc around (12)
Rnd 3: (sc 1, inc) around (18)
Rnd 4: (sc 2, inc) around (24)
Rnd 5: (sc 3, inc) around (30)
Rnds 6-10: sc around (30) – 5 rounds total
Rnd 11: (sc 3, dec) around (24)
Rnd 12: (sc 2, dec) around (18)
Begin stuffing the lower body firmly with poly-fil.
Rnd 13: (sc 1, dec) around (12)
Rnd 14: sc around to begin forming the neck base (12)
Rnd 15: inc around to shape the head (24)
Rnd 16: (sc 3, inc) around (30)
Rnds 17-20: sc around (30) – 4 rounds total
Insert 6mm safety eyes between Rnds 18 and 19, with approximately 5 stitches space between them.
Rnd 21: (sc 3, dec) around (24)
Rnd 22: (sc 2, dec) around (18)
Finish stuffing the head firmly.
Rnd 23: (sc 1, dec) around (12)
Rnd 24: dec around (6)
FO, leaving a long tail. Thread through front loops of Rnd 24 and pull tight to close the hole securely. Hide tail inside the body.
Duckling Beak
Using Lemon yarn (Color B):
Rnd 1: 4 sc in Magic Ring (4)
Rnd 2: (sc 1, inc) around (6)
Rnd 3: sc around (6)
FO, leaving a short tail for sewing. Center and sew the beak firmly onto the duckling head right between the safety eyes.
Duckling Wings (Make 2)
Using Lemon yarn (Color B):
Rnd 1: 6 sc in Magic Ring (6)
Rnd 2: (sc 1, inc) around (9)
Rnds 3-4: sc around (9) – 2 rounds total
Rnd 5: (sc 1, dec) around (6)
FO, flattening the wing. Do not stuff. Sew one wing to each side of the duckling’s upper body.
Ceramic Teacup
Using Mint/Pastel yarn (Color C):
Rnd 1: 6 sc in Magic Ring (6)
Rnd 2: inc around (12)
Rnd 3: (sc 1, inc) around (18)
Rnd 4: (sc 2, inc) around (24)
Rnd 5: (sc 3, inc) around (30)
Rnd 6: working in BLO (Back Loops Only) for this round only, sc around (30)
Rnds 7-13: working in both loops, sc around (30) – 7 rounds total
Rnd 14: (hdc 4, inc in hdc) around (36)
FO, weave in ends securely.
Teacup Handle
Using Mint/Pastel yarn (Color C):
Row 1: Ch 9, starting in 2nd ch from hook, sc 8 (8)
Row 2: Ch 1, turn, sc 8 (8)
FO, leaving a long tail. Curve the strip into a classic handle loop and sew securely onto the side of the ceramic teacup between Rnds 8 and 12.
Customization & Care Instructions
Feel free to customize your honey-lemon duckling by adding a tiny crocheted flower behind its ear or embroidering rosy pink cheeks using lightweight pink yarn or blush makeup. If you prefer a larger plushie, simply switch to bulky chenille yarn and a 4.5mm or 5.0mm hook, adjusting your safety eye size accordingly.
Care Instructions: Because this item contains poly-fil stuffing and safety eyes, spot cleaning with a damp cloth and mild soap is strongly recommended. Do not submerge completely in water or machine wash to preserve the shape of the teacup and duckling.
Frequently Asked Questions (FAQ)
Can I use a different yarn weight for this pattern?
Yes, absolutely! You can use any yarn weight from fingering to super bulky. Just make sure to pair your yarn with the appropriate hook size recommended on the yarn label, ensuring your stitches remain tight enough so the stuffing doesn’t poke through.
How do I make the teacup stand upright securely?
Working Rnd 6 in the Back Loops Only (BLO) creates a sharp, defined bottom edge for the teacup base. For extra stability, insert a flat plastic disc or cardboard cutout inside the base of the cup during assembly.
Are the safety eyes safe for young children?
Plastic safety eyes can pose a choking hazard for babies and toddlers under the age of three. If you are gifting this toy to an infant, we recommend embroidering the eyes using black embroidery floss with French knots or simple straight stitches.
Do I need to stuff the teacup?
No, the teacup does not require stuffing on its own! The duckling sits directly inside the cup, and its lower body acts as the inner support, keeping the teacup walls open and beautifully shaped.
Conclusion
Congratulations on completing your Cozy Crochet Honey-Lemon Duckling in a Ceramic Teacup! This sweet pair makes a wonderful handmade gift for Easter, spring birthdays, or simply as a comforting desk companion for yourself. I love seeing your creative color combinations and finished makes, so be sure to share your photos on social media and tag me. Happy crocheting, and stay tuned for more adorable free patterns coming your way soon!
More Free Crochet Patterns You'll Love
 Amigurumi & Plushies
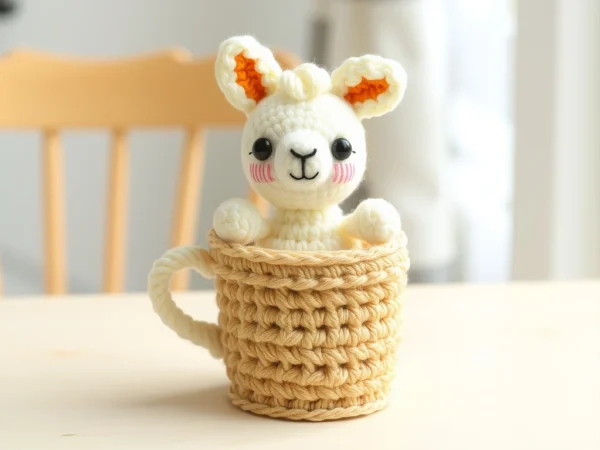
Cozy Crochet Vanilla-Bean Alpaca in a Waffle-Cone Mug Free Pattern
View Free Pattern → Amigurumi & Plushies
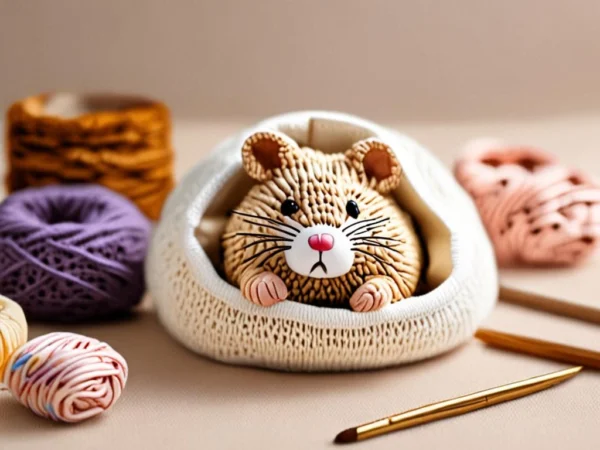
Cozy Crochet Sakura-Blossom Hedgehog in a Teacup Free Pattern
View Free Pattern → Amigurumi & Plushies

Leave a Reply