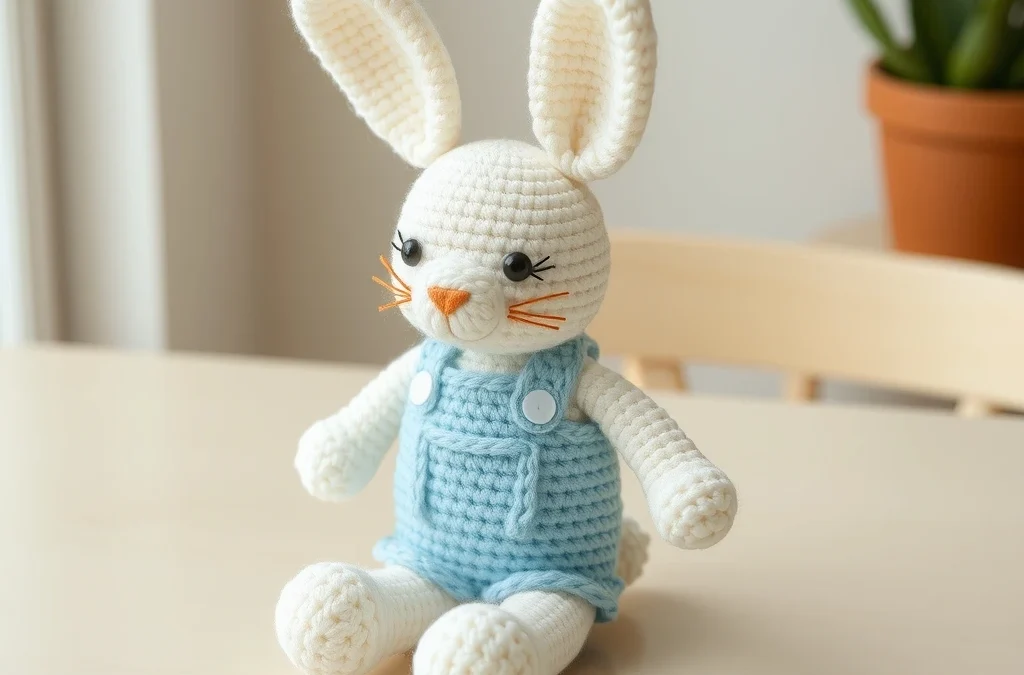
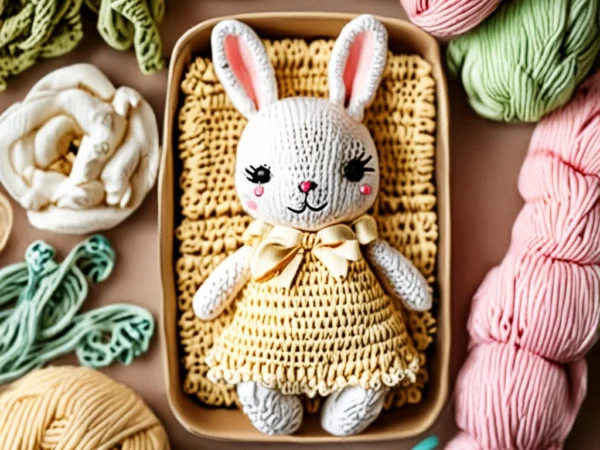
Spring is in the air, and there is nothing quite as delightful as crafting your own handmade companions. This adorable pastel bunny, dressed in its favorite pair of blue overalls and clutching a tiny carrot, is the perfect project for both beginners and seasoned amigurumi artists. Its soft hues and charming details make it a standout piece for nursery decor or a thoughtful, heartfelt gift for a loved one.
As a designer, I love creating patterns that are not only visually appealing but also mathematically sound for a stress-free crocheting experience. In this tutorial, we will work in continuous rounds to ensure a seamless finish. Grab your favorite pastel yarn and your crochet hook, and let’s bring this sweet bunny to life one stitch at a time.
Materials, Yarn & Hook Requirements
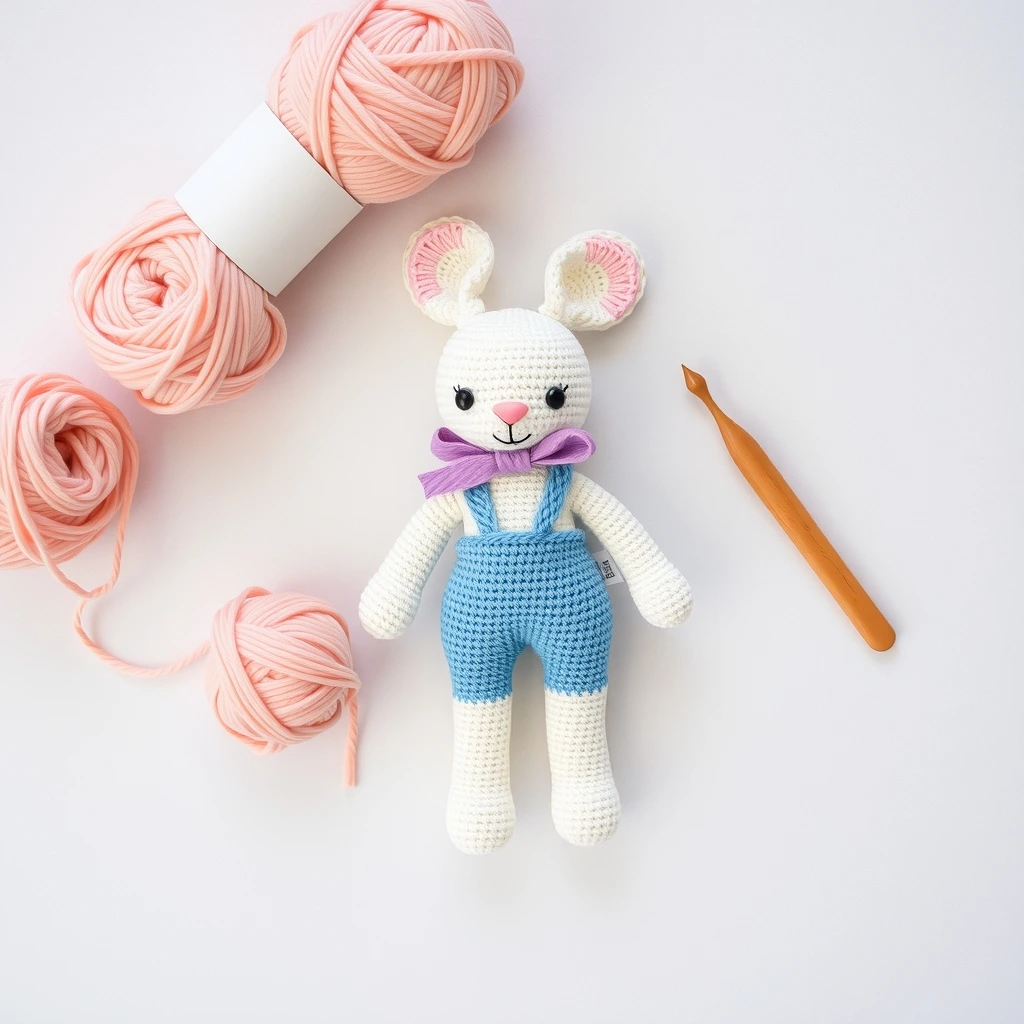
| Item | Specification |
|---|---|
| Yarn | Worsted Weight (Medium 4) in Pastel Pink, Blue, and Orange |
| Crochet Hook | 3.5mm (E) |
| Safety Eyes | 8mm black plastic eyes |
| Stuffing | Polyester fiberfill |
| Notions | Yarn needle, scissors, stitch marker |
Stitch Abbreviations & Gauge
- ch: chain
- sc: single crochet
- inc: increase (2 sc in one stitch)
- dec: invisible decrease (sc 2 stitches together)
- Rnd: round
- st: stitch
- Gauge: 16 sc x 18 rows = 4 inches (not critical for amigurumi, but keep tension tight to prevent stuffing showing)
Step-by-Step Written Crochet Pattern
Bunny Head & Body (Pastel Pink)
Rnd 1: 6 sc in Magic Ring (6)
Rnd 2: inc around (12)
Rnd 3: (1 sc, inc) repeat 6 times (18)
Rnd 4: (2 sc, inc) repeat 6 times (24)
Rnd 5-9: sc around (24)
Rnd 10: (2 sc, dec) repeat 6 times (18)
Rnd 11: (1 sc, dec) repeat 6 times (12). Stuff head firmly.
Rnd 12: (inc, 1 sc) repeat 6 times (18)
Rnd 13: (2 sc, inc) repeat 6 times (24)
Rnd 14-17: sc around (24)
Rnd 18: (2 sc, dec) repeat 6 times (18)
Rnd 19: (1 sc, dec) repeat 6 times (12)
Rnd 20: dec around (6). Fasten off and weave in ends.
Blue Overalls
Rnd 1: ch 26, join to first ch with slip stitch to form a ring (26)
Rnd 2-5: sc around (26)
Rnd 6: (ch 6, skip 4 st, sc in next) repeat 2 times for straps. Fasten off.
Tiny Carrot
Rnd 1: 4 sc in Magic Ring (4)
Rnd 2: (1 sc, inc) repeat 2 times (6)
Rnd 3: sc around (6)
Rnd 4: (1 sc, dec) repeat 2 times (4). Fasten off, add green yarn for top.
Customization & Care Instructions
Feel free to swap the pastel pink for a soft lavender or mint green to match your room’s aesthetic. To keep your bunny clean, hand wash in cool water with mild detergent and lay flat to dry. Do not machine wash to preserve the shape of the safety eyes and stuffing.
Frequently Asked Questions (FAQ)
Can I use a larger hook?
Yes, but keep in mind that a larger hook will result in a larger bunny and may cause holes where the stuffing could poke through.
How do I make the carrot stay in the hand?
You can use a small dab of fabric glue or a few stitches of matching yarn to secure the carrot to the bunny’s paw.
Are safety eyes safe for babies?
Safety eyes are not recommended for children under 3 years old. For infants, I suggest embroidering the eyes with black yarn.
What if I run out of yarn?
This project uses very little yarn, so it is a perfect stash-buster! If you run out, any worsted weight yarn of a similar texture will work perfectly.
Conclusion
Congratulations on completing your cute pastel bunny! Whether you are keeping this little friend for yourself or gifting it, you have created a piece of art that embodies the joy of crochet. Don’t forget to share your finished project on Pinterest and tag me so I can see your beautiful work. Happy crocheting!
More Free Crochet Patterns You'll Love
 Amigurumi & Plushies
Free Crochet Blueberry-Muffin Hedgehog Amigurumi Pattern
View Free Pattern → Amigurumi & Plushies
Cozy Crochet Matcha Latte Bear Plushie: Easy Amigurumi Pattern
View Free Pattern → Amigurumi & Plushies

Leave a Reply